Actually I’ve gone through a few different beta builds, but this is my current plan. I’m also sharing some other tips that have helped me…
First, here is a current schematic of what I am doing for 12v pixels:
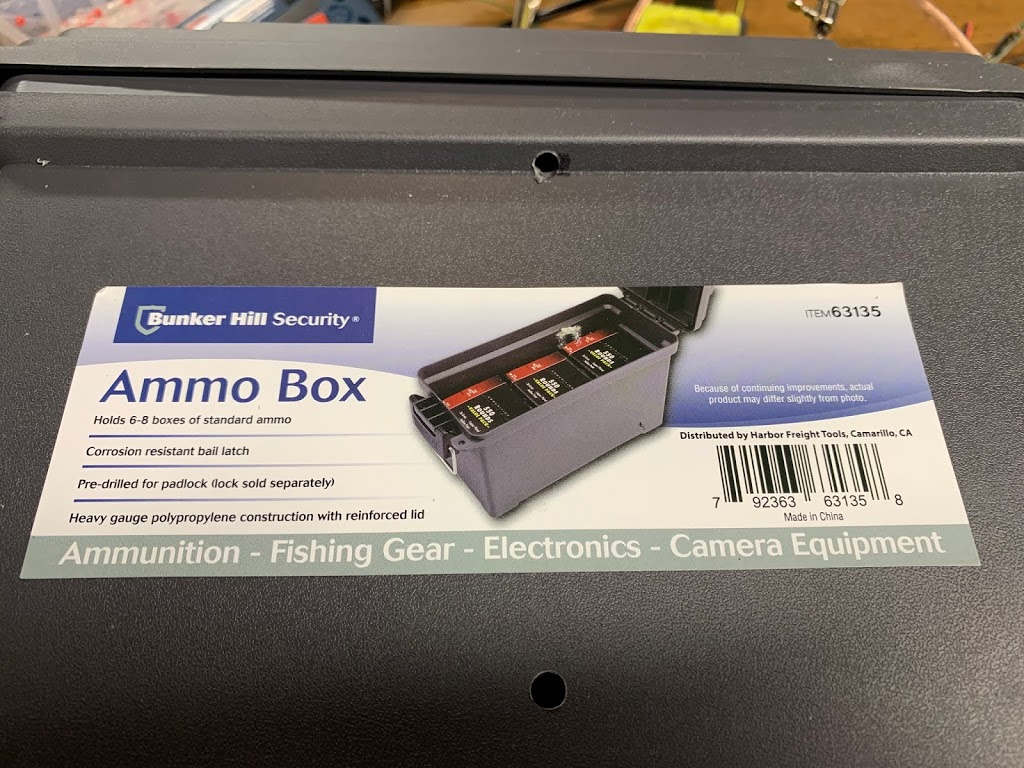
Each string will have one PSU (Power Supply) and D1 controller board in a weathertight box, which I am making out of CHEAP plastic ammo boxes. These are great because they are made to be airtight, with the top lid sealing using a clamp and rubber gasket. Of course- once I punch holes in it for mounting the PSU and cables- it won’t be so air or water tight anymore.
Lots of people use weather-tight cable equipment boxes, like the venerable CableGuard GC-1500 for their PSUs and controllers. I don’t like this option because it is expensive, and it requires wall (or board) mounting. I wanted something that can just sit on my roof or in my yard.
Another option for a stand-alone box that I found recommended is this. Again- too expensive for what I want to do, but it is a good quality pre-made option:
https://www.amazon.com/dp/B006EUHT2W/ref=cm_sw_em_r_mt_dp_U_nkYkEbR9SMRFT
All you really need though is a reasonably waterproof sealed box big enough for a high-wattage DC power supply and your control board (the latter being slightly larger than a postage stamp). Why spend all that money when you can get plastic ammo boxes for less than $5?
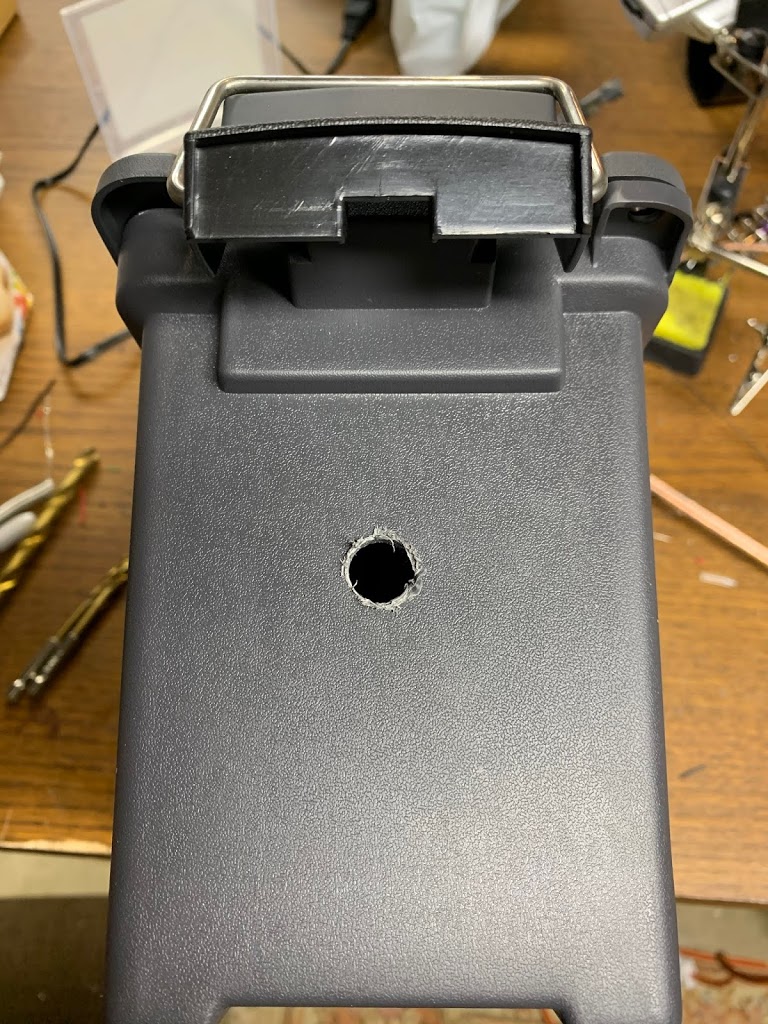
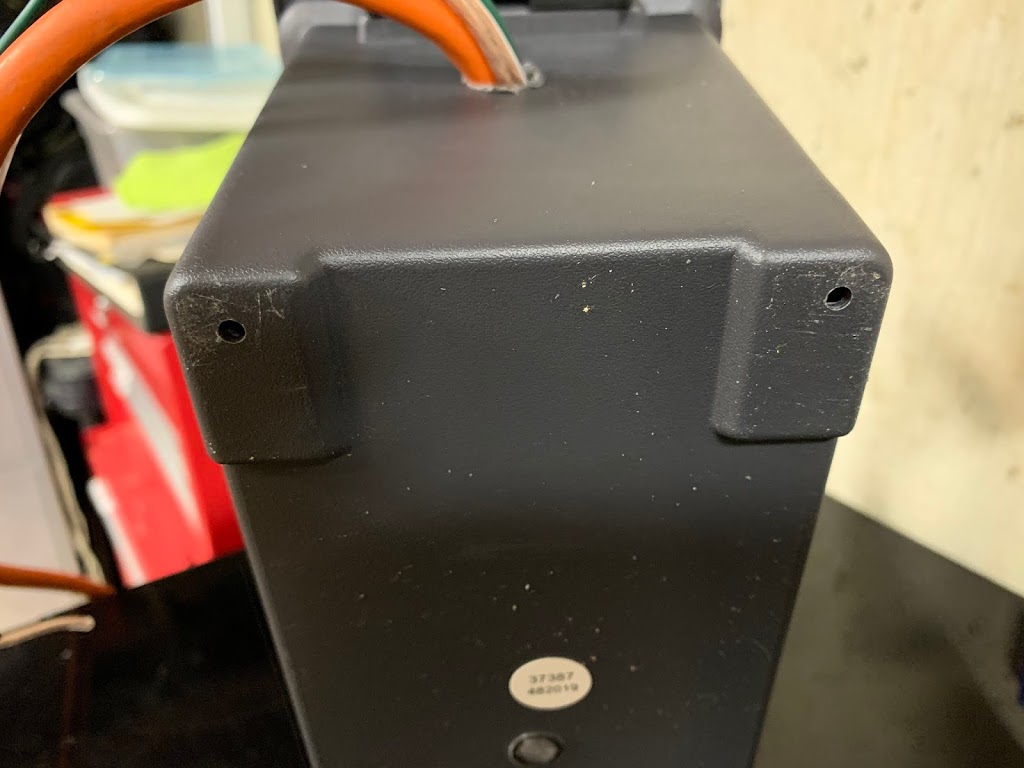
Here is the ammo box with a couple of small holes drilled to mount the PSU using a zip tie…
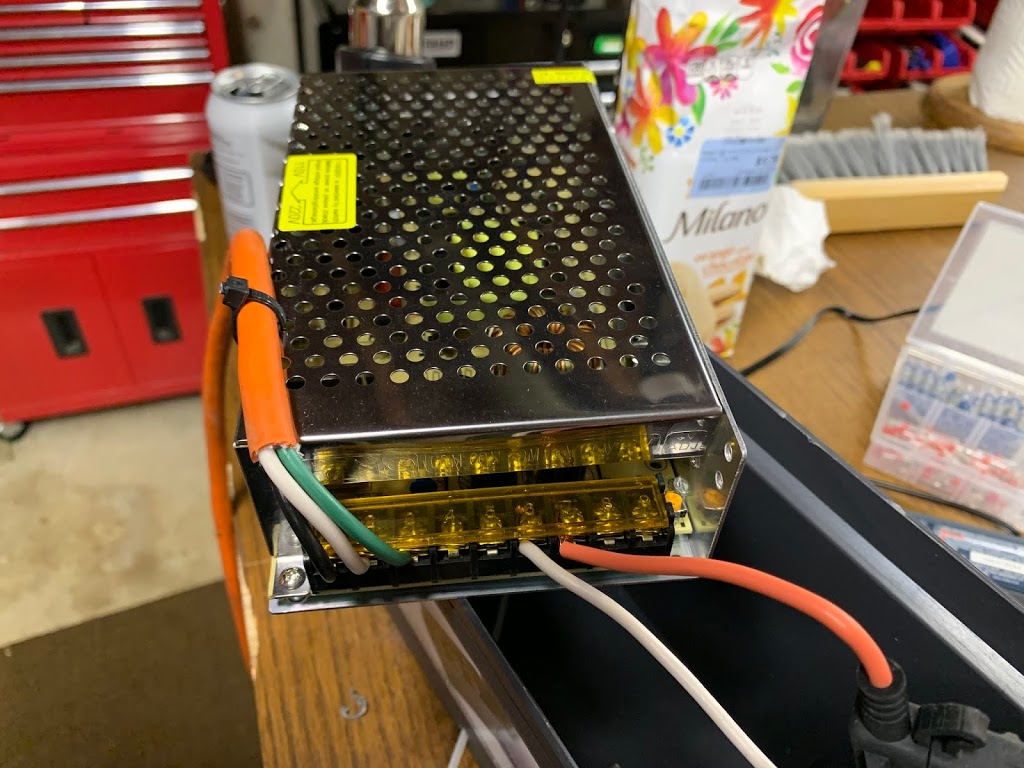
And here is the PSU wired-up. I put a few dabs of silicone on the back of it to stick to the side of the ammo box. I am mounting it as high up as possible so there is about an inch of space underneath it inside the box. The silicone won’t hold it securely by itself, which is why I am using a zip tie. I also avoid having to use hole templates and screws by doing it this way.
There is one more hole on the end of the ammo box for all of the cables. I put this underneath the latch so it is sheltered a bit from rain/snow. I’m using one hole for in and out cables.
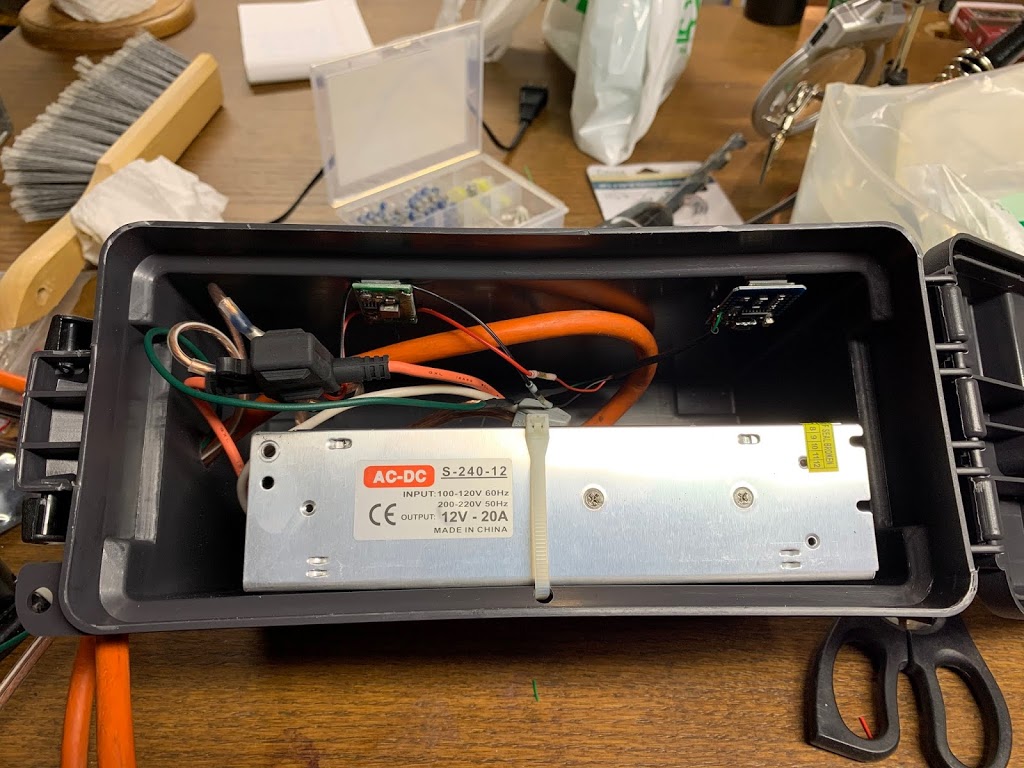
Here is what everything looks like mounted inside the box. I use heavy-duty automotive trim adhesive tape to mount the D1 and buck converter to the side of the box. Note that it is very important to fuse the PSU output.
Note that the top zip tie hole is through the upper lip of the box (facing down). This prevents water from coming in even if the seal breaks on this top hole. The cable hole (to the left of the PSU in the picture below) is as far away from the PSU as possible in case any water leaks in it.
In hindsight, and for V.2, I will put the cable hole more toward the bottom of the box. I may also use a cable gland on future builds, but this was a much-much cheaper solution.
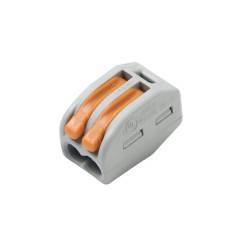
You can’t really see them from this angle, and under the fuse holder, but I use Wago Lever-Nut connectors to make it easy to swap out components when/if I need to. They are NOT waterproof, so I only use them inside the box. They make good solid connections between almost any sizes of wires, which is perfect for this application.
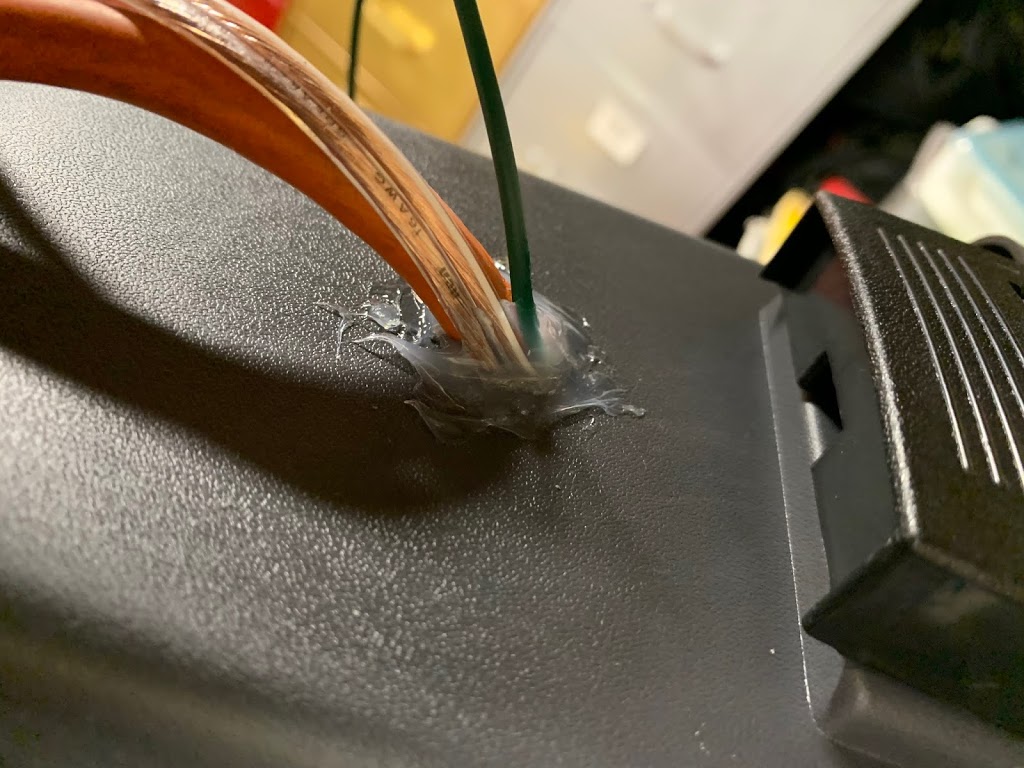
I seal up all of the openings with clear 100% silicone sealant. It isn’t pretty, but works well.
Note that the big orange cable is power (outdoor extension cord with the end cut off). The clear speaker wire is 12v power to the pixels, and the green wire is data to the pixels. All of the output wires are 16Ga.
As there is no real guarantee that the silicone will hold up and remain water-tight, I also drill some small holes in the bottom feet of the ammo box. This is why I keep the PSU and any wire connections at least 1″ above the bottom. If any water gets in- it will drain out.
When placing the boxes- I make sure they remain upright, and won’t sit in standing water. I also tip them slightly toward the side where the cable hole is, to better control water on the outside, and drain any water that may get inside.
I’ve been through a few different iterations of the controllers, mostly because I got a couple of different kinds of buck converters. The older one is in the picture above. It had micro-USB connectors on it that I literally sawed off so I could solder the 5v output wires directly. This didn’t work well- it was excessively fragile and only a couple of them actually worked after their rather extreme surgery.
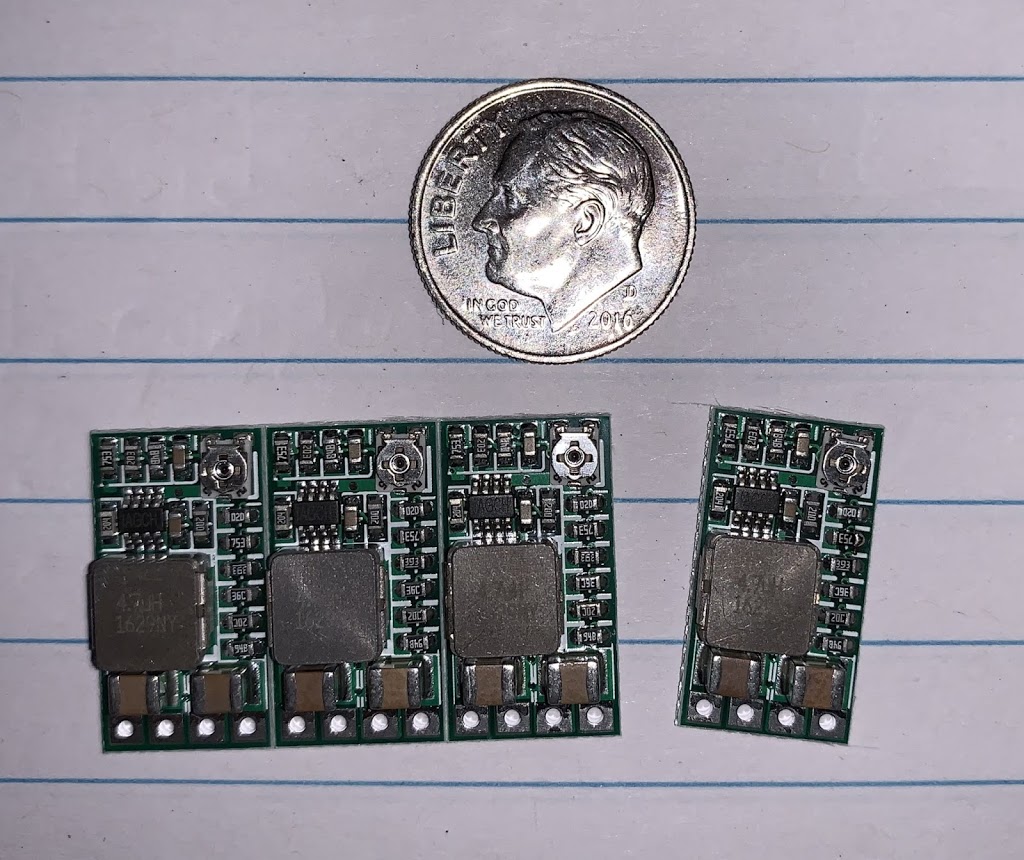
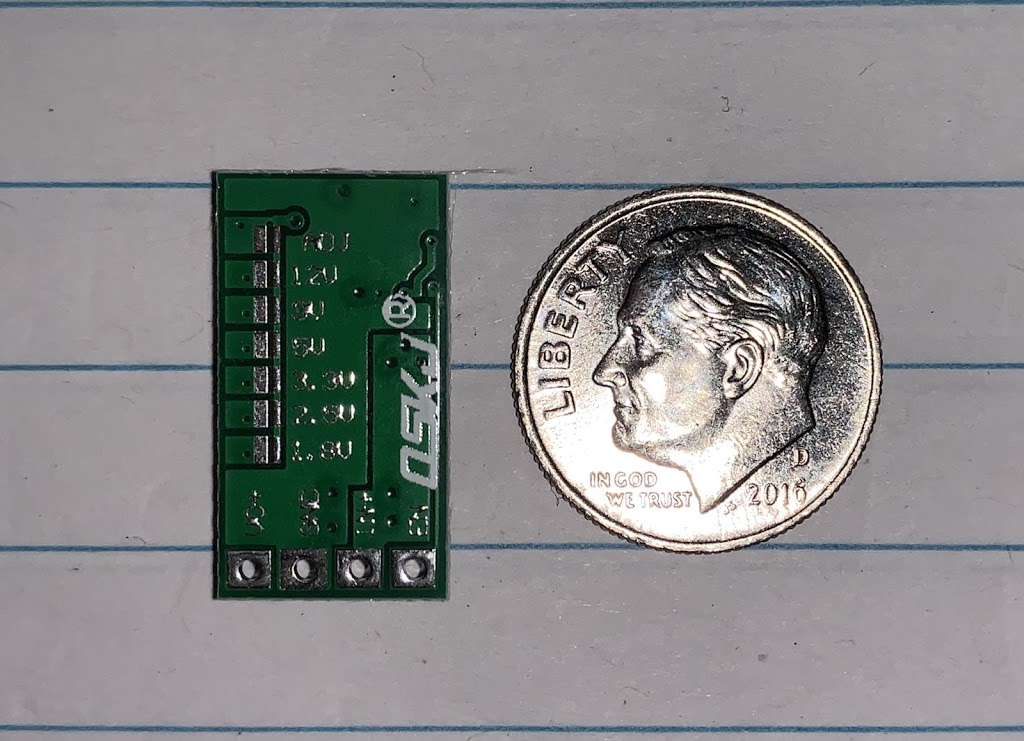
I have since purchased some of these “DROK” buck converters. The biggest challenge, as you can see, is they are TINY. (Dime to illustrate size.) Not much bigger than a thumbnail.
They have a trace on the back that you are supposed to cut to set a fixed voltage, and some solder pads to bridge for the voltage you want (5v in my case). Unfortunately I was unable to get that method to work after several attempts. By default- they have a tiny potentiometer (upper right corner in the picture) that you can adjust to set the output voltage. I just hooked them each up to a 12v power supply and a meter, and adjusted the output down to 5v. I then put a drop of super-glue on the pot. to make sure it doesn’t move. This was a LOT easier than trying to cut a trace and put a drop of solder on a bridge pad less than a mm in size.
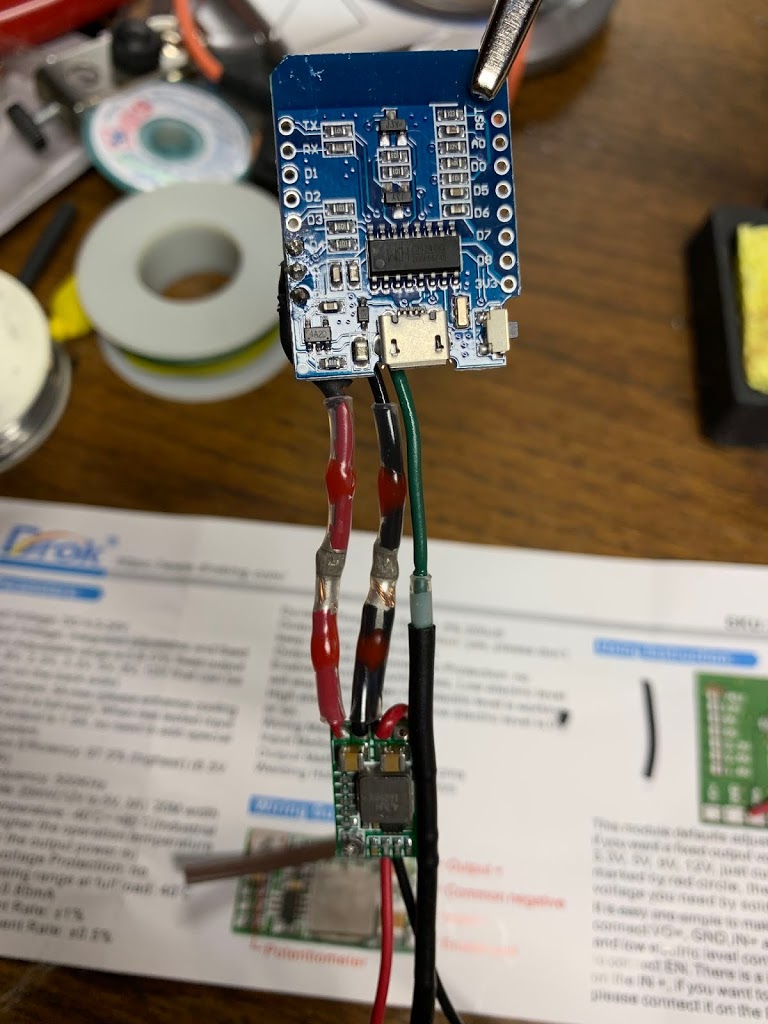
Here is what the back looks like:
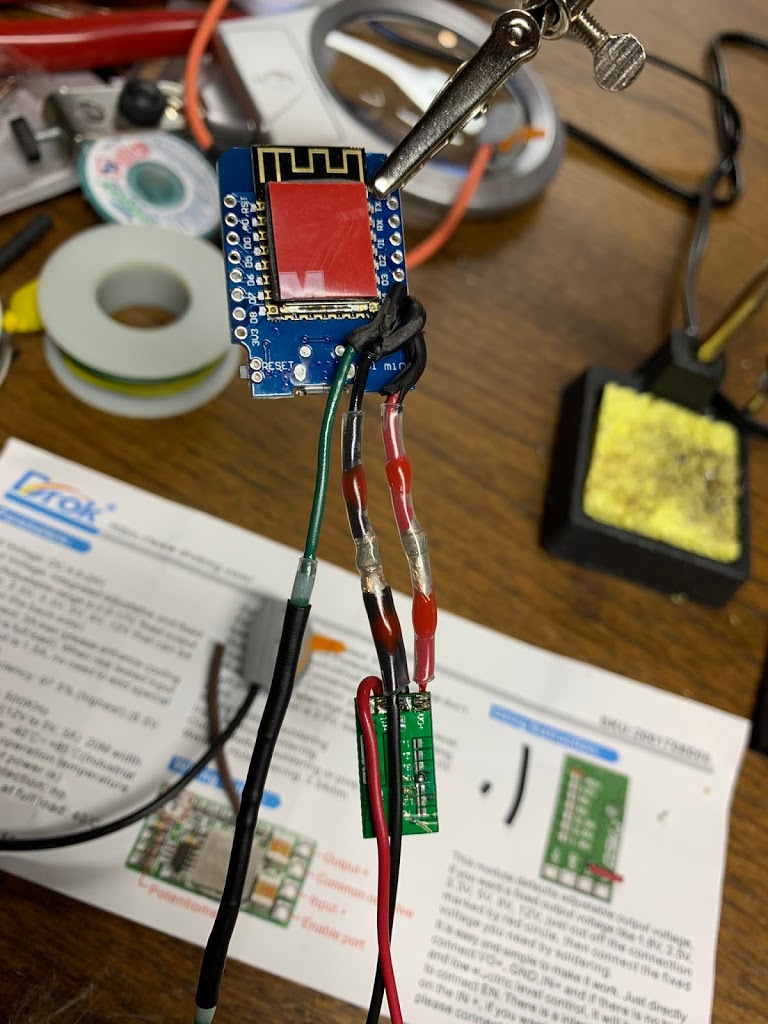
Here is the front and back of one of the assembled controllers. It isn’t pretty- but it works. I probably use an excessive amount of heat shrink and sealant- but I want to protect the connections as much as possible.
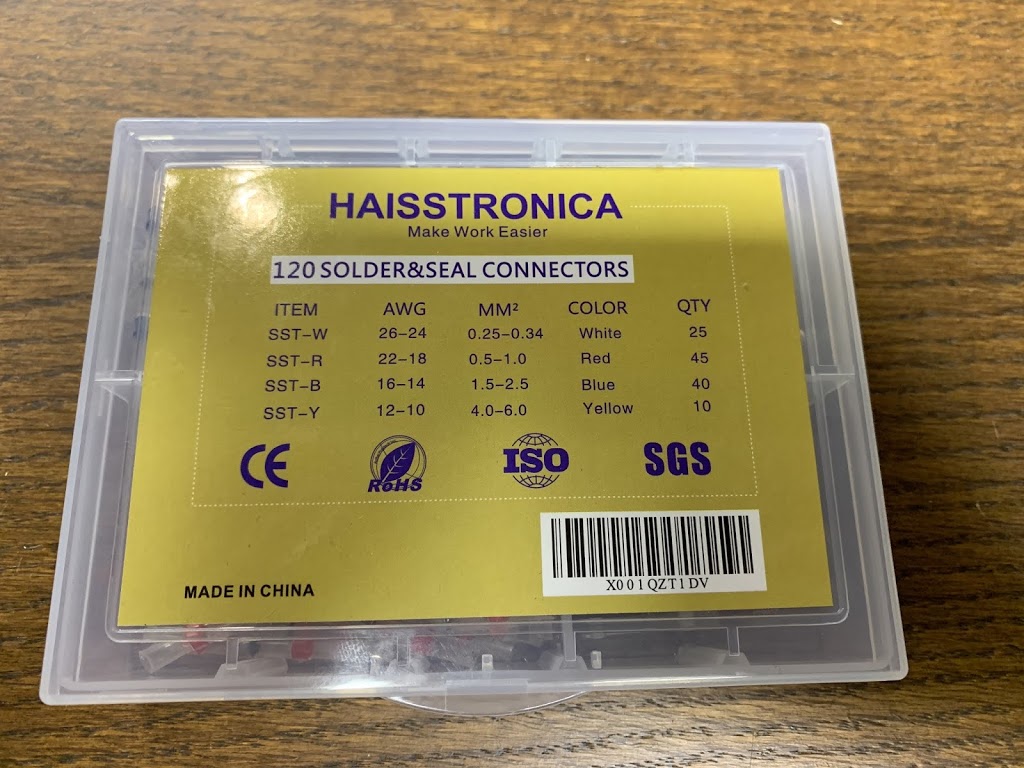
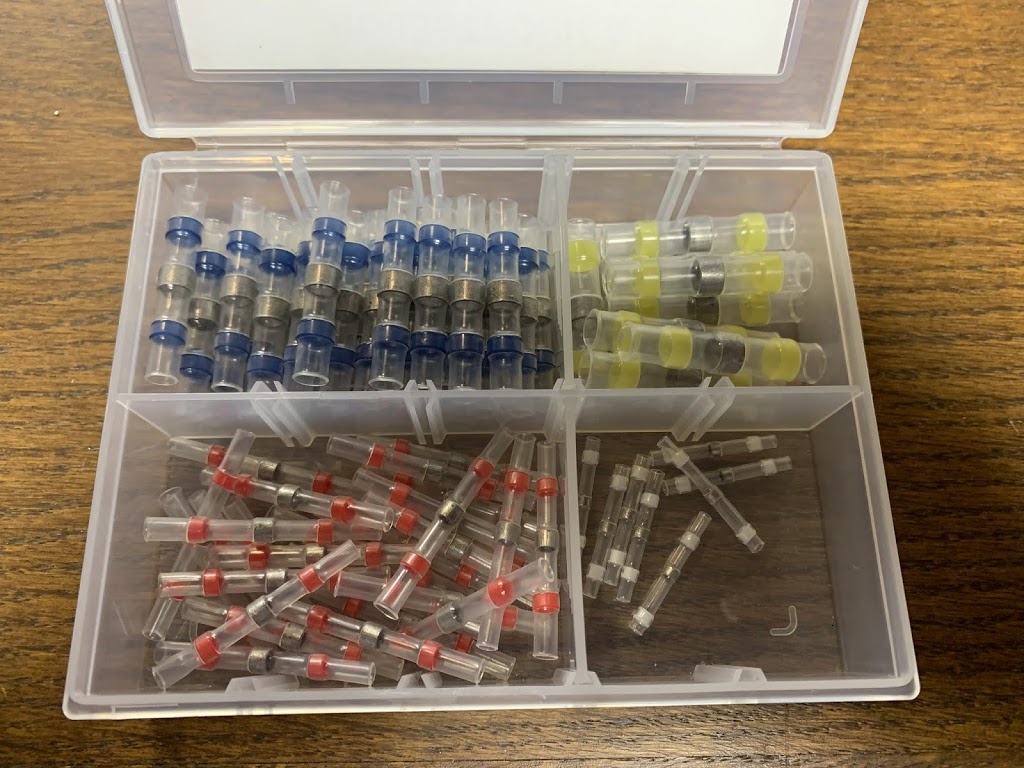
The absolute best thing I have found for connecting wires that I don’t want to come apart, which I also use for connecting and splicing pixels, are these solder connectors…
They shrink-wrap and seal the wires going into them, and then the solder melts to connect them. You can use a heat gun or even a lighter. They create a waterproof seal and a very solid electrical connection. You can get them from Amazon or any of the Chinese retailers if you want to wait a month or two.
The most indispensable tool I have right now for this project (well, including a good pair of wire cutters/strippers, is this multi-purpose butane torch/soldering iron:
I bought it here, but of course you can find them from multiple sources:
It is completely portable, heats up very fast, and when the soldering tip is unscrewed- it becomes a heat gun, which is perfect for the solder connectors above, as well as regular old heat-shrink tubing. The best part is it can be used anywhere- like in the yard or on the roof, without power. Before I got it- I was hauling around a plug-in soldering iron, heat gun, and a long extension cord. I use it on my workbench now too, since it is much more convenient.
I buy most of my tools and wire locally from Menards or Lowes. The ammo boxes are from Harbor Freight. Everything else either comes from Amazon, or one of these Chinese suppliers:
The pixels and circuit boards are cheapest from the Chinese suppliers. The only problem with them is it can take 1-2 months to get your order, so they are no good if you are in a hurry. There is really no such thing as “express” shipping, although Banggood does have a US warehouse for some goods- you pay a premium price for them, often more than Amazon.
You might also like...