
Newer Ammo Box PSU Builds
Important Notice
This site is no-longer being maintained, and the content and links found here may be irrelevant and outdated. It is online for archival purposes only.
The PSUs most of us use for LED/Pixel displays are barely human-proof, much less water/weather-proof. While some people buy fairly expensive weather-tight electrical enclosures, many of us use plastic ammo boxes. They aren’t submersible, but are good enough for this job.
Most of my current builds use Harbor Freight “Bunker Hill” plastic ammo boxes. I more-recently discovered that Menards has their own “Tool Shop” brand that is actually slightly larger and seems to have a much more robust build quality and seal. They are about $1 more than HF, of course one or the other may be on-sale or have a coupon at any given time.
The HF boxes are gray in color, while the Menards are black. You will see both in my build documents. Both work fine, I just like the latter as they seem to be built better and have a few more square inches of space.
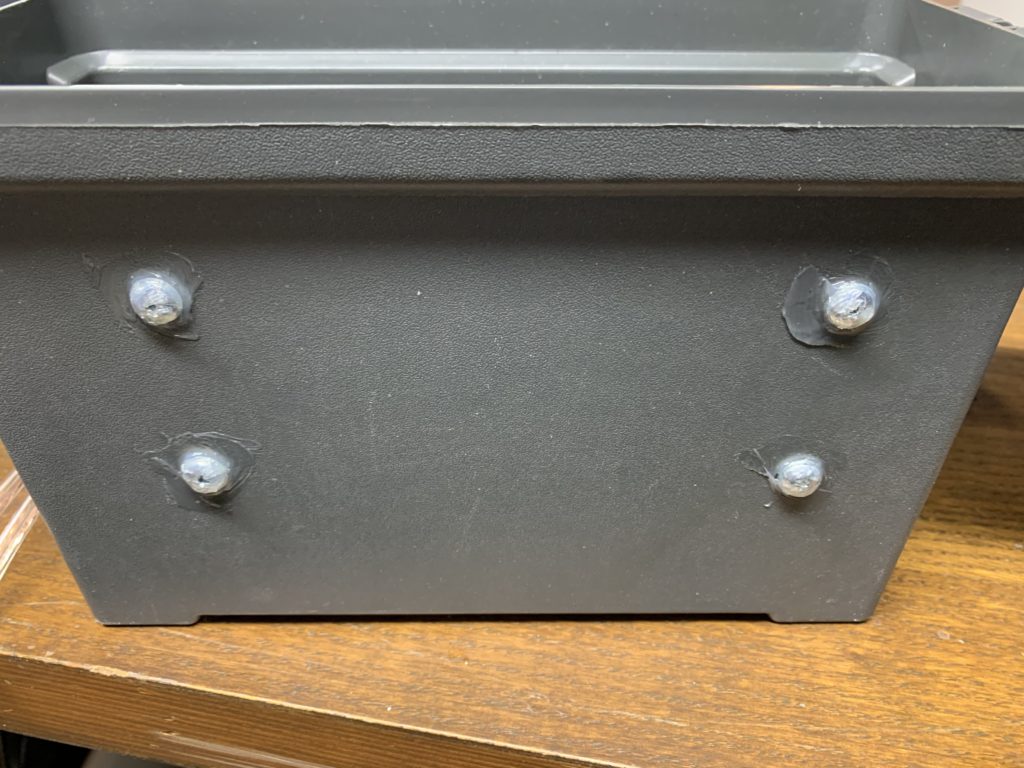
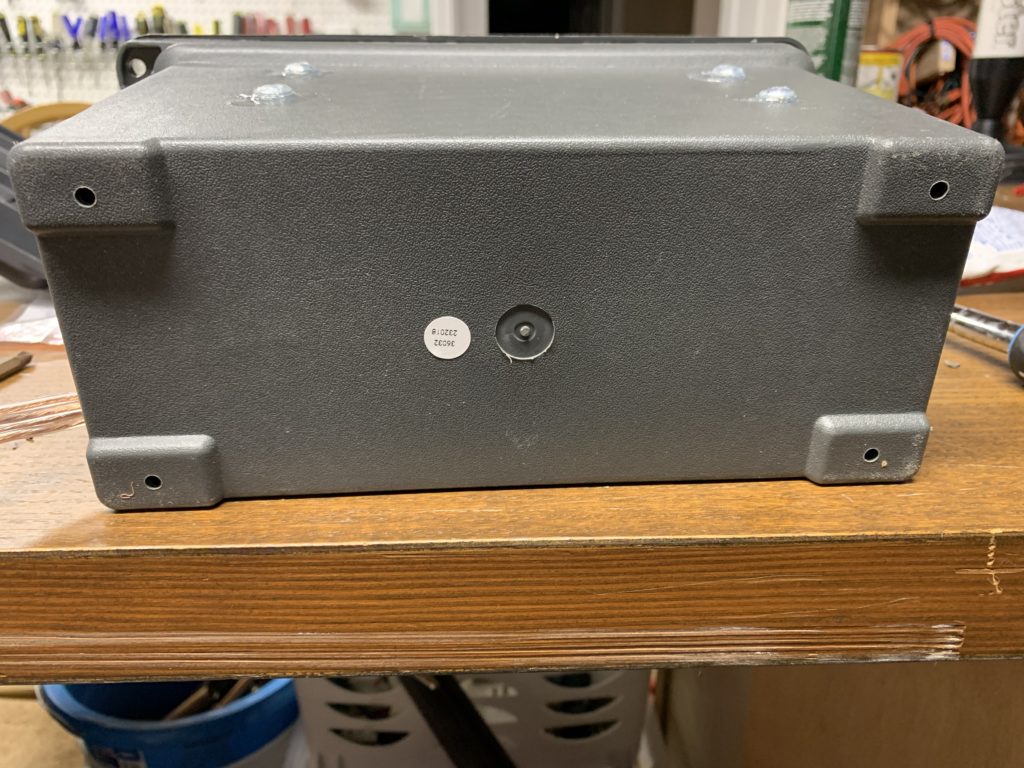
One thing I do with all of my builds is assume that some water will get into the box, so I always drill at least a couple of drain holes into the bottom of them. I also keep everything inside at least 1/2″ above the bottom.
When I first started, I used zip ties to hold the PSUs up higher in the boxes…
This worked, but wasn’t very durable. The holes were sealed with silicone, but the PSU and zip tie would shift and break any seals. I also used silicone to seal the holes that I ran the wires out of. This also didn’t work well.
I then tried screwing the PSUs to the side of the boxes…

Silicone over screws 
Looks nice!
This was a bit more practical, as the screws wouldn’t shift so the silicone remained sealed, but replacing the PSU was a problem. They all have different hole patterns and in some cases use different size screws.
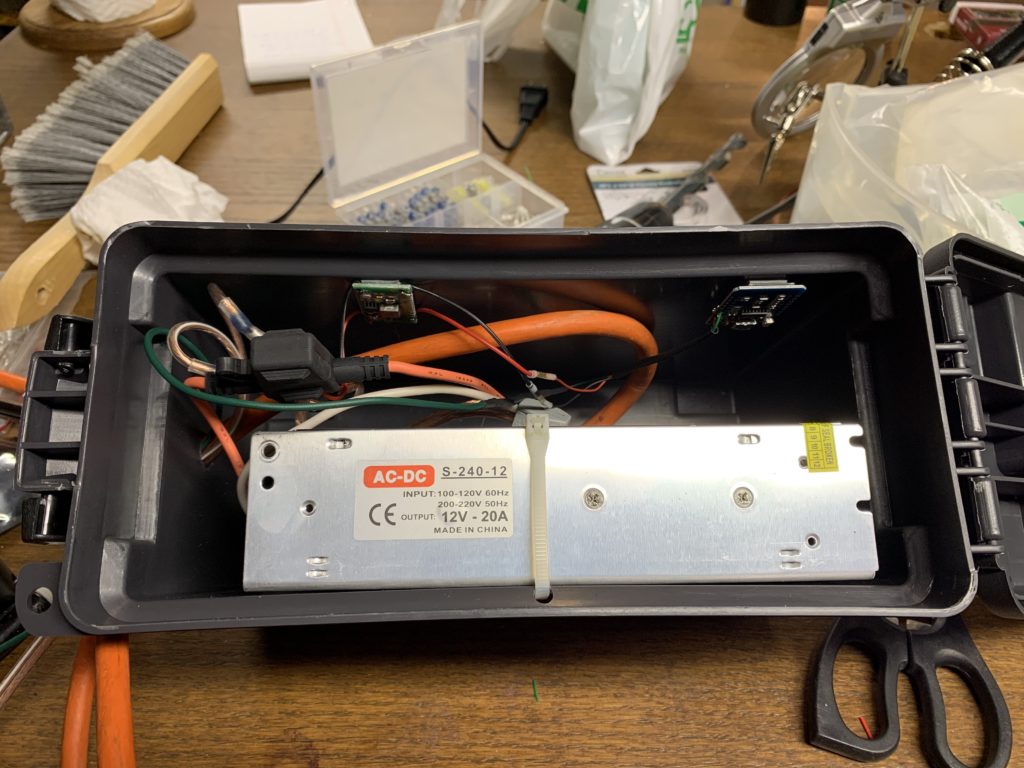
Here is my current design. It’s a lot easier to deal with- no fasteners for the PSU at all…
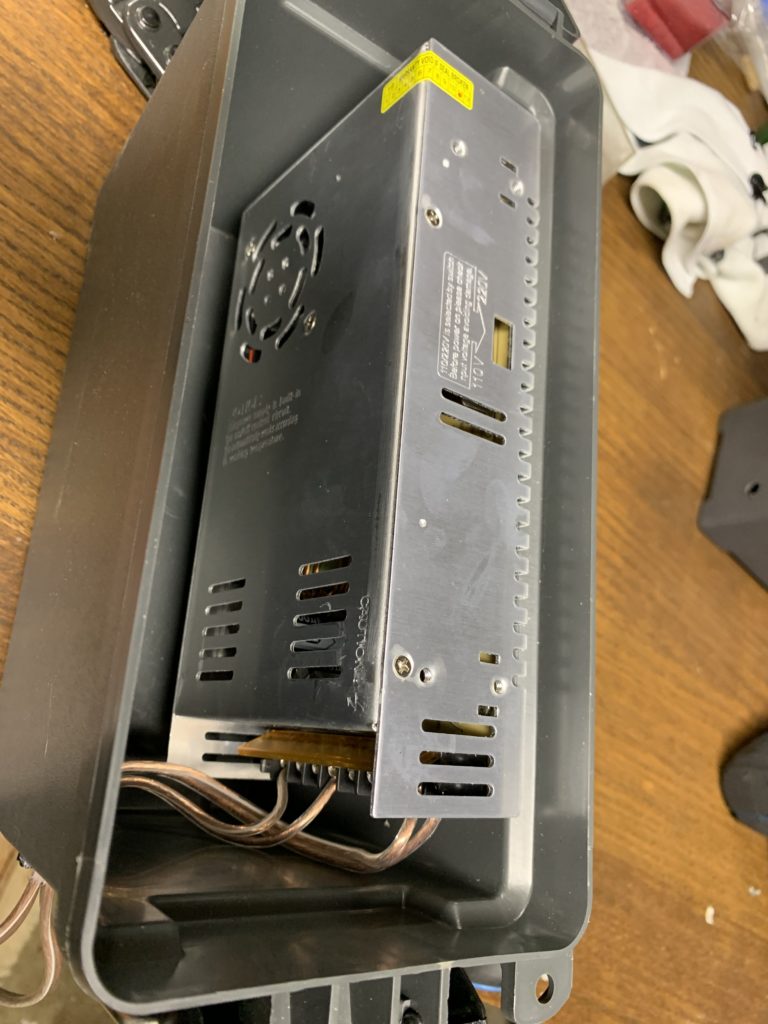
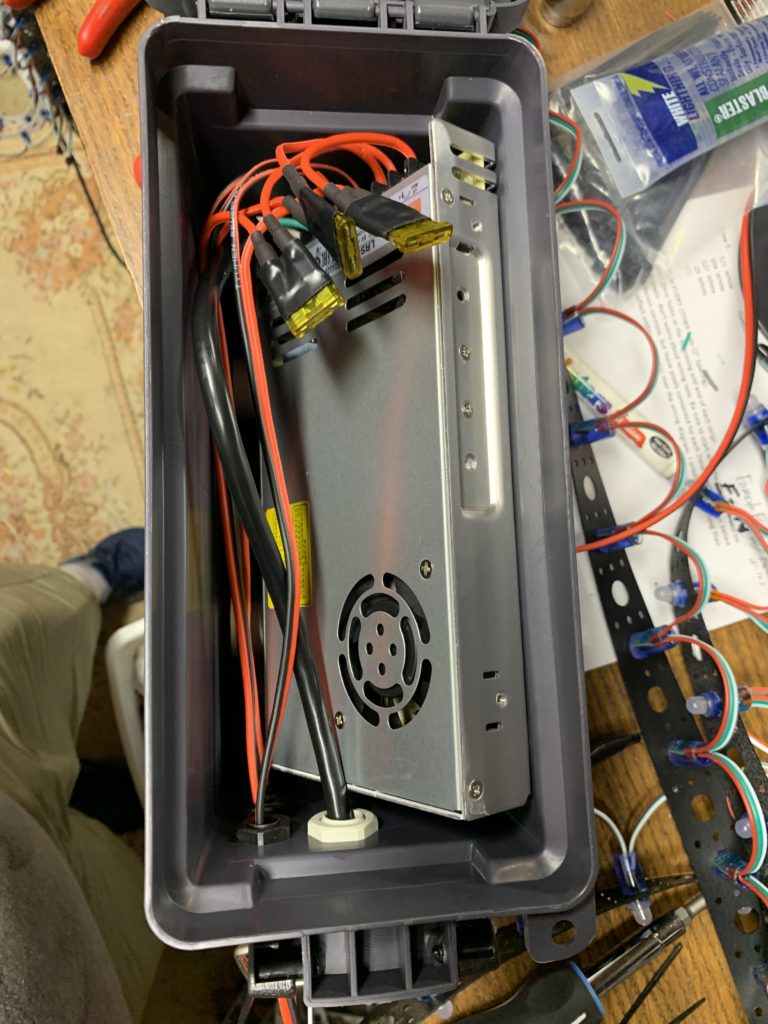
First, I glue 3/4″ PVC or PEX (scraps) into the bottom of the box. This keeps the PSU off of the bottom:
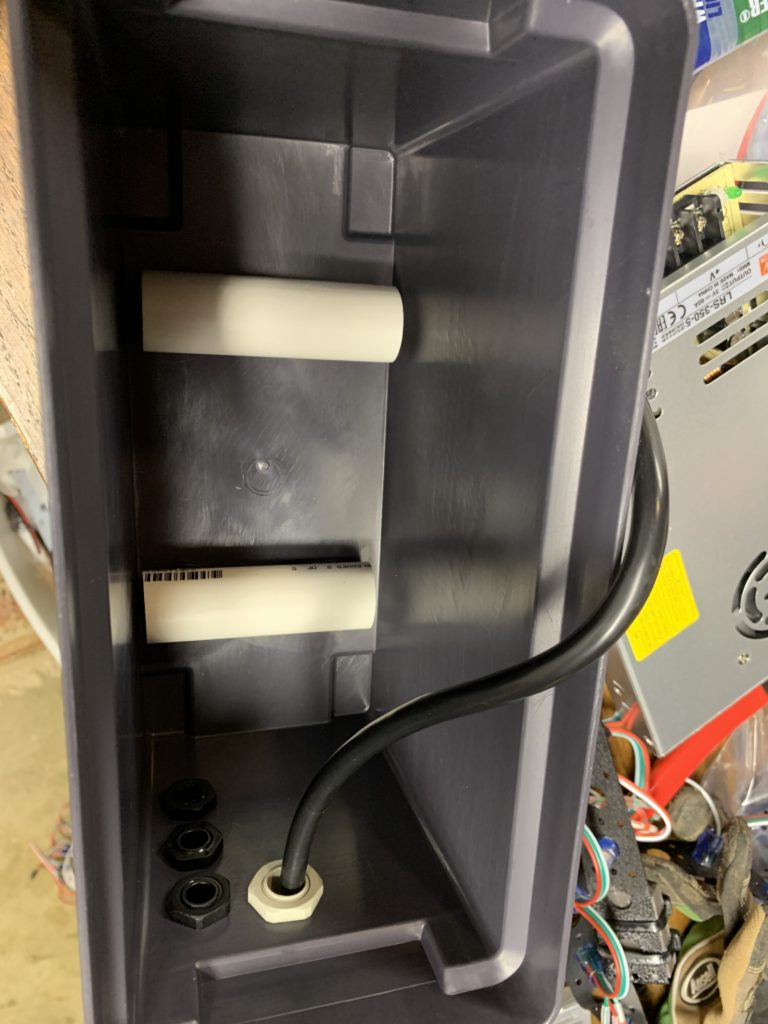

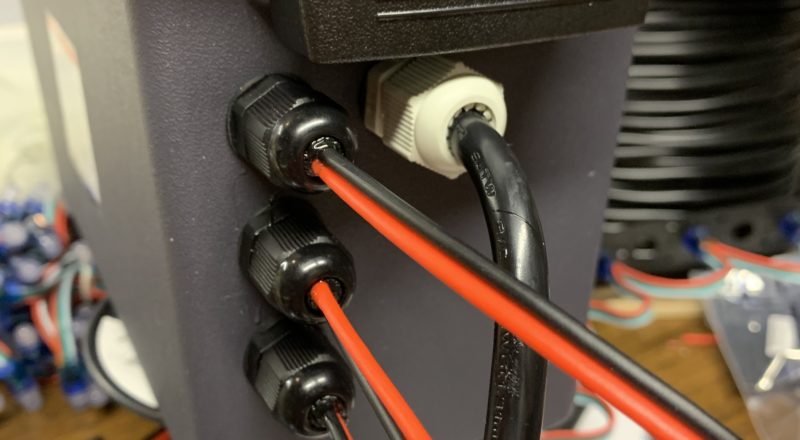
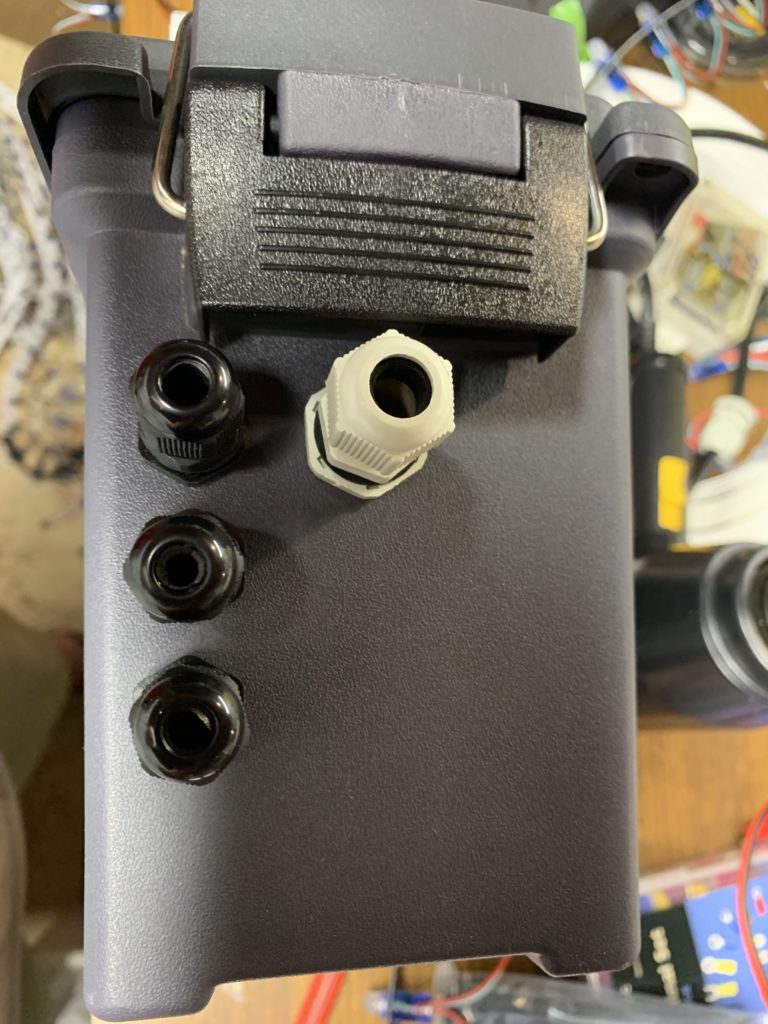
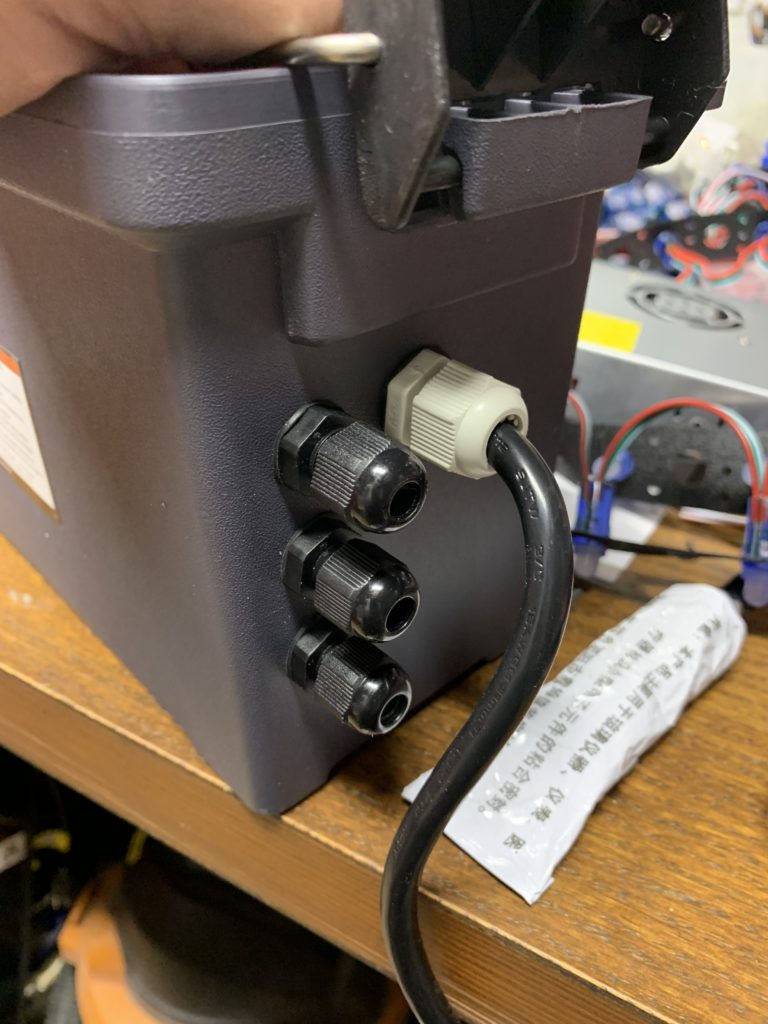
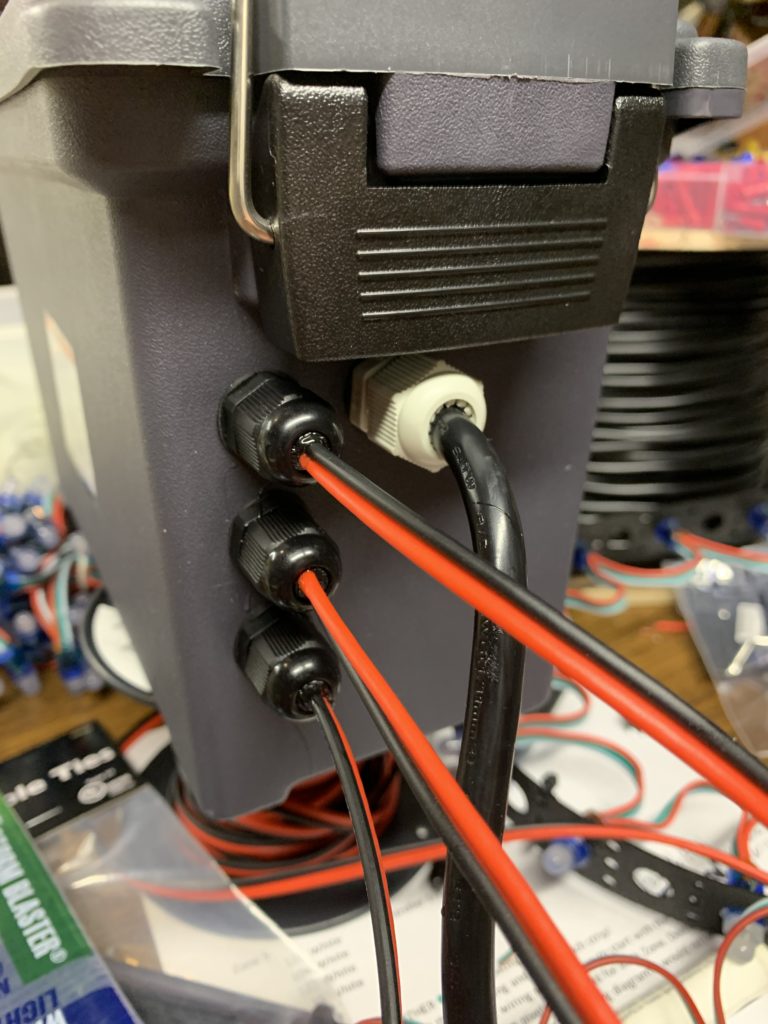
I also use cable glands now for all of the cables. This is the ONLY way to make sure they are reasonably sealed. I put silicone around the screw fitting that goes into the box, and also silicone around the cable before tightening the clamp.

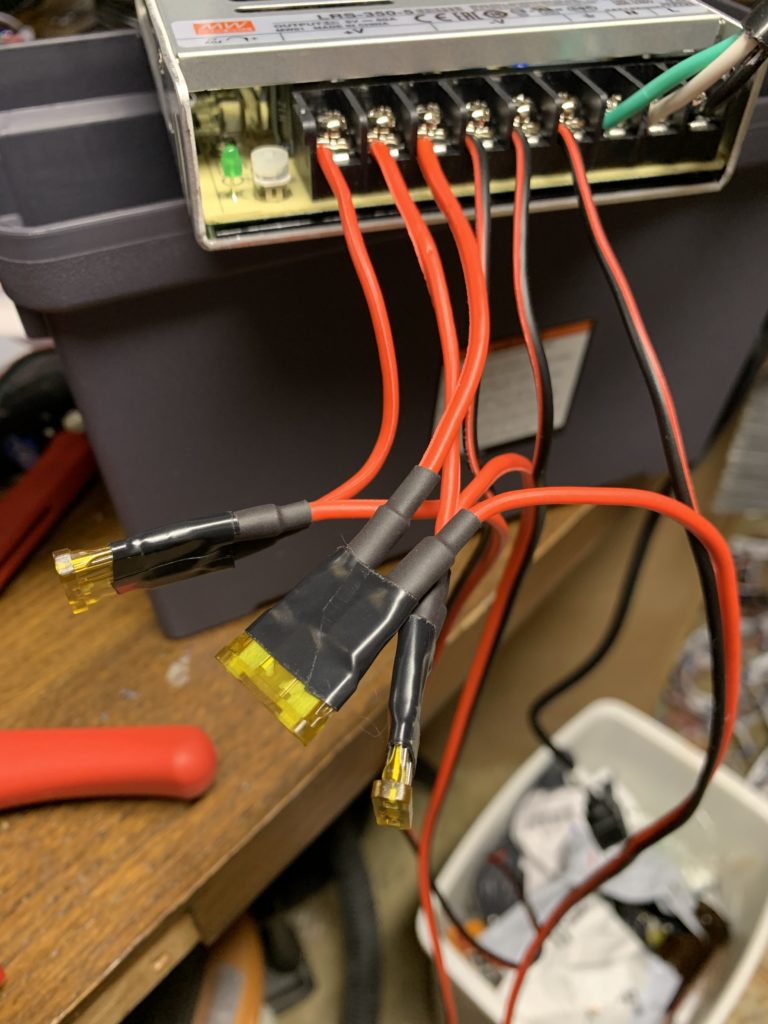
I fuse the connections using my dirt-cheap homebrew “fuse holders”:
https://lunardenlights.com/2020/08/03/fuse-holders/
Finally- I always assume that some water might get in, so I drill drain holes into the bottom.
That’s it. Cheap, portable, and reasonably weather-tight enclosures!
Update:
While they won’t be as bad in the middle of Winter, the PSUs do generate some heat. I added some small weather-resistant vents to all of my ammo box enclosures. They aren’t very big, but at least let a bit of fresh air in. I put one high on one end, and one low on the other, so convection will hopefully move a bit of air through.
You can buy these from Amazon, eBay, and of course the Chinese. Here is an Amazon link:
https://amzn.to/3gWyhgF
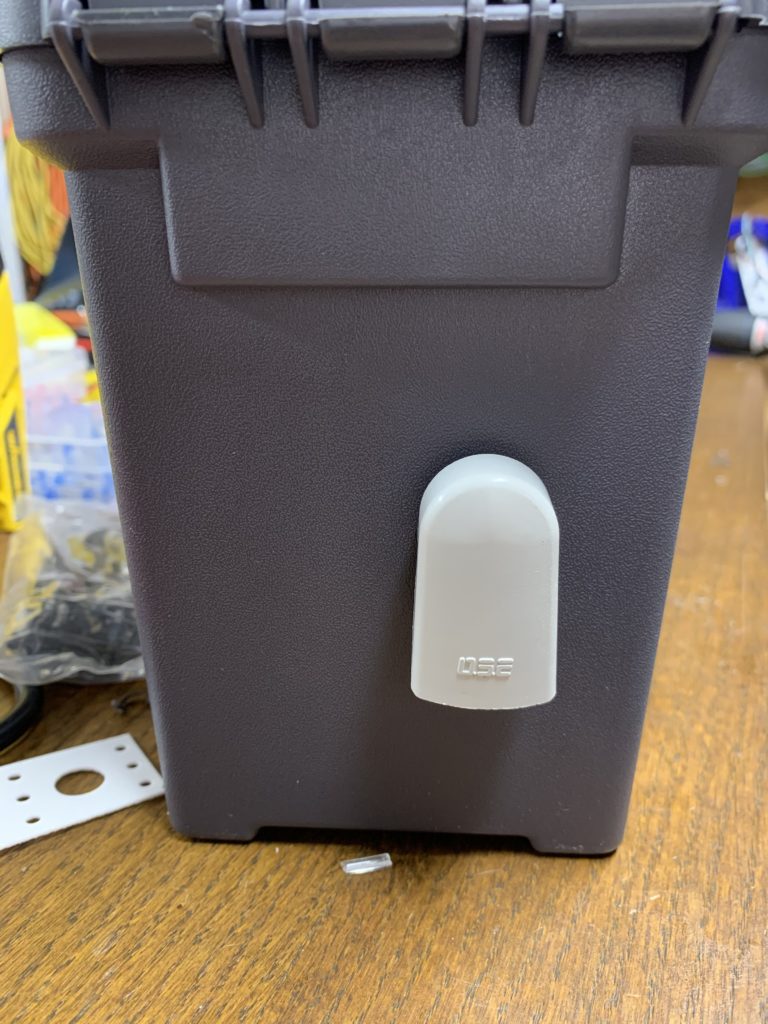
I’ve heard there are some 3D printable versions of these out there too, but they were cheap enough to just buy.
Also, you may note that over time the PSUs I’m using have changed too. I started using PSUs I recycled from older 3D printer projects, and a couple of cheap ones I got from Amazon. For 3D Printers everyone (including me) insists on Mean Well supplies, and the Pixel world is no exception. Mean Wells are a bit more expensive, but they are very well built and reliable. I use them exclusively now. It’s worth a few $$ more for piece of mind, especially since I have a lot of them sitting on an icy roof for a good part of the winter.
Here is what I buy:
5-Volt:
12-Volt: