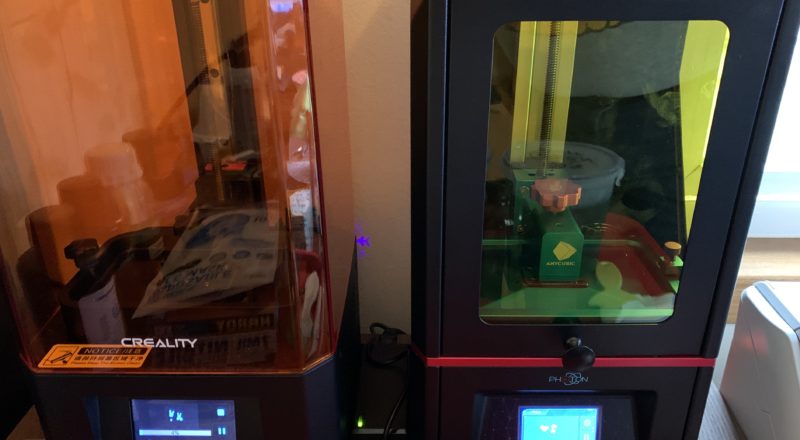
Creality LD002R vs. Anycubic Photon
Important Notice
This site is no-longer being maintained, and the content and links found here may be irrelevant and outdated. It is online for archival purposes only.
I posted a “first impressions” review of the Photon last week- Another 3D Printer…– and wanted to actually set up a “race” between them with the exact same print.
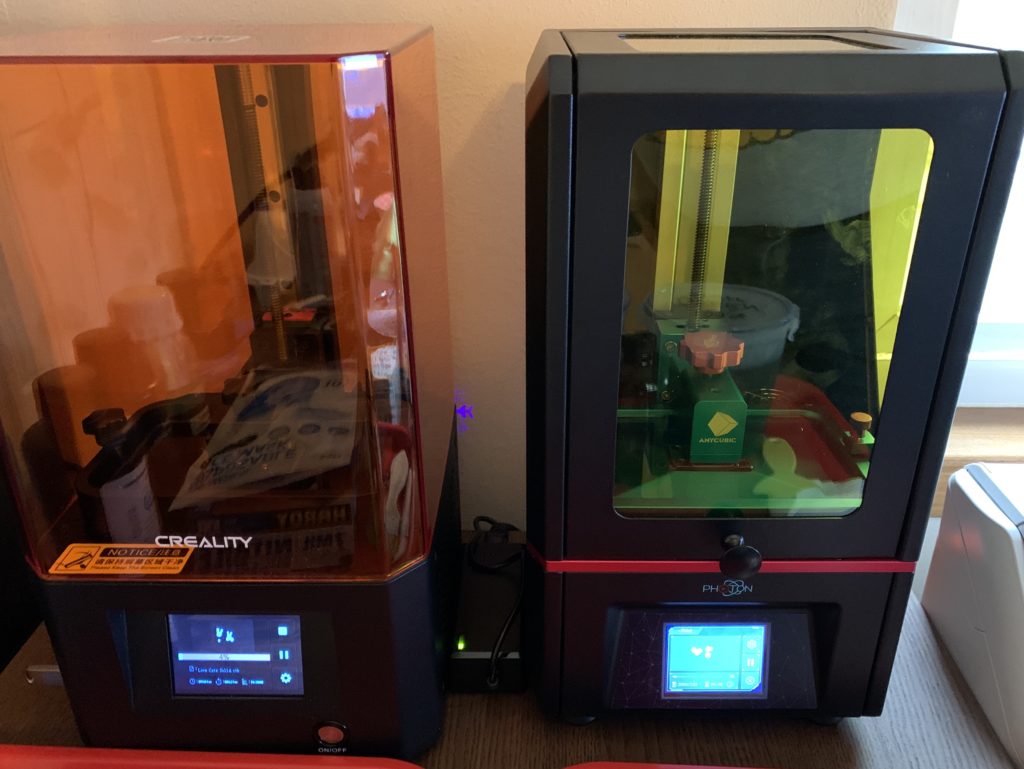
I started with this .STL:
https://www.thingiverse.com/thing:869645
I’ve printed this multiple times with limited success, mostly because I attempted to hollow it out, put drain holes in the base, and print at a 45-degree angle with lots of supports. This is generally preferred as it reduces the time and amount of resin used. The problem is where the cats connect to the base- the hole has to be pretty small, and it keeps getting clogged with resin and supports. So- I end up with a set of hollow cats half-filled with uncured resin that I have to drill the base out on. It’s a mess, and I broke a couple of them trying to drill the base. Drilling resin is not the same as drilling regular plastic!
This is the first time I am trying to just print them sitting on the build plate with minimal supports.
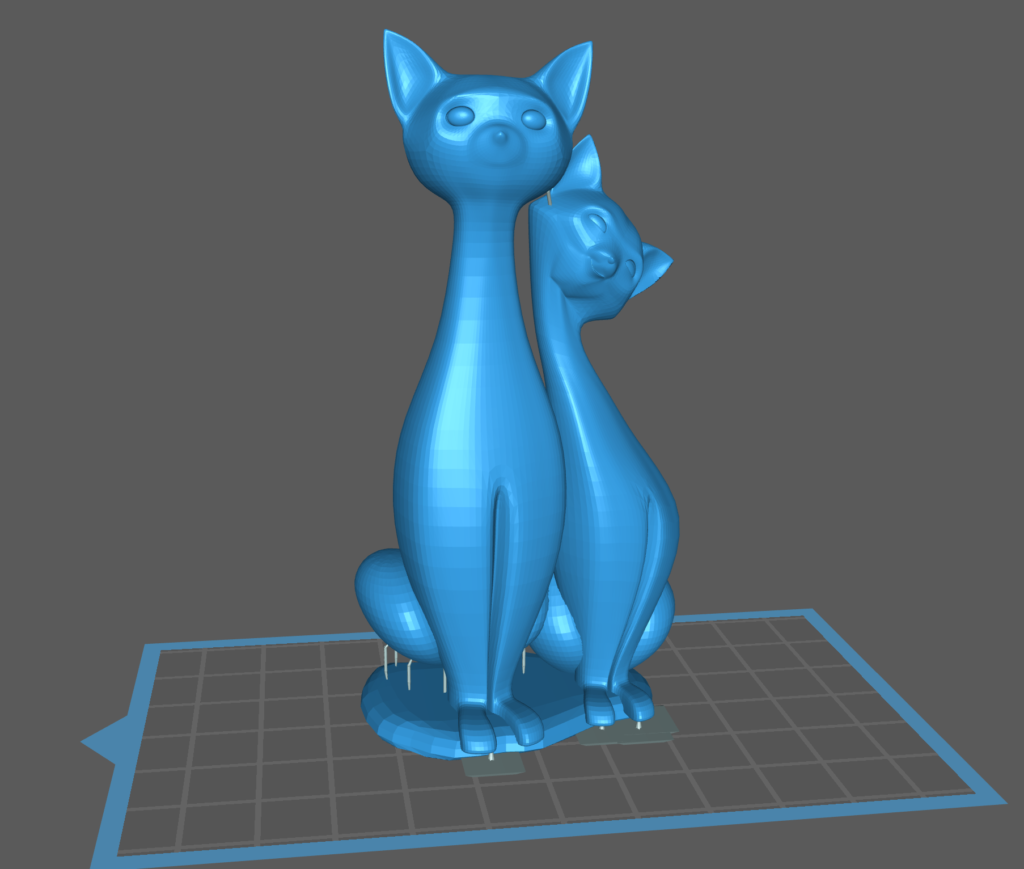
So- I pulled up the STL in Chitubox, and sliced and saved it for each printer.
One HUGE difference between the printers…

The Creality uses Chitubox firmware, and apparently that allows the file sizes to be very small. I don’t know what the Anycubic Photon actually uses for a control board, but their system clearly isn’t very efficient. Over 18x the file size for the exact same print.
Although the Z-Axis on the Photon operates at least twice as fast as the Creality, I’m wondering now if the Creality operates slower because it has to uncompress a lot of file data. I doubt these things have a lot of processing power.
For this test- I’m using the exact same exposure settings:
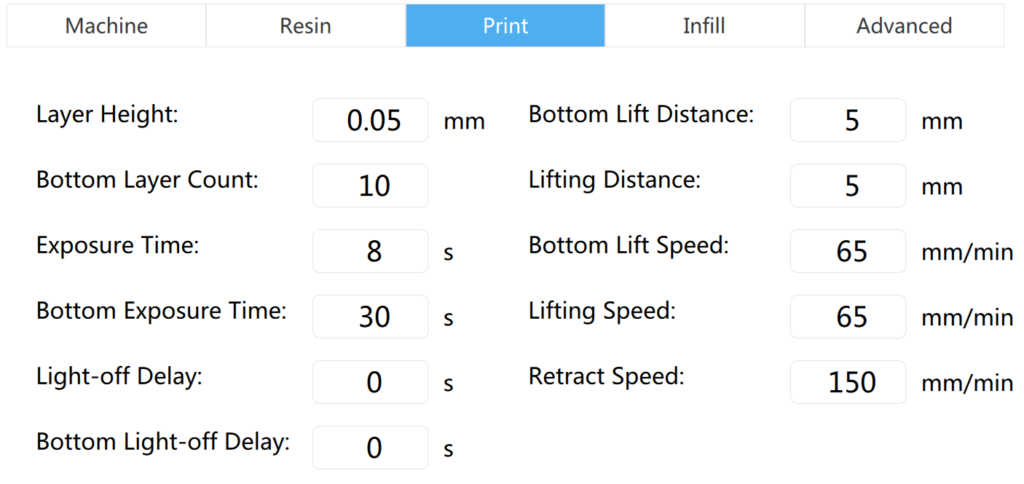
The Creality’s default settings actually call for 30 bottom layers, so this may be a problem. 10 is the default for the Photon. We will see…
I’m not using the same resin in each, mostly because I didn’t have enough of any one. I’m using clear blue for both. The Creality has Elegoo Water Washable Clear Blue, and the Anycubic has Elegoo ABS-Like Clear Blue. (I love Elegoo resins right now. Reasonably priced, not too stinky, and they have been reliable.)
After 25 minutes- it’s already obvious which printer is going to win this…

Creality Time Remaining 
Anycubic Time Remaining
So, now I just need to wait until they are done to compare their quality. The sad thing, at least time-wise, is the Creality is actually more expensive than the Anycubic. The Creality does have a slightly larger build-plate, but has the same resolution screen as the Anycubic. In fact- looking at 3D printer parts- they use the exact same LCD screen! So- they have the exact same physical print area, since it is dependent on the LCD size. The Creality is supposed to have a better UV light matrix with optical anti-aliasing, so I want to see how much of a difference that makes.

The next morning…
I checked the times remaining before I wound down for the night and the Anycubic Photon was still ahead 2.5 hours. I’m not really sure how the Creality made up a half hour since this started. You would think since the exposure times are set and the machine parameters (Z speed and any other exposure delays) are known that the time estimates would be pretty accurate. It is also possible that the Photon’s timing was off as-well. Unfortunately this wasn’t very scientific and I didn’t start a stopwatch or time-lapse the whole thing. They both finished sometime last night/early this morning. Neither actually reports the final elapsed time the print took- it’s almost like they hide it intentionally.
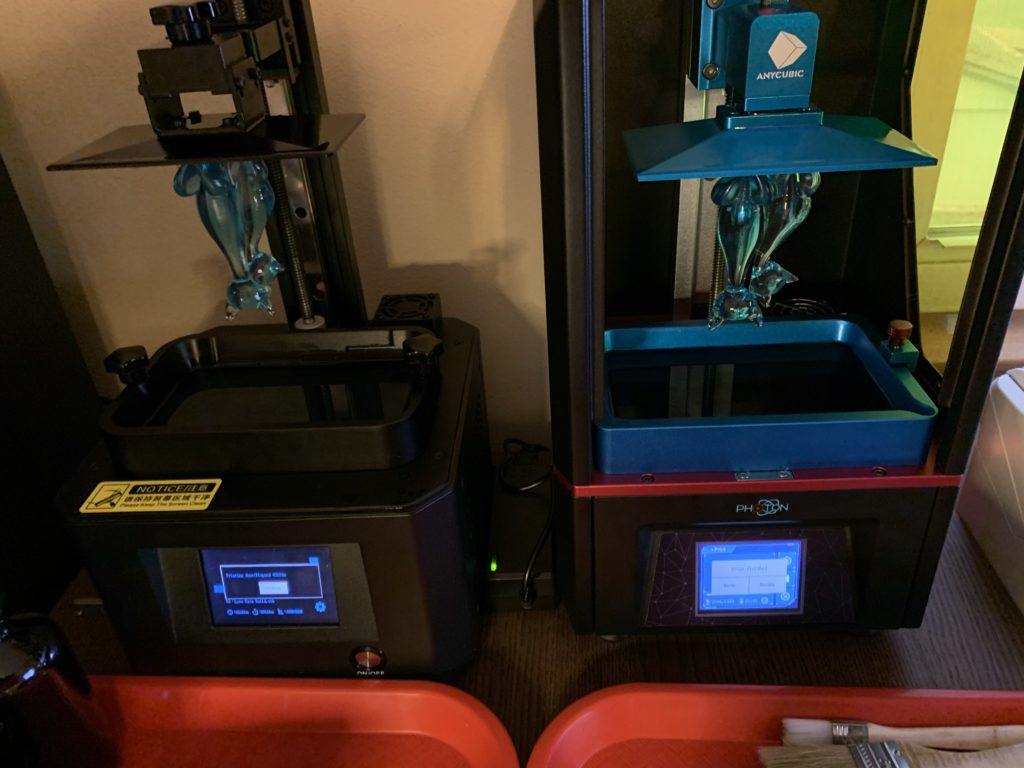
First impressions:
Both prints were successful, and both look pretty good to me. There is some odd bubbling in the middle of the big cat in both prints. This could be a slicer glitch or simply indicates a flaw in printing pieces like this as a solid.
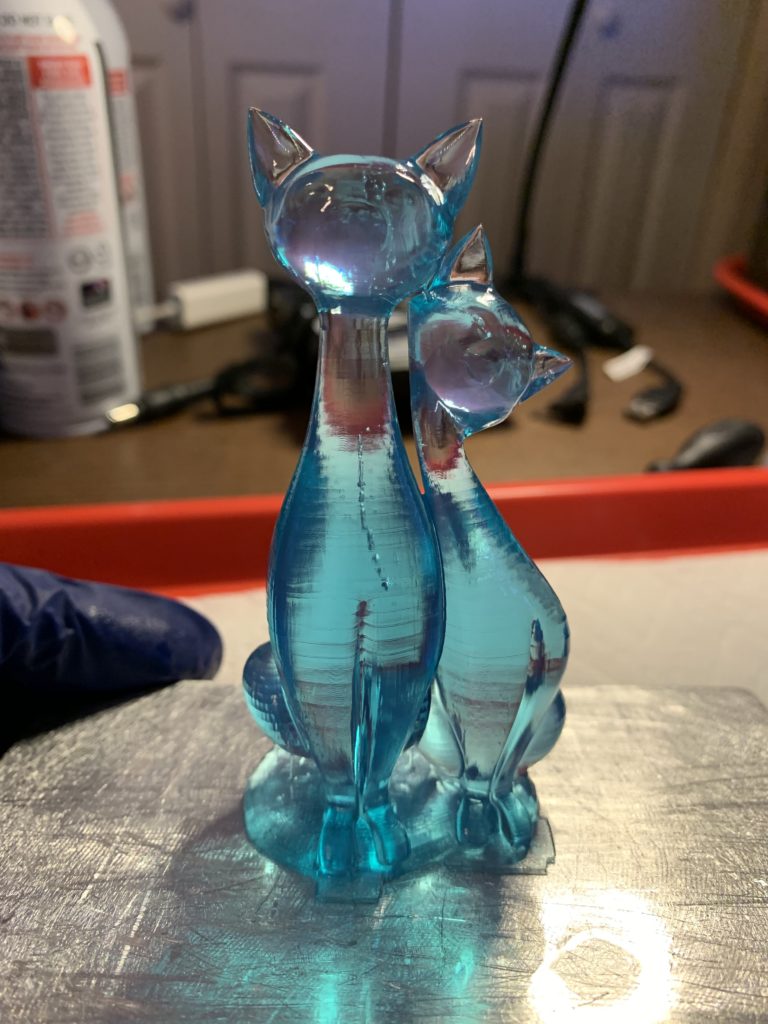
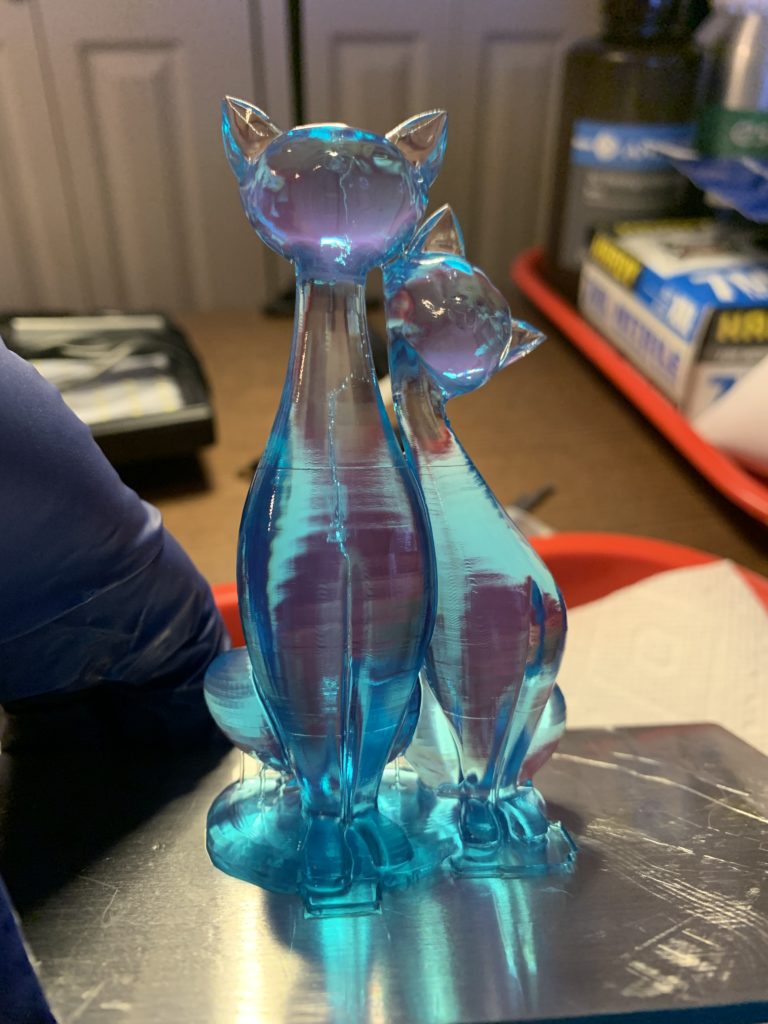
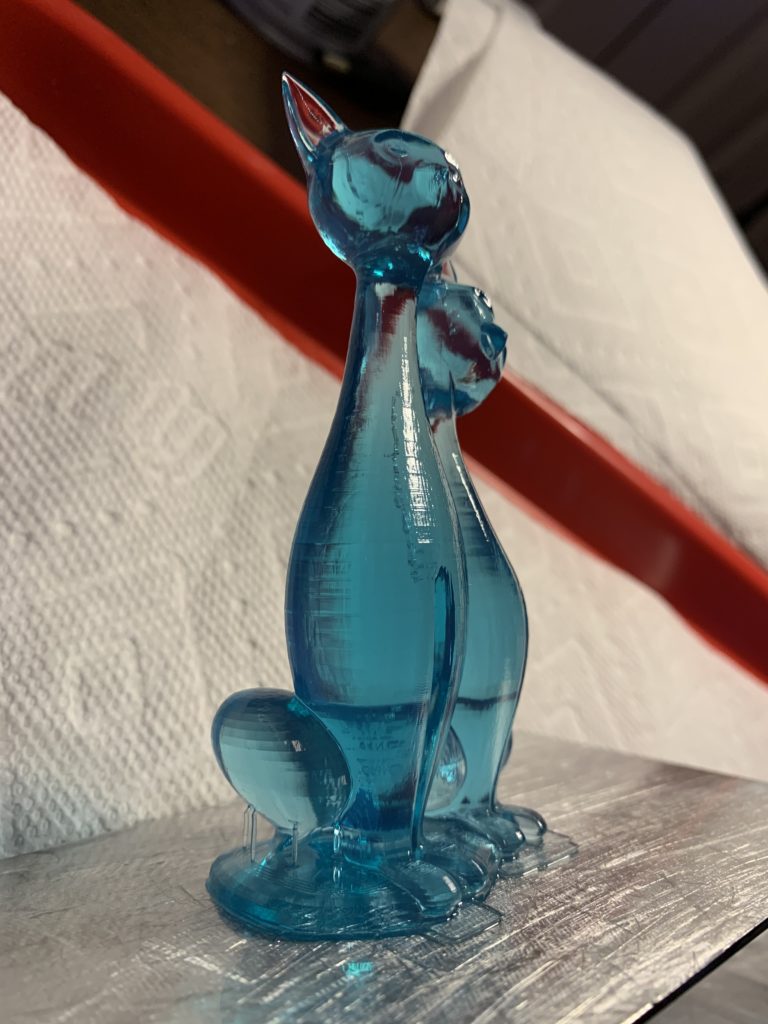
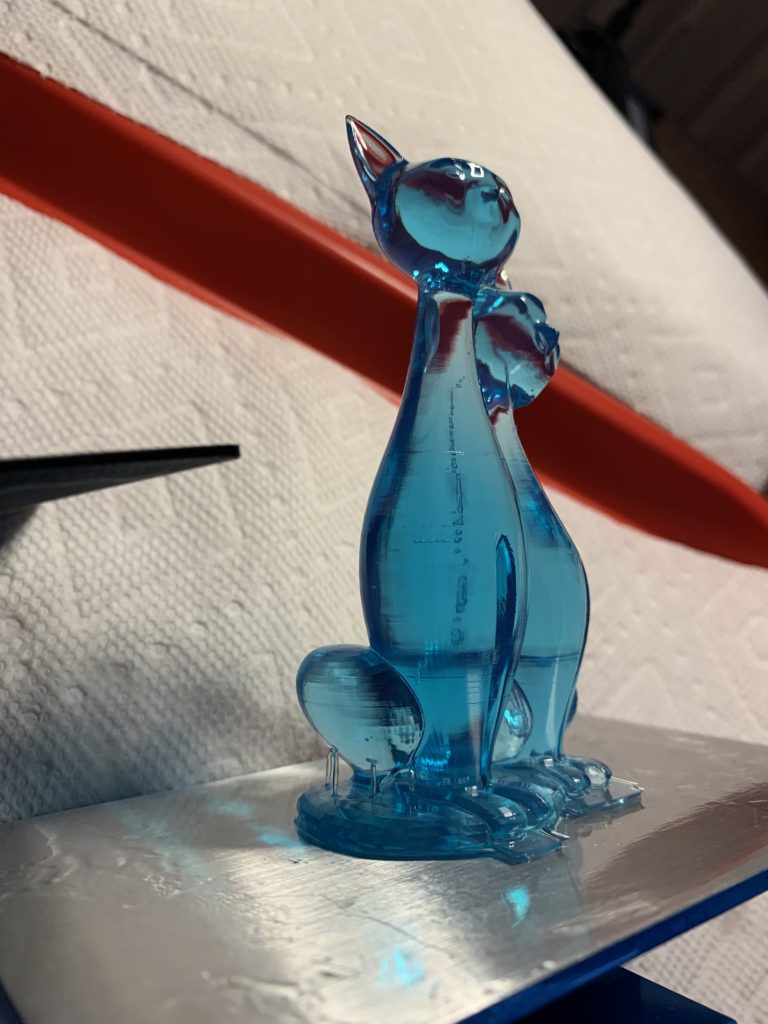
Layering is just a fact of life with 3D printers- they print in layers, and it is virtually impossible to 3D print something without them. In the case of resin printers- these are caused by microscopic movements of the platform. Some resins can under or over-emphasize them as well. The Creality print seems to have a bit more pronounced layering. It’s been used a lot more than the Anycubic- so it could just be wear. It could also be the design of the platform/Z-axis. Regular layer spacing can simply be a tiny bearing being just out of round in the carriage/rail system!
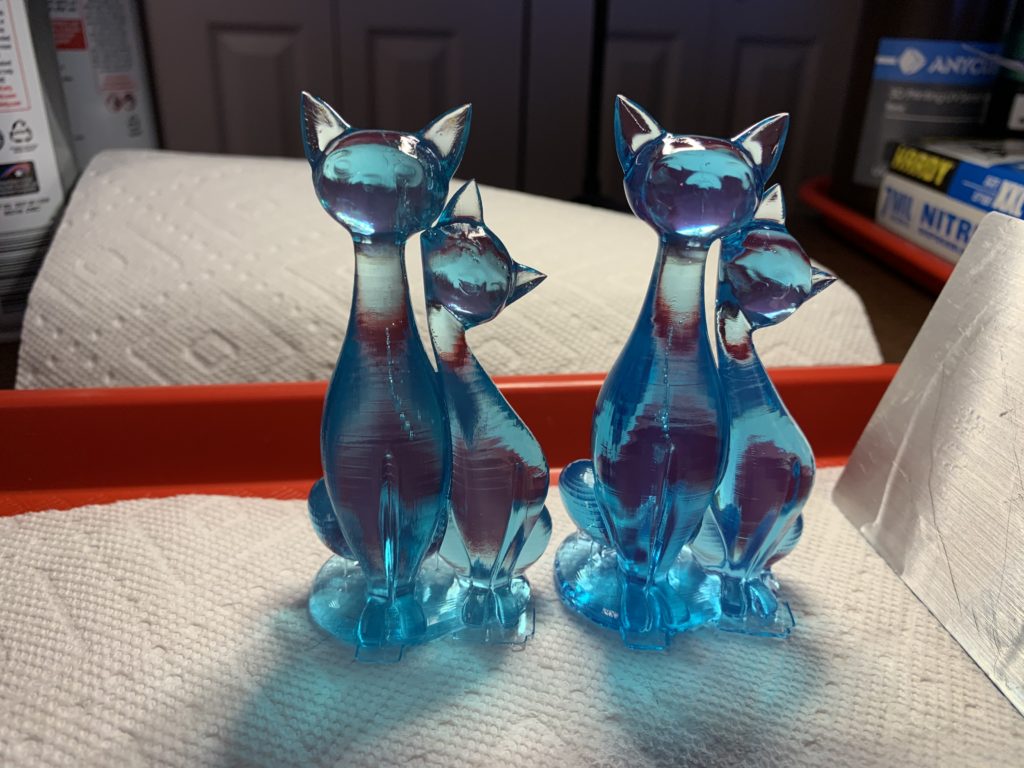
They both look very good, although again it appears the Creality print has more pronounced layering. These were printed with two different resins as-well, which can make a difference.
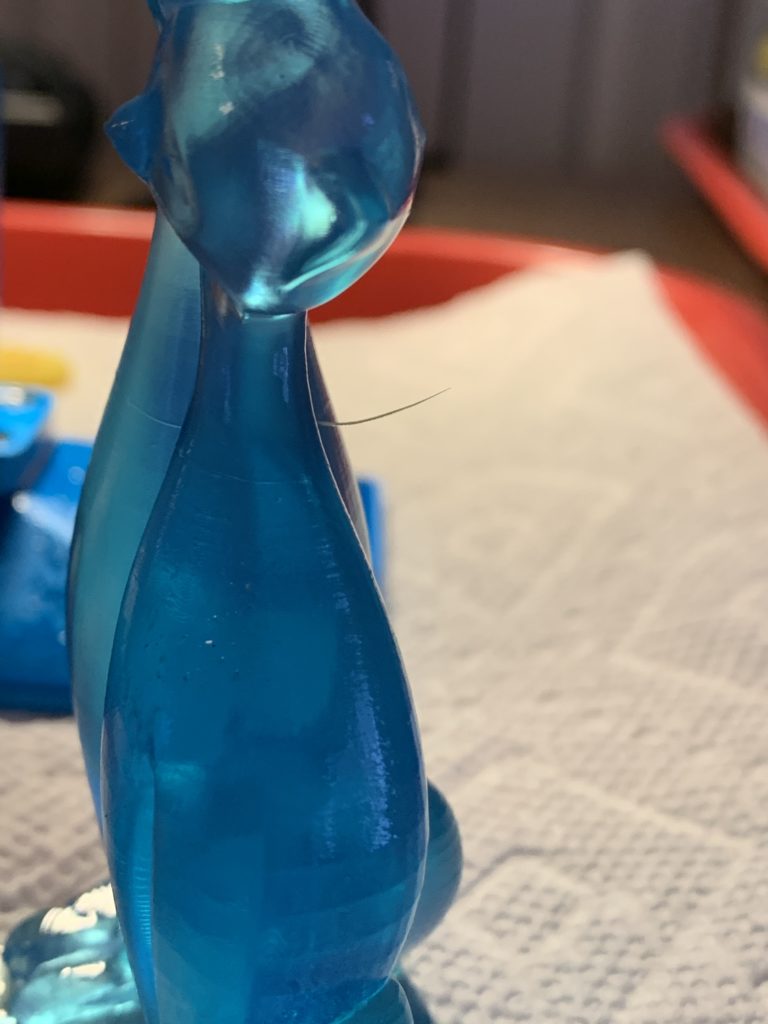
One really odd thing on the Anycubic- the back of the larger cat has a “hair” sticking out of it. This appears to be resin, and not actually a hair. There doesn’t seem to be any damage otherwise. I’m wondering if it was a floater that was in the resin from an earlier print? I did not change the resin from the previous print on the Anycubic Photon, just gently stirred the resin and scraped the bottom of the vat to make sure there wasn’t anything stuck to it.
I am processing both prints the same way, even though one of them could just be water-rinsed because of the resin I used. Here is my processing “system”:
- Soak in acetone for about a minute, gently brush any details and nooks and crannies with a paint brush.
- Soak in full-strength “Green Cleaner”* for a half hour.
- Clean with dish soap and water. Gently brush again.
- Rinse off in clean water.
Once cleaned, I carefully removed the supports with a razor blade and forceps. Then, I placed them in my deluxe UV curing station for 15 minutes.
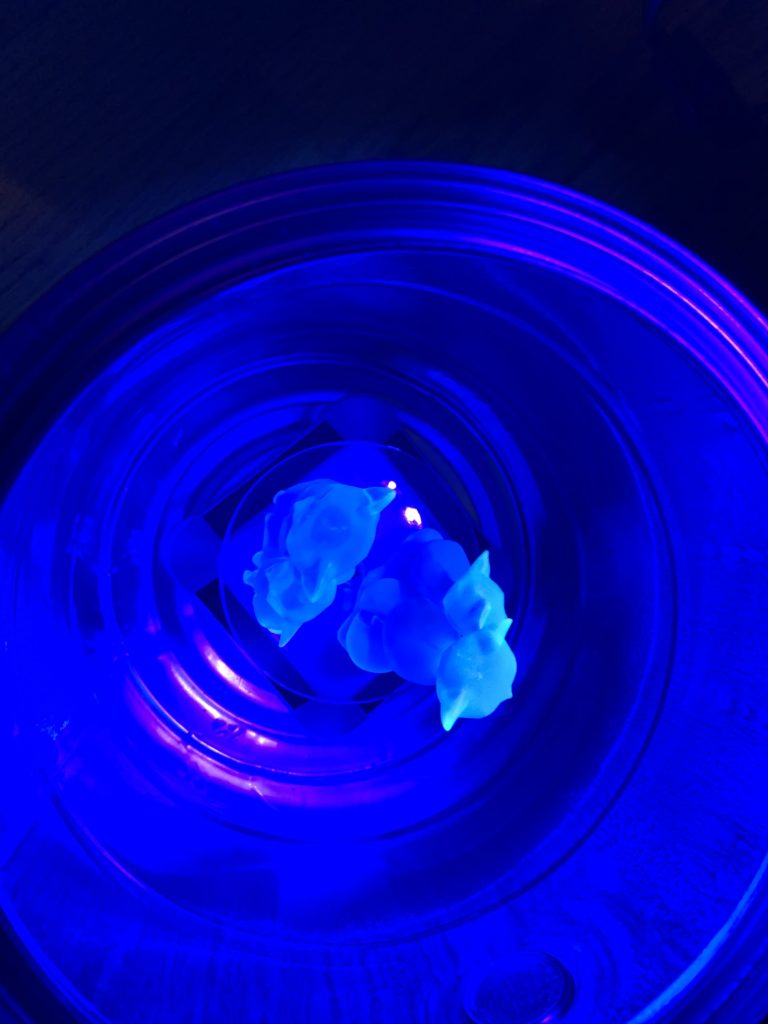
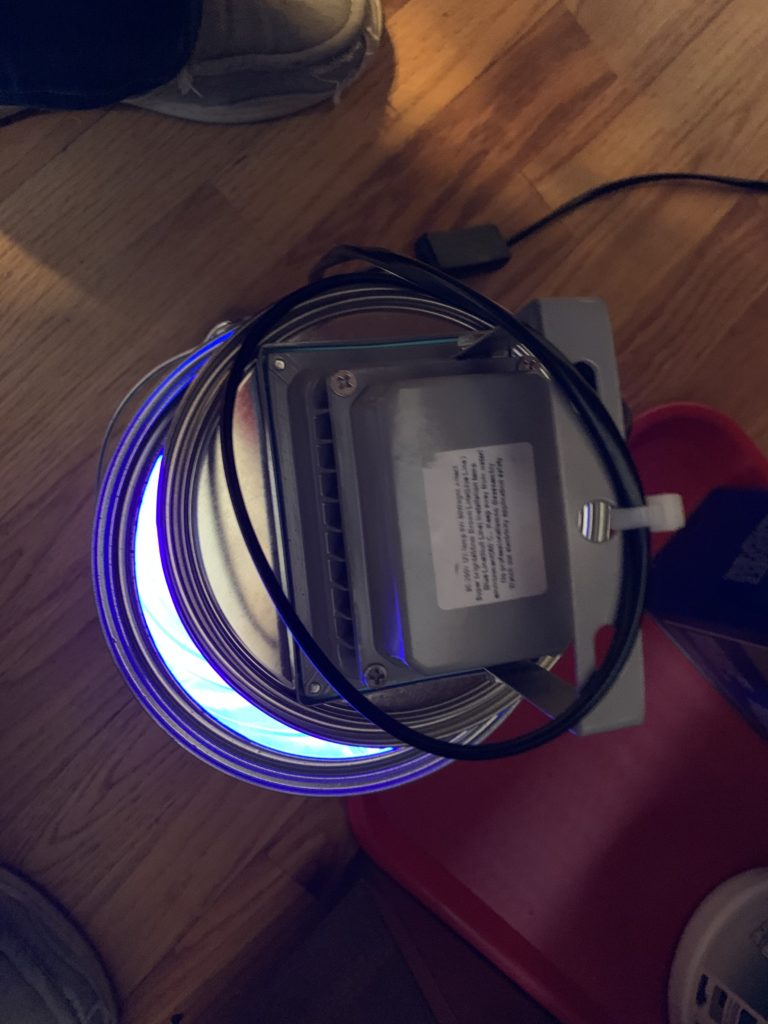
It’s dirt-cheap, but effective. Since paint cans come with some kind of darker plastic coating in them now- I had to spray paint the inside with chrome paint. The UV floodlight I found at a closeout store for a few bucks, but I know you can get them on Amazon for around $10. I just cut a rectangle in the paint can lid and used the lens screws to attach it. Solar turntables are <$10 on Amazon too. In the end- I have about $20 in this. It’s big enough for anything these printers can churn out, and it just works. No reason to buy a $170 “wash and cure” machine.
The results:
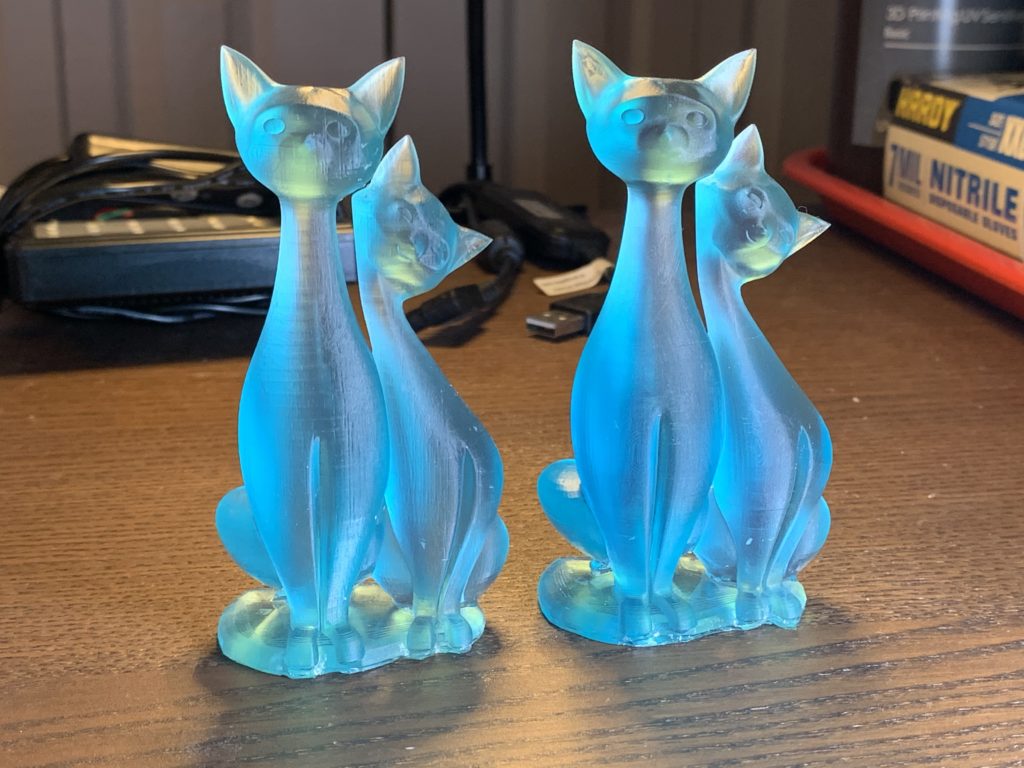
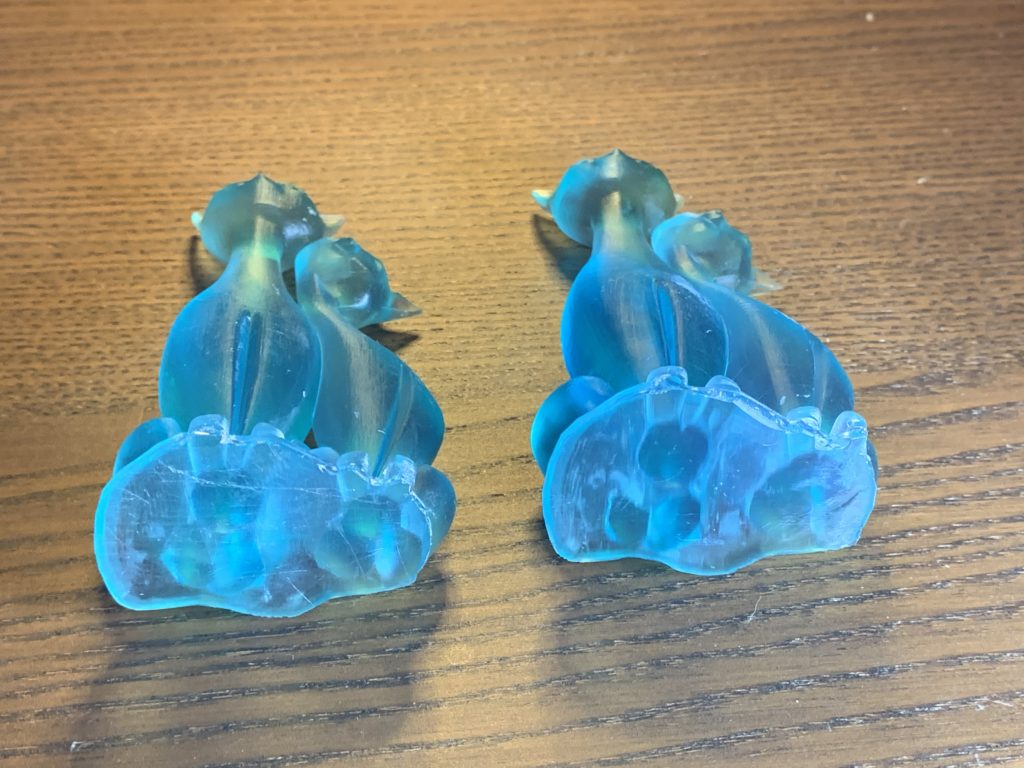
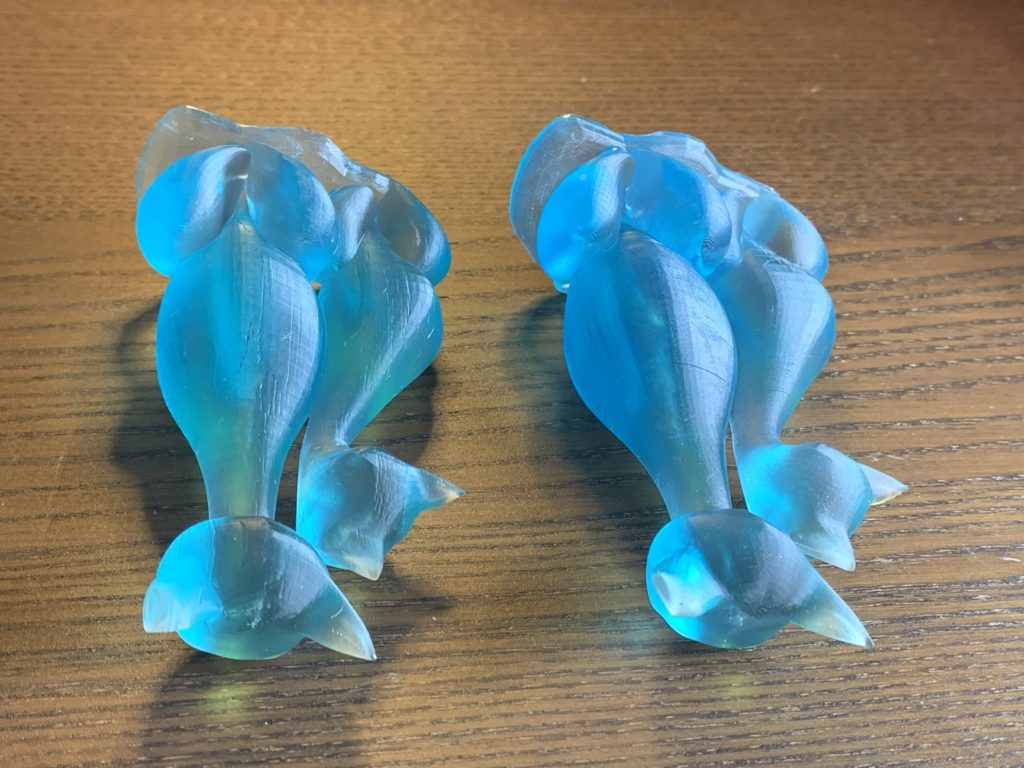
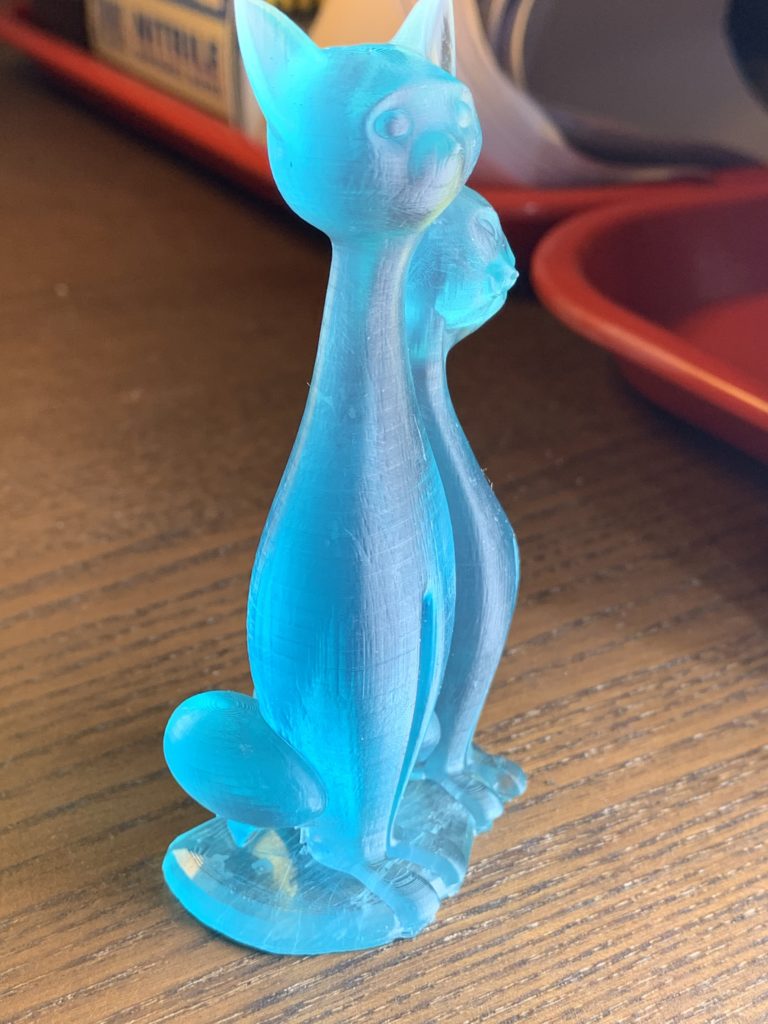
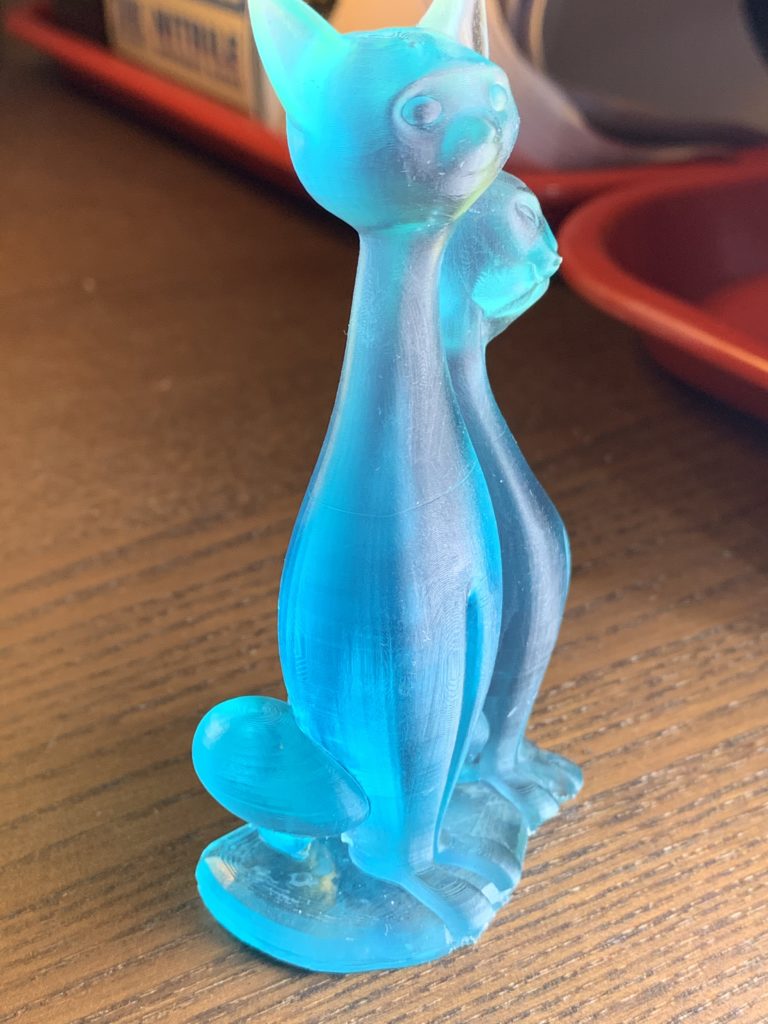
Both prints turned out really-really good. Some of the minor quality issues on the Creality print could just be from the resin I used (water-washable) and the way I processed it (acetone). The mechanical tolerances and stability of the build platform/Z-axis are still the largest factors in layering/banding. The slicer is also a factor in overall quality, but both pieces were sliced using the same commonly-used Chitubox software and the exact same settings for both printers.
If I were to buy a new printer based entirely on these two models- I would get the Anycubic Photon. The Anycubic also wins by a significant margin in speed- finishing 2.5 hours faster than the Creality for the exact same model with the same slicer settings.
One other thing I love more than I thought I would about the Anycubic Photon is the hinged lid.
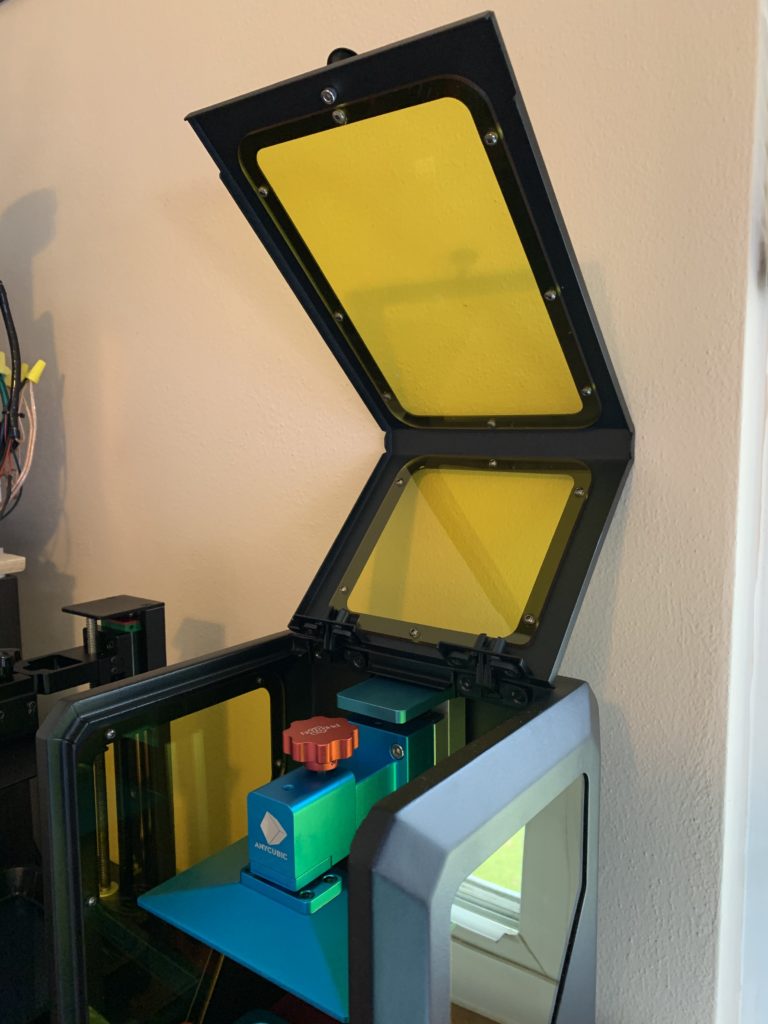
It’s just really easy to flip it up, take care of things, and close it. One-handed operation. The Creality’s dome is just a huge pain in the butt. I have to use two hands to remove it, and then find somewhere to set it down before doing anything with the printer itself. It gets smudged/dirty quickly too, while you don’t even touch the windows in the Photon’s door. I can see the dome being a maintenance advantage down the road since it exposes the printer from all angles, but that’s really it.
One other minor thing I noticed with the Anycubic Photon is it has leveling feet on the bottom. The Creality just has fixed rubber feet. I haven’t actually physically leveled either printer. (Not the same as platform “leveling”.)
All that said- while Anycubic seems to build good printers, their customer service is non-existent. I got “stuck” with this printer when it took them two months to ship it and they just ignored my requests for shipping information and eventual demands that they cancel my order. They have no real pre or post sales service, at all. One of the Anycubic Facebook groups I am on consists mostly of people complaining about their lack of customer service. They basically just take your money and give you hardware that “should” work. If it doesn’t- you are out of luck. If it works, and mine does- it works very well.
I haven’t tried to contact Creality for anything, so I have no personal experience with their service (unlike Anycubic). I do know they have a network of US-based resellers that DO support their products. The online forums I am on are all about how great the printer and print quality is, and how to improve it, and not about how bad their support is.
I’m still happy with my Creality purchase, and will continue to just use both printers. I want to see which one wears out/fails first now, assuming the failure isn’t caused be me doing something stupid.

