
Cheap Rear Projection
A few of the sequences I downloaded/purchased this year actually have video files. I also wanted to try out a Virtual Matrix, since it just wasn’t going to be practical to build a large enough one this year for what I wanted to do. So- I decided to try a rear-projection setup.
First up- the projector. I didn’t have one, and needed one cheap. Someone on one of the forums I’m on mentioned these:
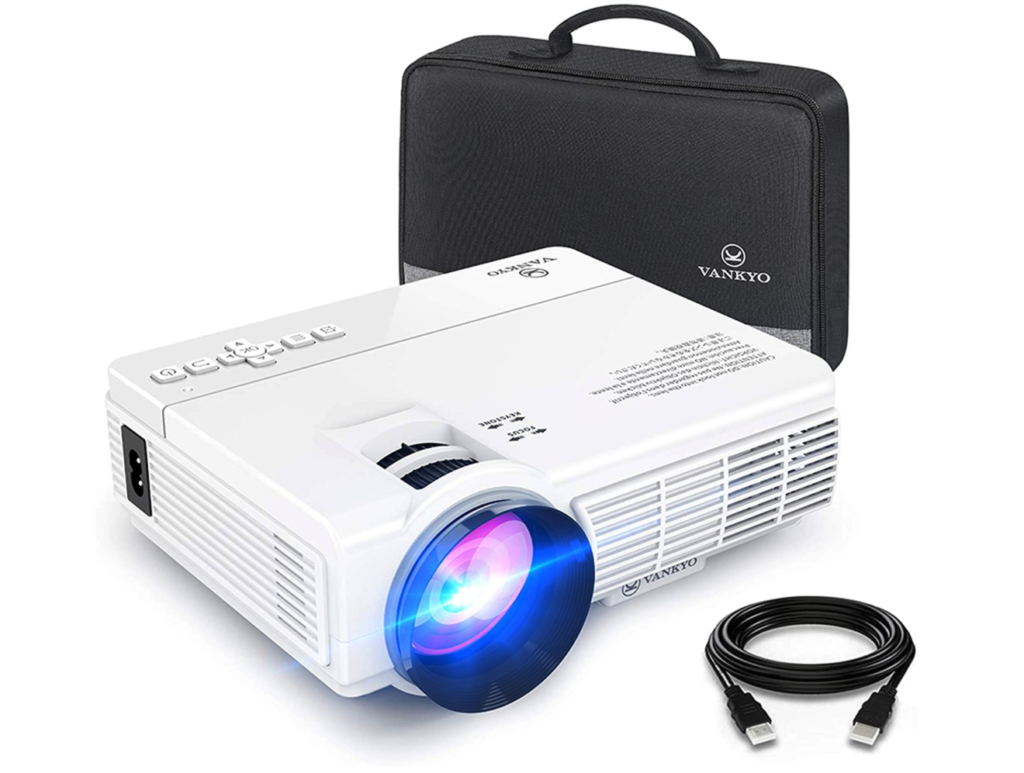
These things are small and cheap. I got one for $75 on-sale last week from Amazon, although they are usually around $100. Here is a current link:
https://amzn.to/388r610
You need a rear-projection screen too. Based on another recommendation I found online, I made one using a white EVA shower curtain! I know it seems silly, but I used to do corporate AV- and this thing works as well as rear projection screens costing $100 or more! Here is an Amazon link, but really- you can find them at any big-box store as-well.
https://amzn.to/3mt9KB8
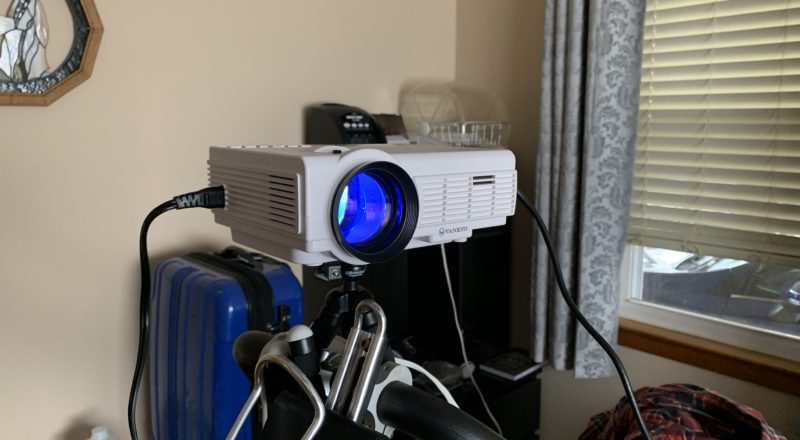
So, in a nutshell- here is what my setup looks like. This is in a cluttered-messy guest room.
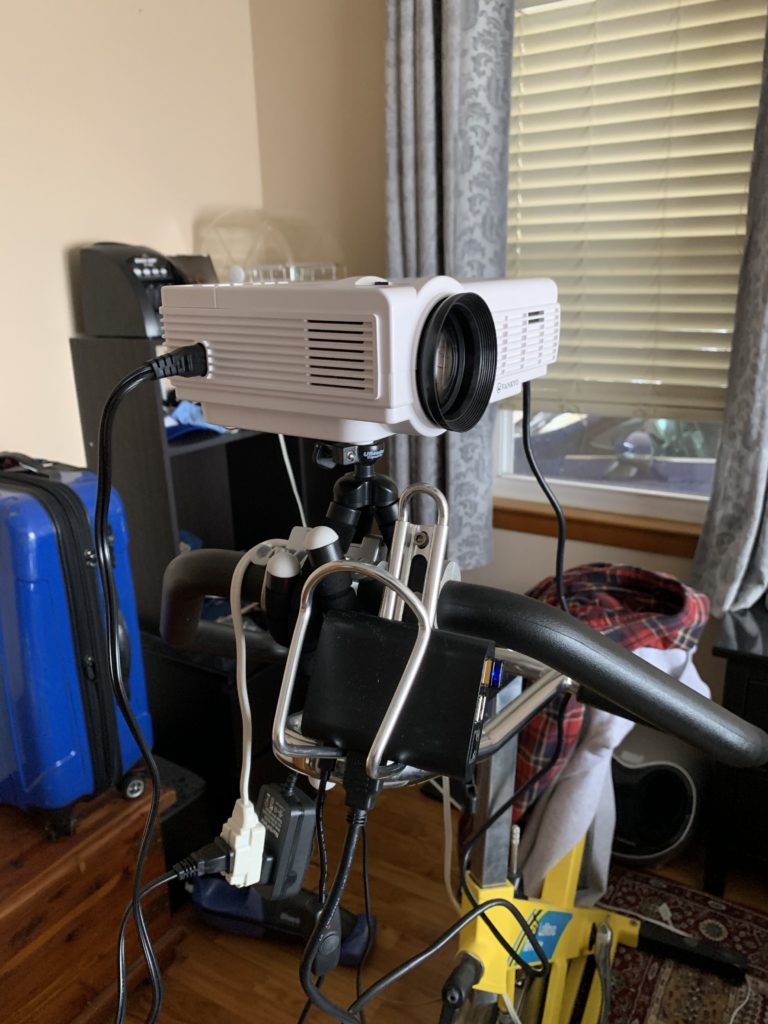
Obviously a regular tripod would probably be best, but in my case- I had one of those flexible-leg tripod things, and the exercise bike was in the perfect spot for this. The Vankyo Leisure 3 has tripod threads on the bottom, making this really-really easy. The water bottle holder on the bike also provided a great place to put the Raspberry Pi controller (in the black plastic case).
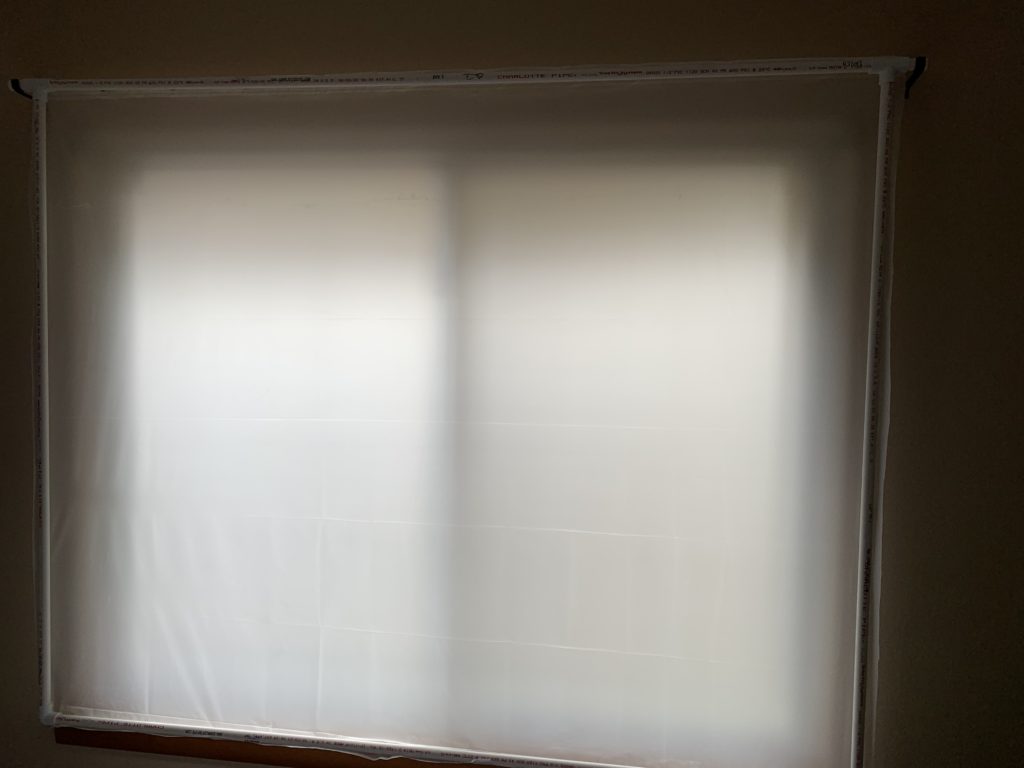
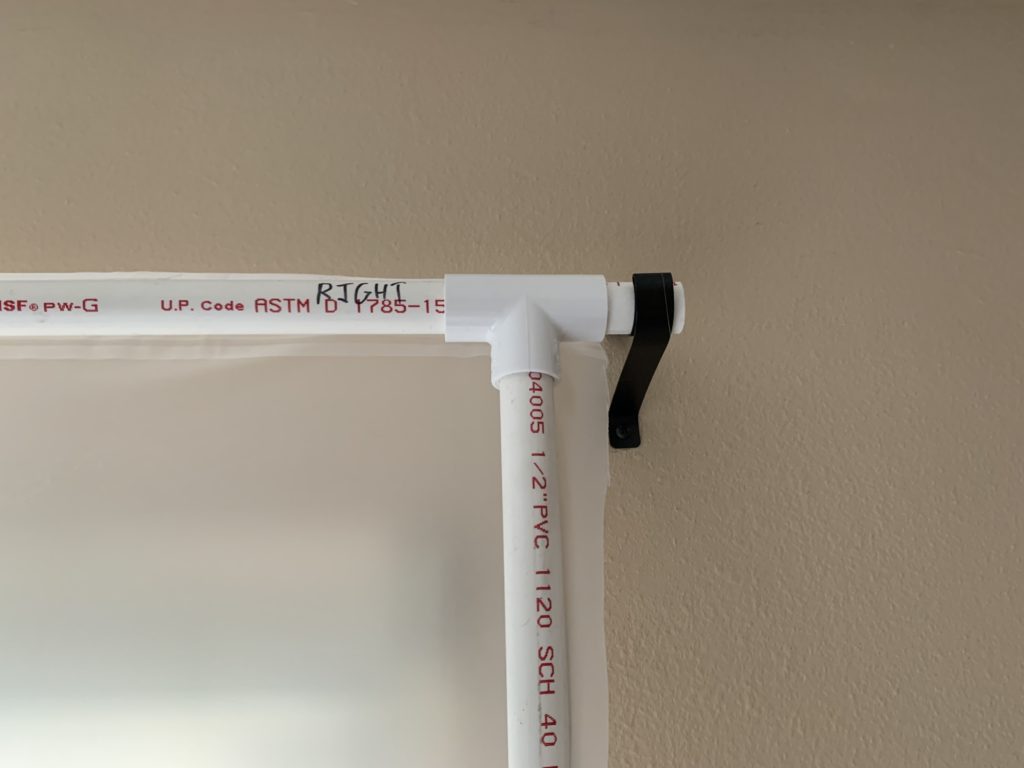
The screen itself is the shower curtain hot-glued to PVC pipe. The window already had a curtain rod above it that just happened to fit the pipe, making hanging it a breeze. You can also just tape the curtain up.
One bit of advice- don’t use “High Temp” hot-melt glue. It will melt the plastic!
I’m hoping the sun shining in the window for much of the day will take most of the wrinkles out. I did use a heat gun (or you could use a hair dryer) to try to smooth it out, but I found it to be ridiculously heat sensitive, so you need to be very careful. As it is- the wrinkles can’t really be seen from any kind of a distance anyway.
Adding To The Display
I won’t get into all of the details, as there are lots of resources online, but basically what I did was set up another Raspberry Pi as a “Remote” FPP (Falcon Pi Player) device. I have the projector plugged in to the RPi’s HDMI port, and configured it in FPP.
I also set up a “virtual matrix”, which uses HD video to emulate a large/high-resolution matrix of any size you want. (To be practical though- most recommend keeping it under about 17,000 pixels, which is 51000 channels.(!)
It isn’t practical to push 51000 channels of matrix data or video over the network at the same time pixel data is also being streamed, so FPP has a “Master” and “Remote” system. You upload all of your media and sequences to ALL FPPs, and when a sequence is started on the Master device- it sends a start packet to all of the Remote devices, followed by regular synchronization packets to try to keep all of the different devices in-sync.
The result: If there is a video file associated with a sequence (uploaded to the Remote)- it will play in-sync with the rest of the display. If there is no video, then the virtual matrix is active, and displays sequence data with the rest of the display. This is very efficient, and works pretty well. Sometimes you will see a bit of a glitch if the Remote has to catch-up or slow down because it has fallen out of sync.
Overall, this was a good investment of around $90 for the projector and shower curtain. I had the rest lying around, but if you needed one- the Raspberry Pi 3B+ with an SD card would add about $50 to it. PVC pipe and fittings would likely be under $10, if you didn’t just use some painters tape to hang the screen up.