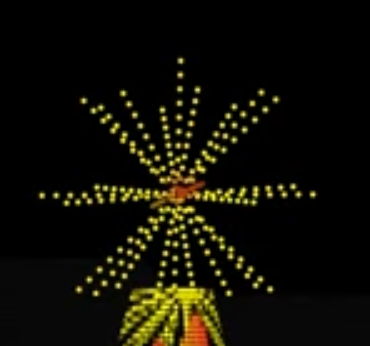
Building the Megatree Starburst, Part 1
Late last year I discussed a different Megatree topper with Kim and told her about this cool Starburst (or firework) effect you can build using these:
She bought me THREE of them for Christmas, and wants one in this year’s show. My plan is to build one with 2′ PVC spines so we have a 4′ diameter “ball”.
There are 3D printable versions of the above as well. I’m not sure how durable the 3D prints are. That said, I discovered that the store-bought versions aren’t very durable either…
I want to be able to break these down by pulling out the spines/pipes during the off-season, otherwise- we will have a ridiculously hard to store (and sort-of dangerous) 4′ diameter jumble of pipes and wires. My plan is to build the arms the same way we build pixel stakes, and dry-fit them in during use. I quickly realized that wouldn’t work because of the design of the ball. The fittings for the 1/2″ PVC are tighter than a regular coupler, and are about 1/2 as thick, making it very difficult to insert and remove each pipe, and very easy to crack/break them. The center equator section, which is glued together, also doesn’t seem very strong and I’m concerned that it will just pop apart. So- I decided to install small stubs of pipe and couplings to make the task easier. My hope is the additional glue in the fittings around the equator will also help hold the ball together.
I glued the galvanized pipe I am using to hold this to the Megatree into the bottom fitting, and started working on the rest of the spines. First- I glued in approx. 1″ sections of PVC pipe…
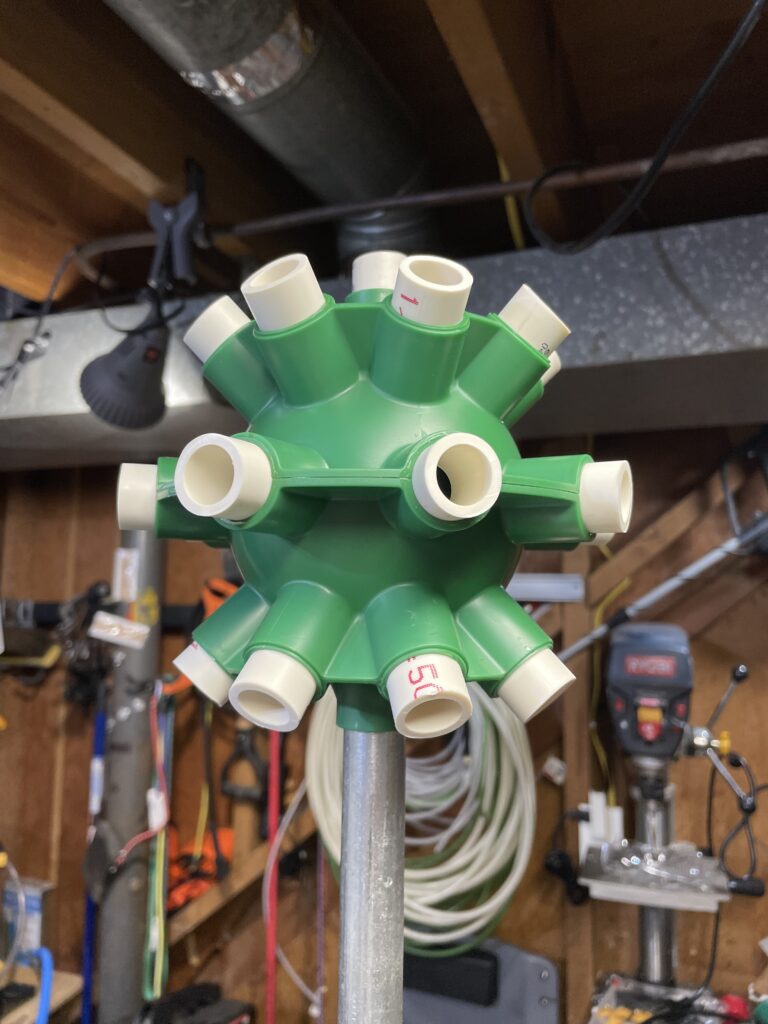
So far, so good. Then I glued on the couplings…
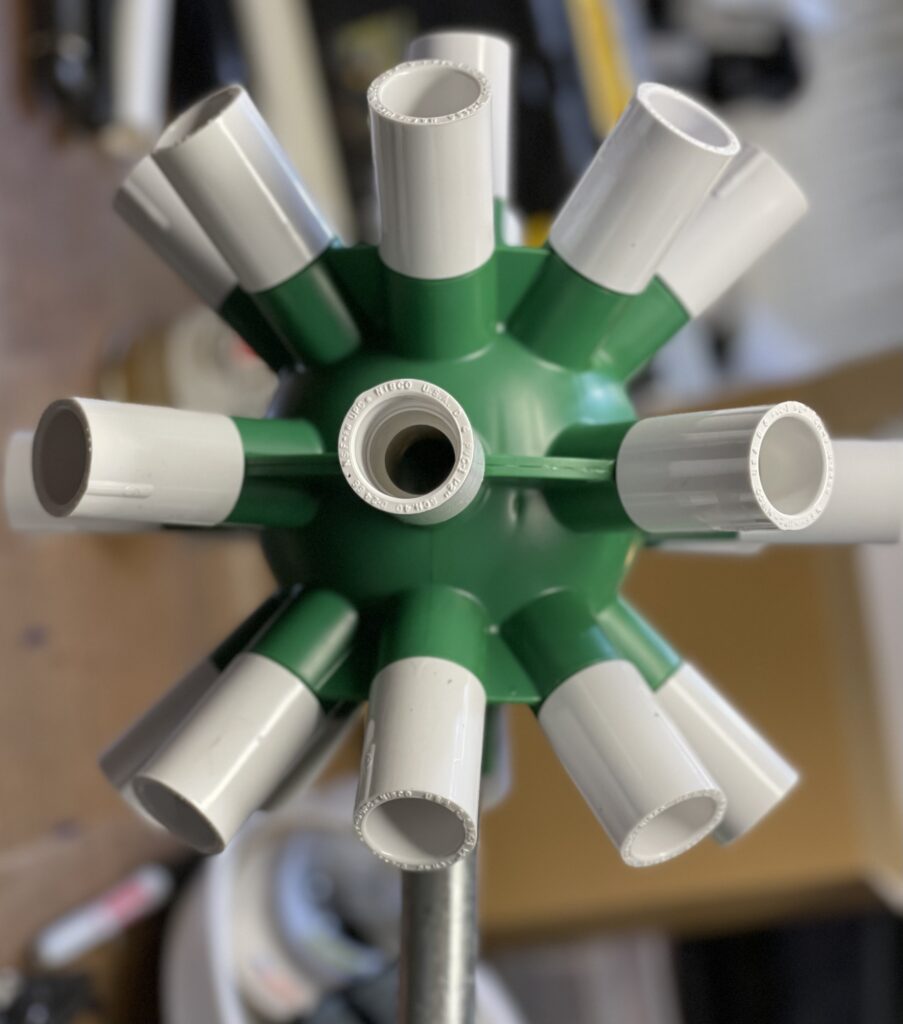
Now I can fairly-easily dry-fit and remove the spines, and hopefully the ball itself will hold together.
But, it didn’t…
Actually, the ball itself is fine, but you know that galvanized pipe in the bottom that I glued in? I guess all the stress from inserting all those little pieces of pipe and gluing all those couplers to it was a bit too much for that bottom fitting. IT BROKE OFF. I tried to epoxy it back on, but really there is no way this will hold up to the wind, ice, and snow of Winter on top of the Megatree. In fairness- these things are designed to just have pipes glued into them and be dropped into the bottom of a lake, so we aren’t exactly using them the “right” way.
So- I wasted about $10 worth of fittings and PVC, plus the cost of the ball itself. I might try to find a way to salvage it as something else like a ground element, but it’s not going on top of the Megatree. Fortunately, my wife bought THREE of them, so I have two more tries.
I decided to take care of two problems at once the second time. After what happened, I had to do something to shore up the ball’s fairly flimsy construction. I’m not too worried about the individual spines, but it is clear trying to support the whole thing, which will be pretty bulky, using a single bottom fitting was probably not going to work. They just aren’t very structurally sound.
So, I took the second ball, and drilled out the stops in the top and bottom holes with a 13/16″ drill bit.
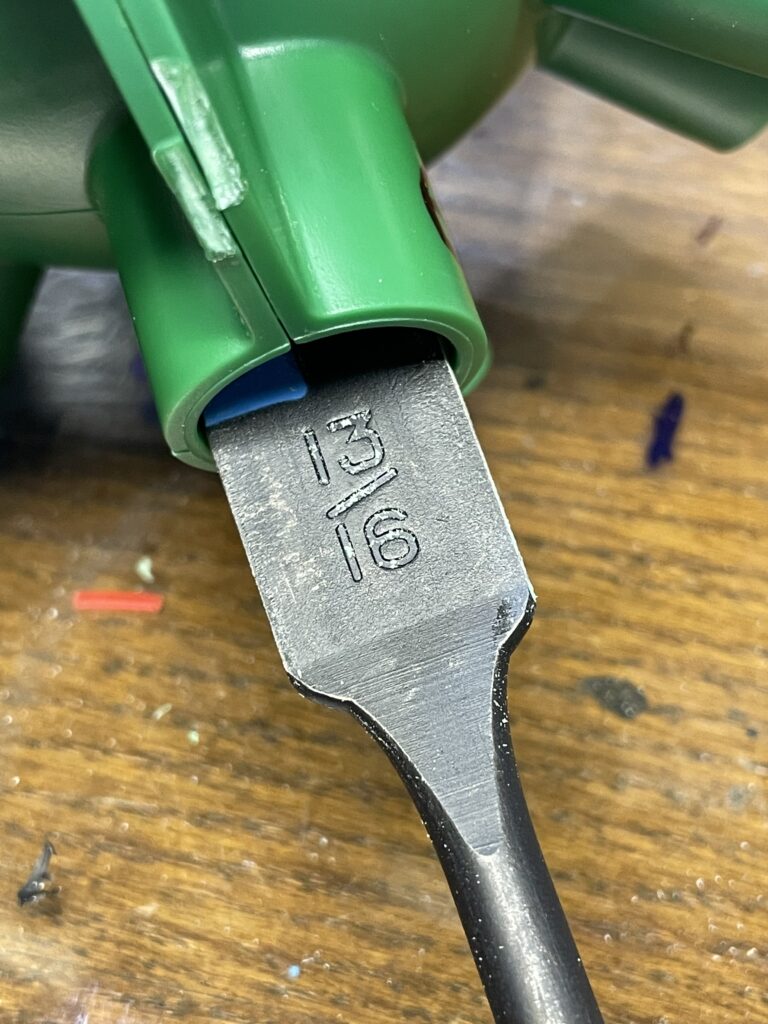
A 27/32″ bit probably would be better, if there is such a thing. I had to rattle it around a bit to get the whole stop cleared out enough so the wall was flush all the way around. Then- I pushed a piece of 1/2″ PVC all the way through and PVC cemented it into both ends of the ball. I then glued couplings on to each end.
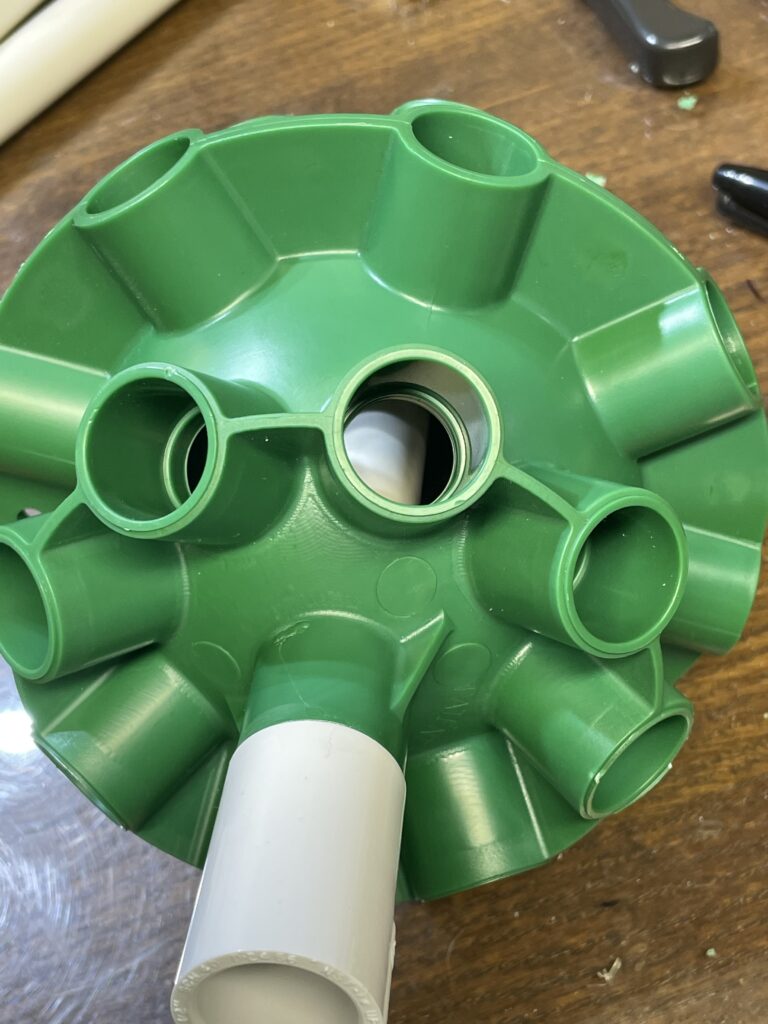
Now, the ball is supported all the way through, making it significantly more stable. Even if it came apart in the middle- the pipe and fittings on the top and bottom will hold it together. This eliminates the bending/twisting stress that was placed on that bottom fitting of the ball that failed on the first attempt. It also moves any stresses caused by the galvanized pipe that holds it into the heavier-duty PVC coupling. I just epoxied the galvanized pipe into the bottom coupler like so…
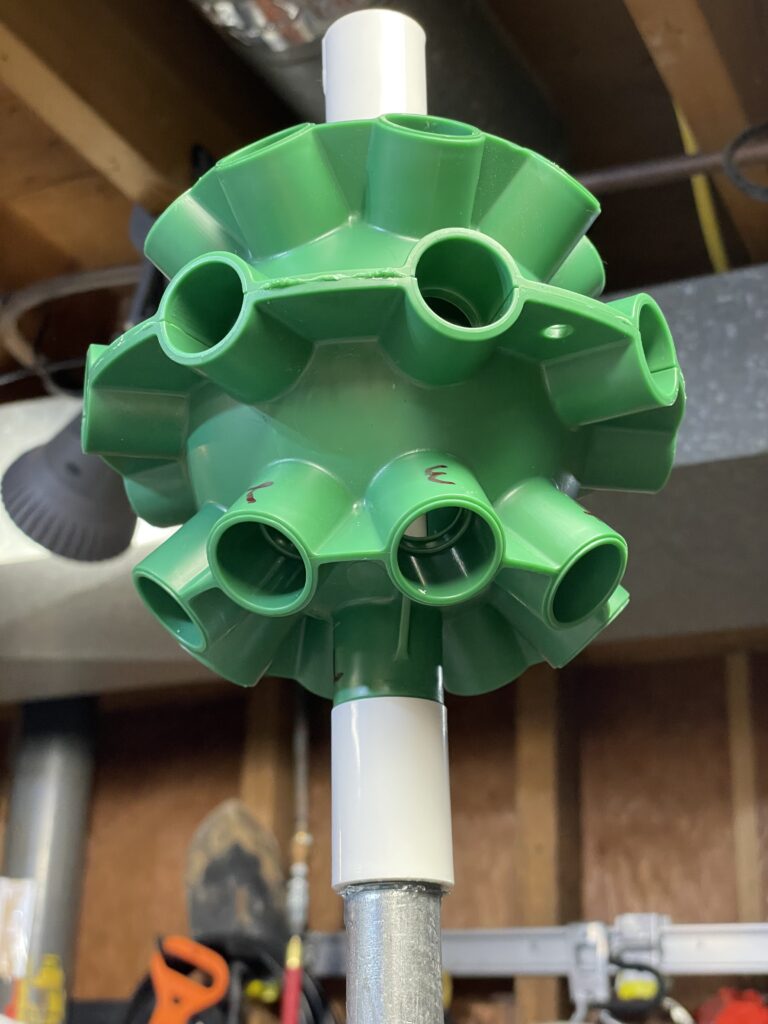
Note that I had numbered this ball for the spine order, but actually messed up the numbering. So- just ignore them. 😊 I plan to paint it and will re-number the couplings when I’m ready for final assembly.
So, it’s off to the hardware store for another few “contractor pack” bags of PVC couplings to finish off the rest of the ball the same way I started on the first one.
For Part Two, I’m cutting, drilling out, and assembling all (25) of the spines/arms. Stay tuned!
