
Firmware and Controller Update
Important Notice
This site is no-longer being maintained, and the content and links found here may be irrelevant and outdated. It is online for archival purposes only.
Note: This is an ARCHIVE document and some of the information has changed as my projects evolved. Some specifics:
I now use 3D printed boxes, sealed with silicone, for the controllers.
I don’t fasten the PSUs inside the ammo boxes anymore.
I use cable glands for all cables now. Epoxy and/or silicone just isn’t secure enough.
I will be posting updated versions soon!
I wanted to post a quick update. Unfortunately, I’ve been too busy with work and life to make a lot of progress so far. I am slowly ordering in more pixels, wire, and holders, which I will post more about later.
Firmware Update:
First, some really good news. It’s pre-release right now, but the Java flash utility in this release actually works on Mac! Also- if you use it to flash a D1 (or other similar board), the Web-based firmware update also works, which I could never get to work compiling from scratch.
ESPixelStick_TRAVIS-20200204172137.zip
Along those lines too- I’ve been unable to get the newer versions to load from scratch. The compile in Arduino works fine, but gulp flat-out won’t do its thing, so the Web interface never gets built. I’ve re-installed node.js and gulp-cli several times, along with gulp since gulp-cli says it is missing components. Nothing works. So I’m very glad this new release works as-expected out of the box.
All you have to do is install Java Runtime, and run ESPSFlashTool.jar. On a Mac- you will need to bypass at least three security prompts and re-run in each time (in the overly-paranoid MacOS Catalina anyway), but once you do that- you can flash the D1 boards directly, and build firmware to upload to your others. You also no-longer have to jump any pins before uploading!
Controller Assemblies:
I decided the whole PVC pipe thing wasn’t practical. While it is VERY waterproof, and is a good option if you already have decorations or other assemblies made out of it, they are bulky and if there is a problem- you are likely to damage your board when you cut it open.
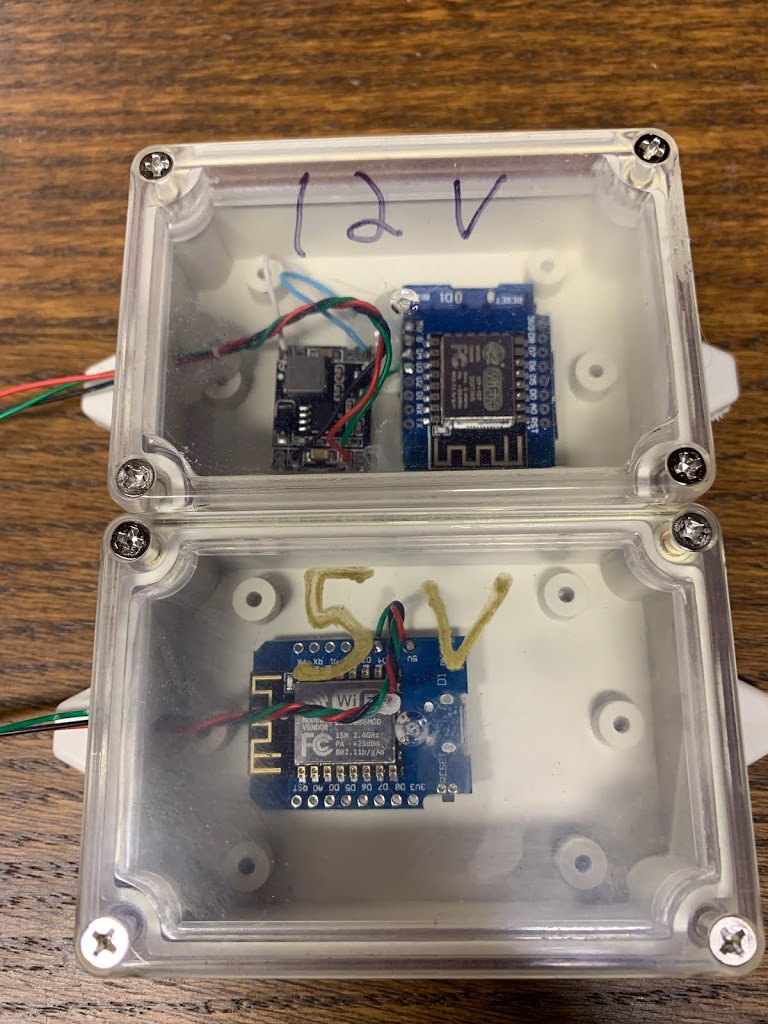
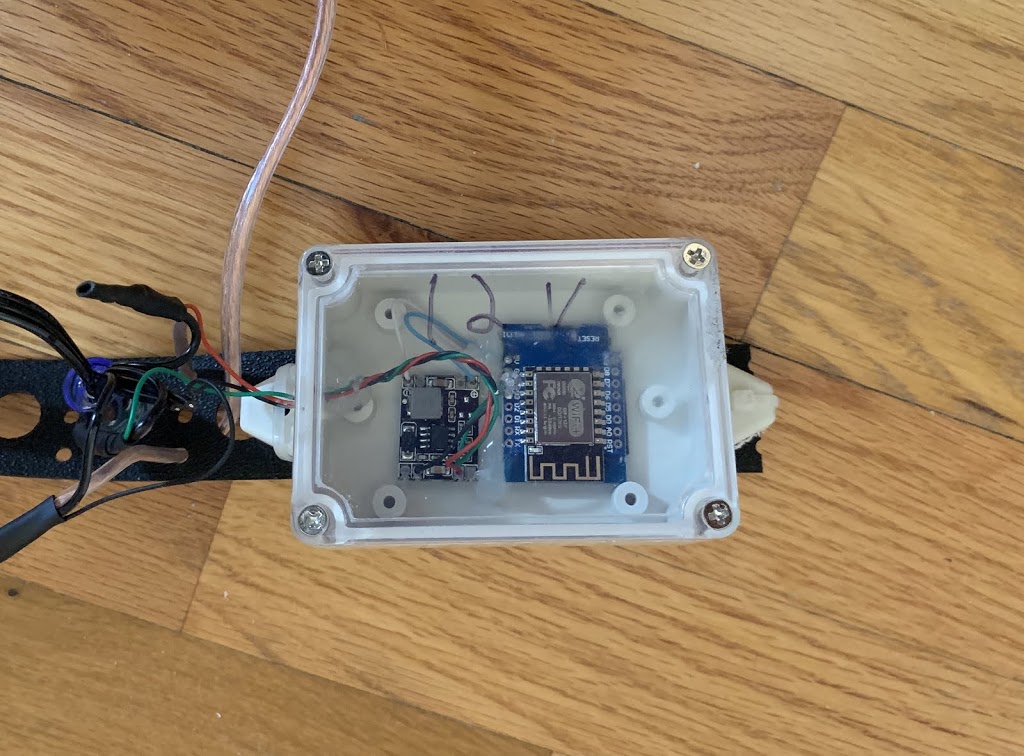
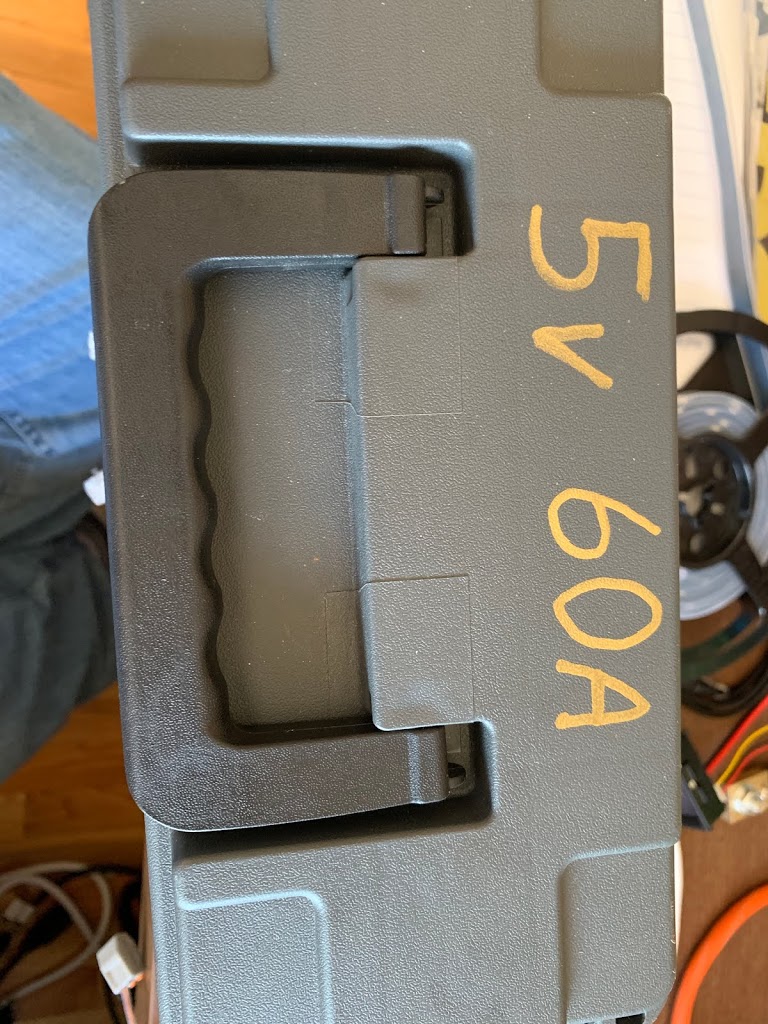
I’m trying a couple of different plastic boxes for my controllers, both 12v and 5v. As I believe I said earlier- I’m moving to 5v for the cost savings, but I will have some longer 12v strings on my roof, in particular, to cut down on wiring and PSUs.
Here are the first ones:
I ordered them here:
https://www.aliexpress.com/item/32955651064.html?spm=a2g0s.9042311.0.0.228c4c4dudOPV3
What I like about them is the removable clear cover (it has a gasket), so I can see if there is any water in them and I can see if the controller (and buck converter for 12v) is on since the LEDs are visible.
What I don’t like is the size, although the mounting tabs make it easy to attach to the pixel strips I’m using for almost everything…
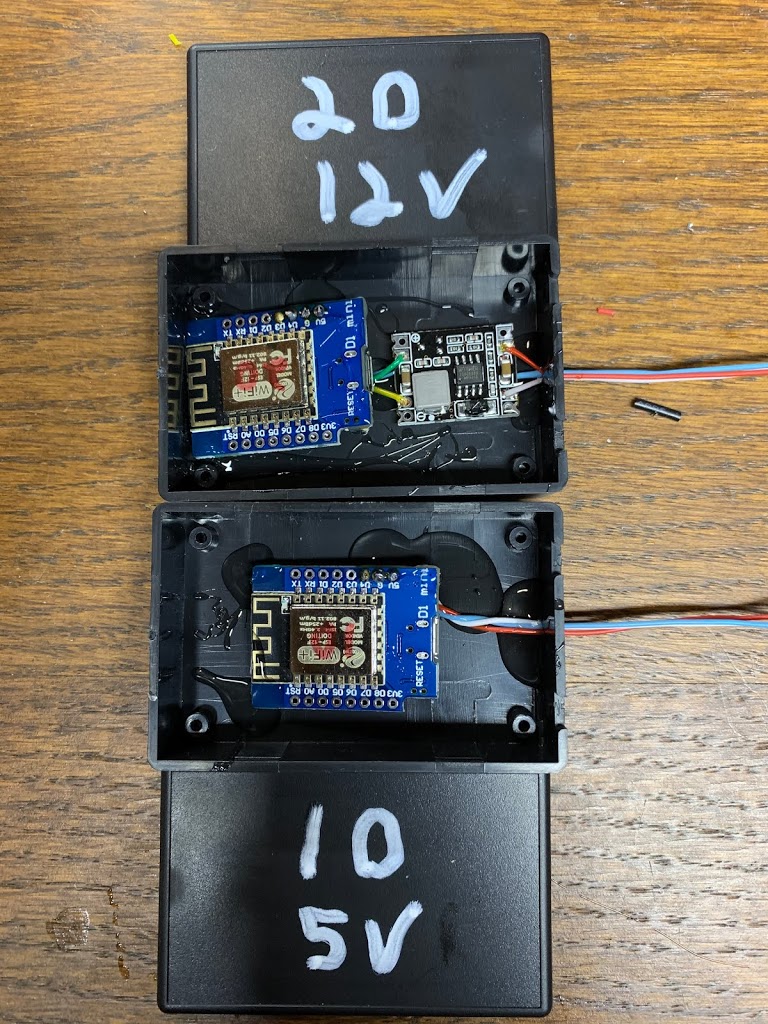
I’m experimenting with some different boxes. These…
https://www.aliexpress.com/item/4000392100897.html?spm=a2g0s.9042311.0.0.228c4c4dudOPV3
I got the smaller black ones. They fit everything much better and are less than half the size of the above. The down side is the are most definitely NOT waterproof. They also don’t have a clear cover, so once sealed up- you can’t check the status of the boards. They also don’t have mounting tabs, but it’s easy enough just to zip-tie them to a pixel strip or decoration, or just leave them hanging.
One thing I am using a lot of now is this:
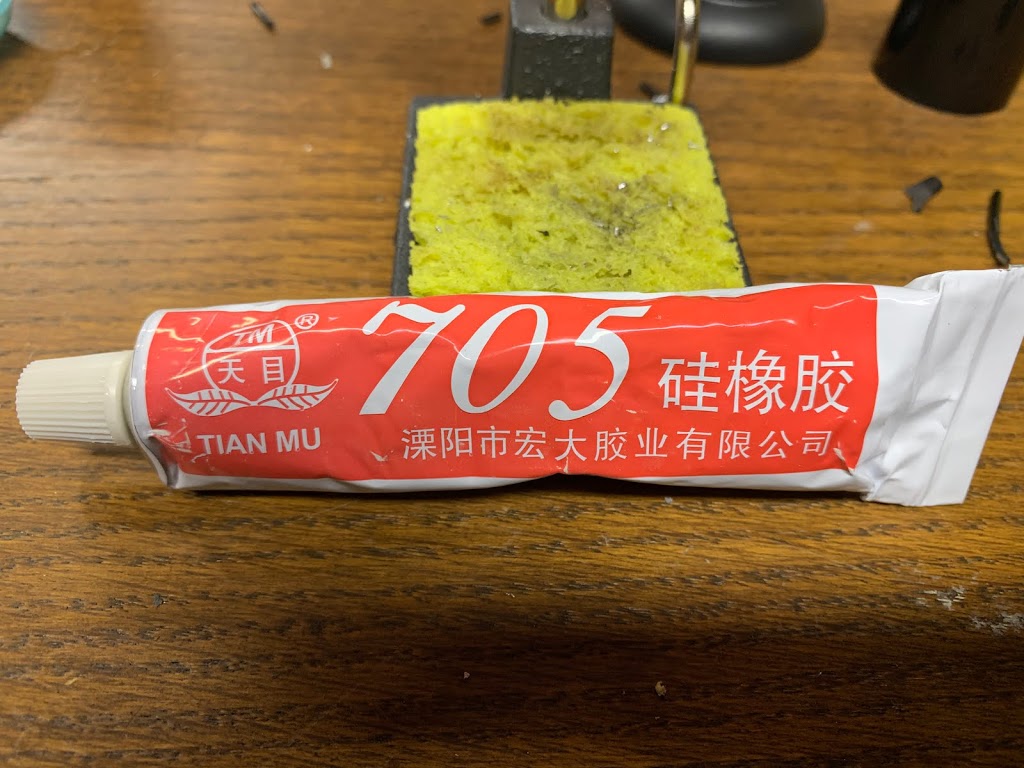
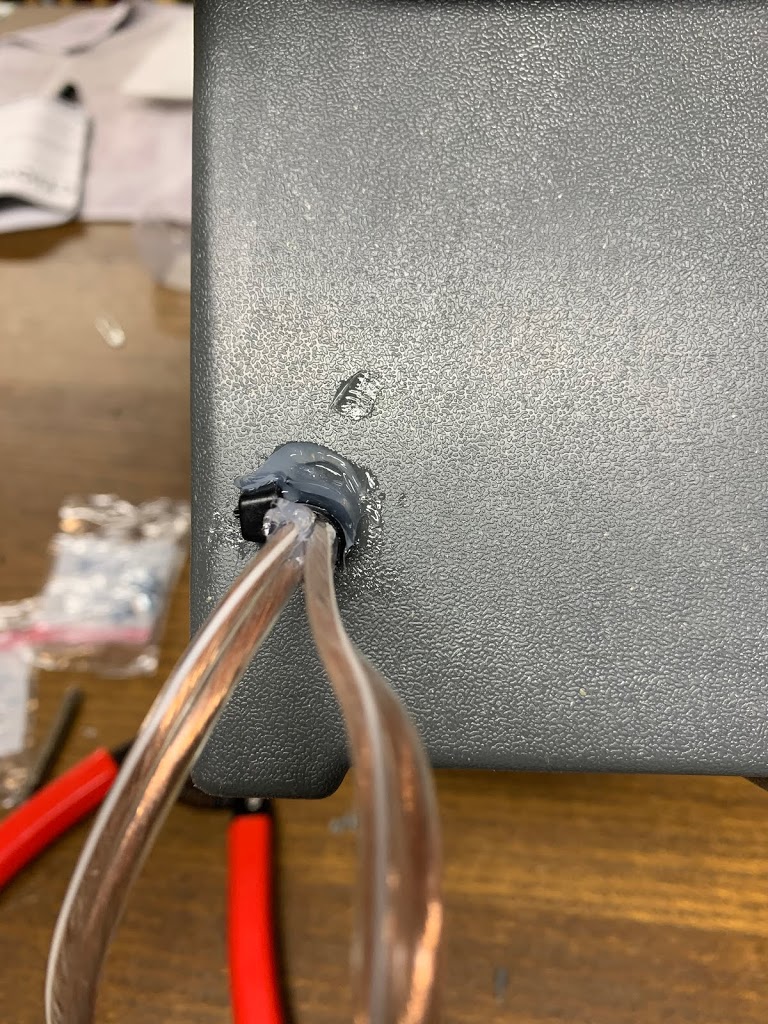
It is high-temperature, electrically insulating, silicone sealant. It’s used extensively in electronics assemblies, and is perfect for what I am doing. I use it to fasten the D1 (and buck converter) boards inside the boxes, and to hold and seal the wires exiting them. I’m also using it to seal the little black boxes so they hopefully will be waterproof.
You can get it from all of the Chinese shopping sites, eBay, and Amazon- just search for “705 Silicone”.
It is strong and adhesive enough for this job. If I find it breaks down, I may switch to electronics epoxy, although that is significantly more expensive.
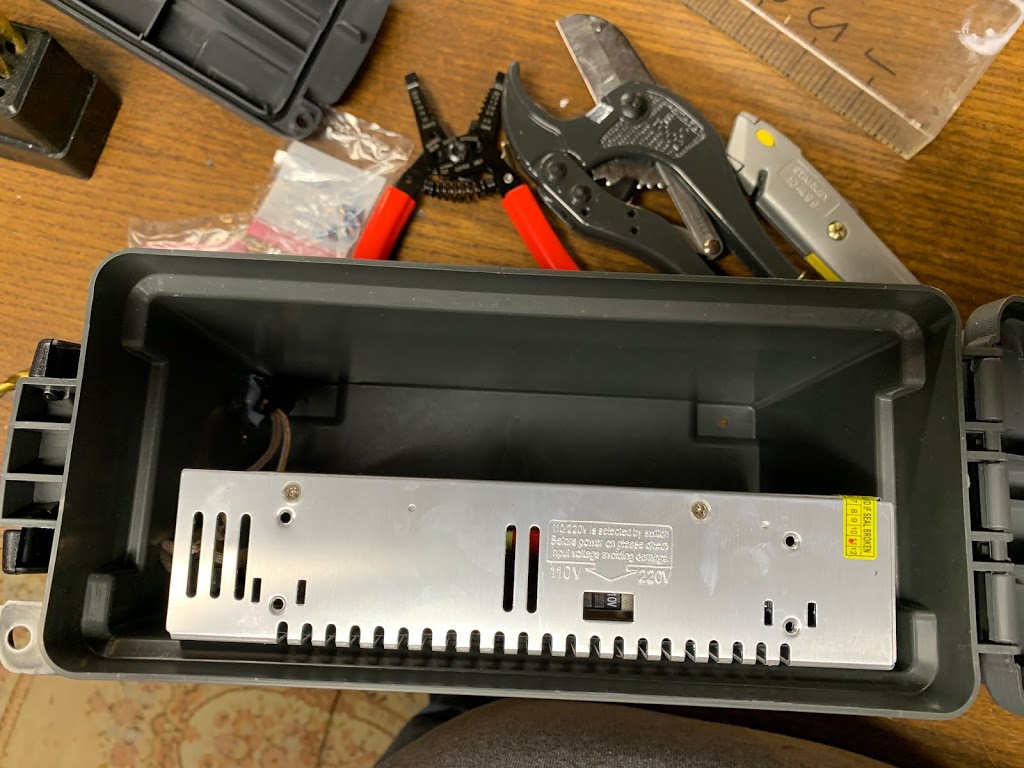
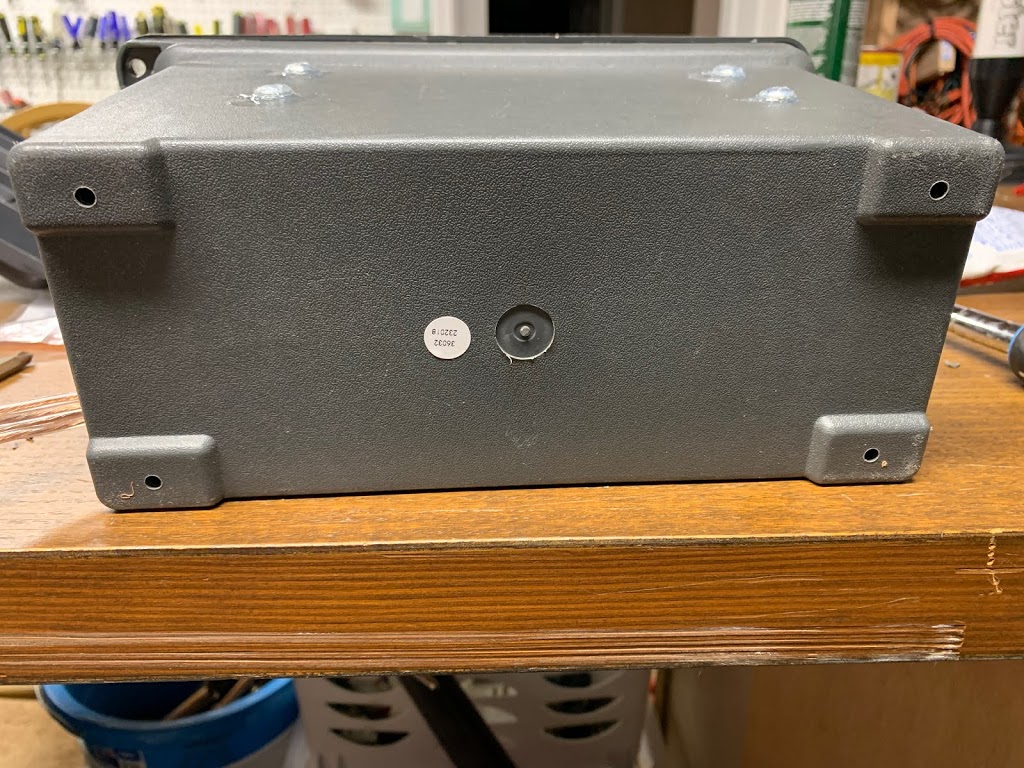
I also made a small change to my ammo-box PSUs. While a zip-tie was simple and universal (don’t have to worry about the screw hole pattern on the PSU) it wasn’t secure and since it could move a bit- was likely more-prone to leaking. So- I started screwing the PSUs into the boxes. This ensures maximum clearance below them in case water gets in, and is just much-more secure. I just seal up the holes/screws with a lot of sealant.


One thing that is missing is a fuse block. I’m buying some 6-port “auto/marine” fuse distribution blocks for this, which I will likely glue inside the lid so there are no more holes and they are easily accessible. They are less expensive than a bunch of single-fuse holders.
That’s it for now. I’ll post more as the project progresses…