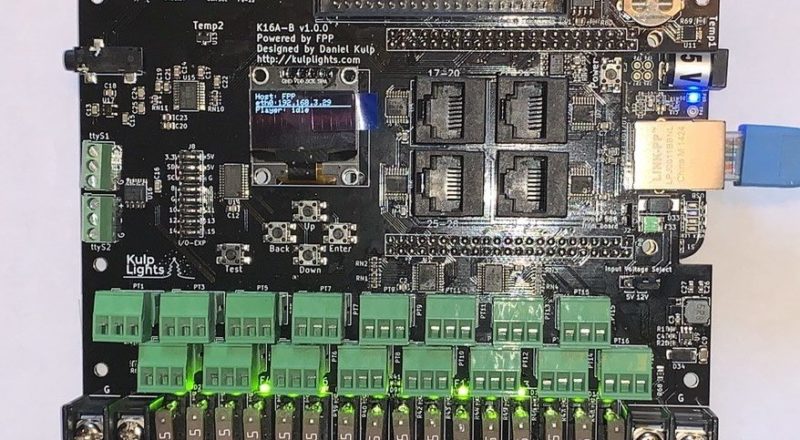
New Kulp K16A-B Controller!
Important Notice
This site is no-longer being maintained, and the content and links found here may be irrelevant and outdated. It is online for archival purposes only.
My wife gave me an early birthday/Christmas present this year.
I’ve run into a number of problems using NodeMCUs exclusively to run my light display. I blogged previously about Multicast Hell, and there are issues running more than about a dozen NodeMCUs via WiFi, regardless of how you do it. I know some people, in particular Shelby Merrick who developed the ESPixelStick and wrote the firmware that so many of us use, have been able to successfully run large display using them, but based on my own experience and those on several holiday light forums I’m on- they are a minority.
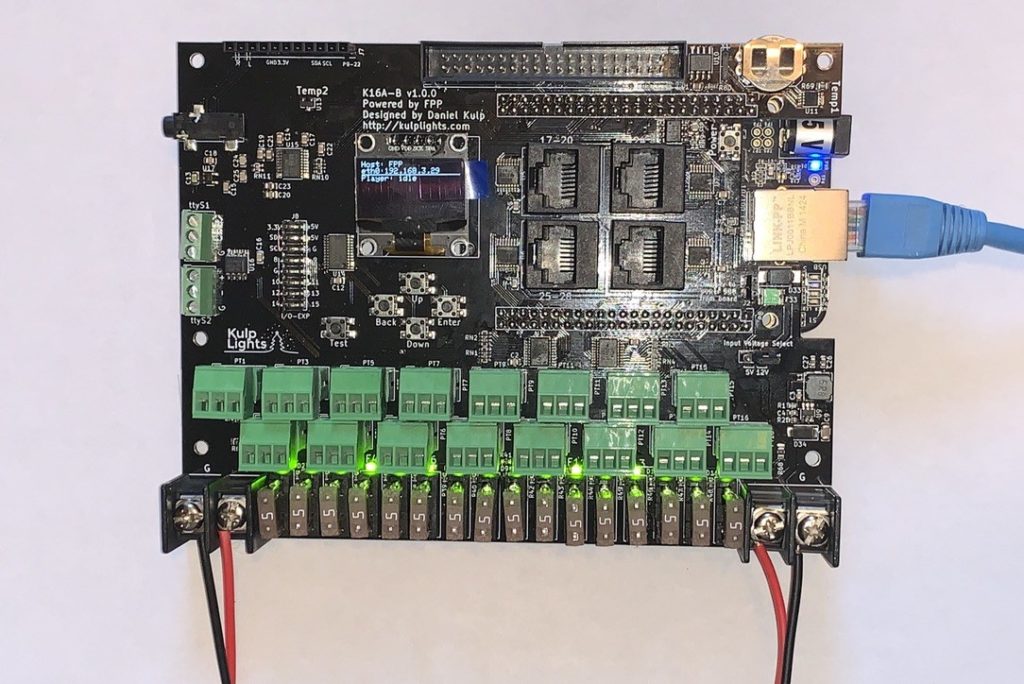
So, I needed a “real” controller, and my wonderful wife bought me this:
There are two major players in the pixel lighting world right now- Falcon and Kulp. There are some others, including the much-older and more proprietary offerings from Light-O-Rama and Holiday Coro. (I’m not linking to either for personal reasons.) For those Down Under, or not phased by overseas shipping issues, Hanson Electronics also makes great boards.
I like Kulp for a few big reasons. First- his boards are cheaper, giving me more bang for my buck. They are a bit more limited though in that they primarily only support WS2811-style pixels. Falcon boards can support just about every pixel type/chip ever made, and also have better support for DMX. If you have an established display running on an older system, like LoR, with different pixel and light types- you probably want a Falcon board.
Second, and this is the bigger one, is the platform itself. The Kulp boards are “capes” that run on top of (literally) BeagleBone computers. These are similar in form and function to Raspberry Pis- tiny single-board computers that include GPIO (General-Purpose IO) headers specifically to use as controllers for hobby and industrial processes. The BeagleBone directly drives the control board, but also runs FPP (FalconPlayer), which most of us use to run our displays. FalconPlayer runs on several platforms, including the Raspberry Pi and BeagleBone computers. The advantage here is you have a great all-in-one solution, plus- if you are like me and also have NodeMCU or other controllers that you want to keep- the onboard FPP can communicate with them as-well. The Falcon boards are just control boards- they need a physically-separate computer (usually a Raspberry Pi running FPP, or a PC or Mac running xLights) to actually run the display. Again- for those who have been doing this for a while and have older controllers- this isn’t an issue, and a Falcon might be a better option.
The Kulp boards can also address more pixels (since they primarily just do WS2811). To his credit- David Pitts, who developed Falcon, actually helped Dan Kulp get started with designing his boards. They are BOTH stand-up guys who stand behind their products. The Kulp boards also use Falcon’s excellent Smart Differential Receivers and Expansion Boards to expand their capabilities. (Hansen’s differential receiver boards also work with Falcon and Kulp.)
The K16A-B supports up to 4 Smart Differential Receivers, which allows up to four more strings of pixels each to be placed 300+ feet away from the controller. It also supports the 16-port expansion boards from Falcon to add 16 more pixel ports, for a total of 48 pixel ports driven from one board! Each port can drive up to 1500 pixels at 20fps! (The Smart Differential Receivers are limited to 1200 each port.) That is a LOT of pixels from one board- 48,000 via onboard and direct expansion ports, plus up to another 19,200 via differential receivers, for a total of 67,200. It can actually do more than that as it also has two RS485 outputs for DMX, PixelNet, Renard, or LOR.
So, I’m working on integrating the new controller into my display. The first thing I had to do though was come up with an enclosure for it. I looked at various offerings, including large “Bud” boxes and cable/telecom control boxes, but decided on a relatively-cheap ($60) Harbor Freight Pelican Case ripoff- an Apache 4800…
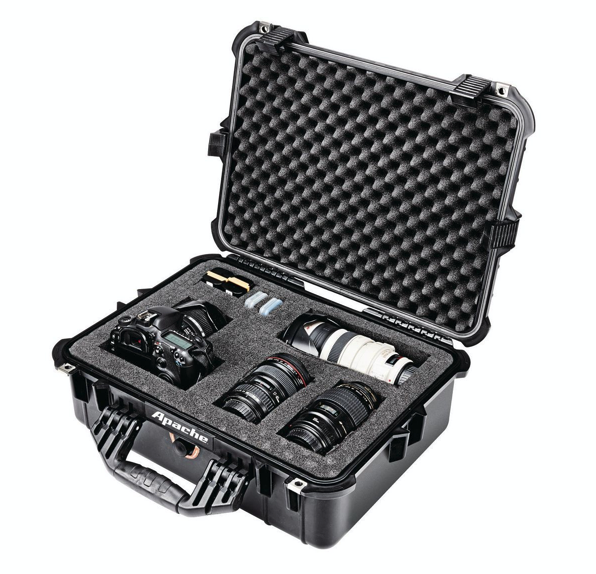
I’ve worked with Pelican cases for many years professionally. The Apache case body itself is built very well, but the latches and vent are very substandard compared to Pelican. Still- it’s more than adequate for what I need to do…
Here is what I ended up with:
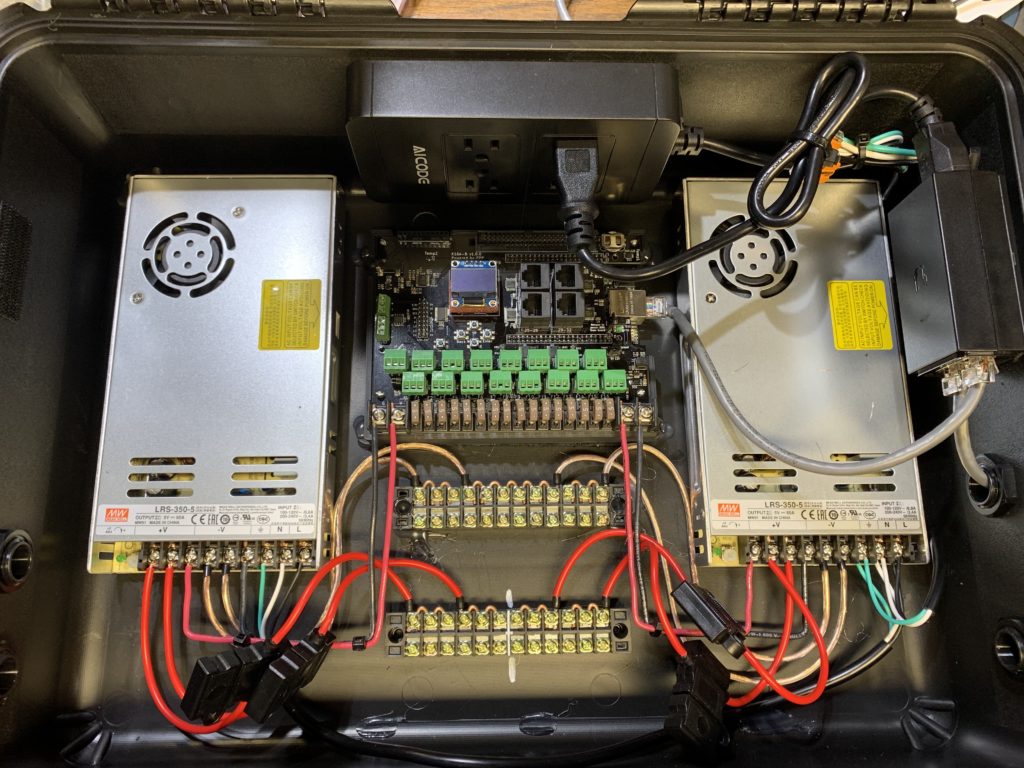
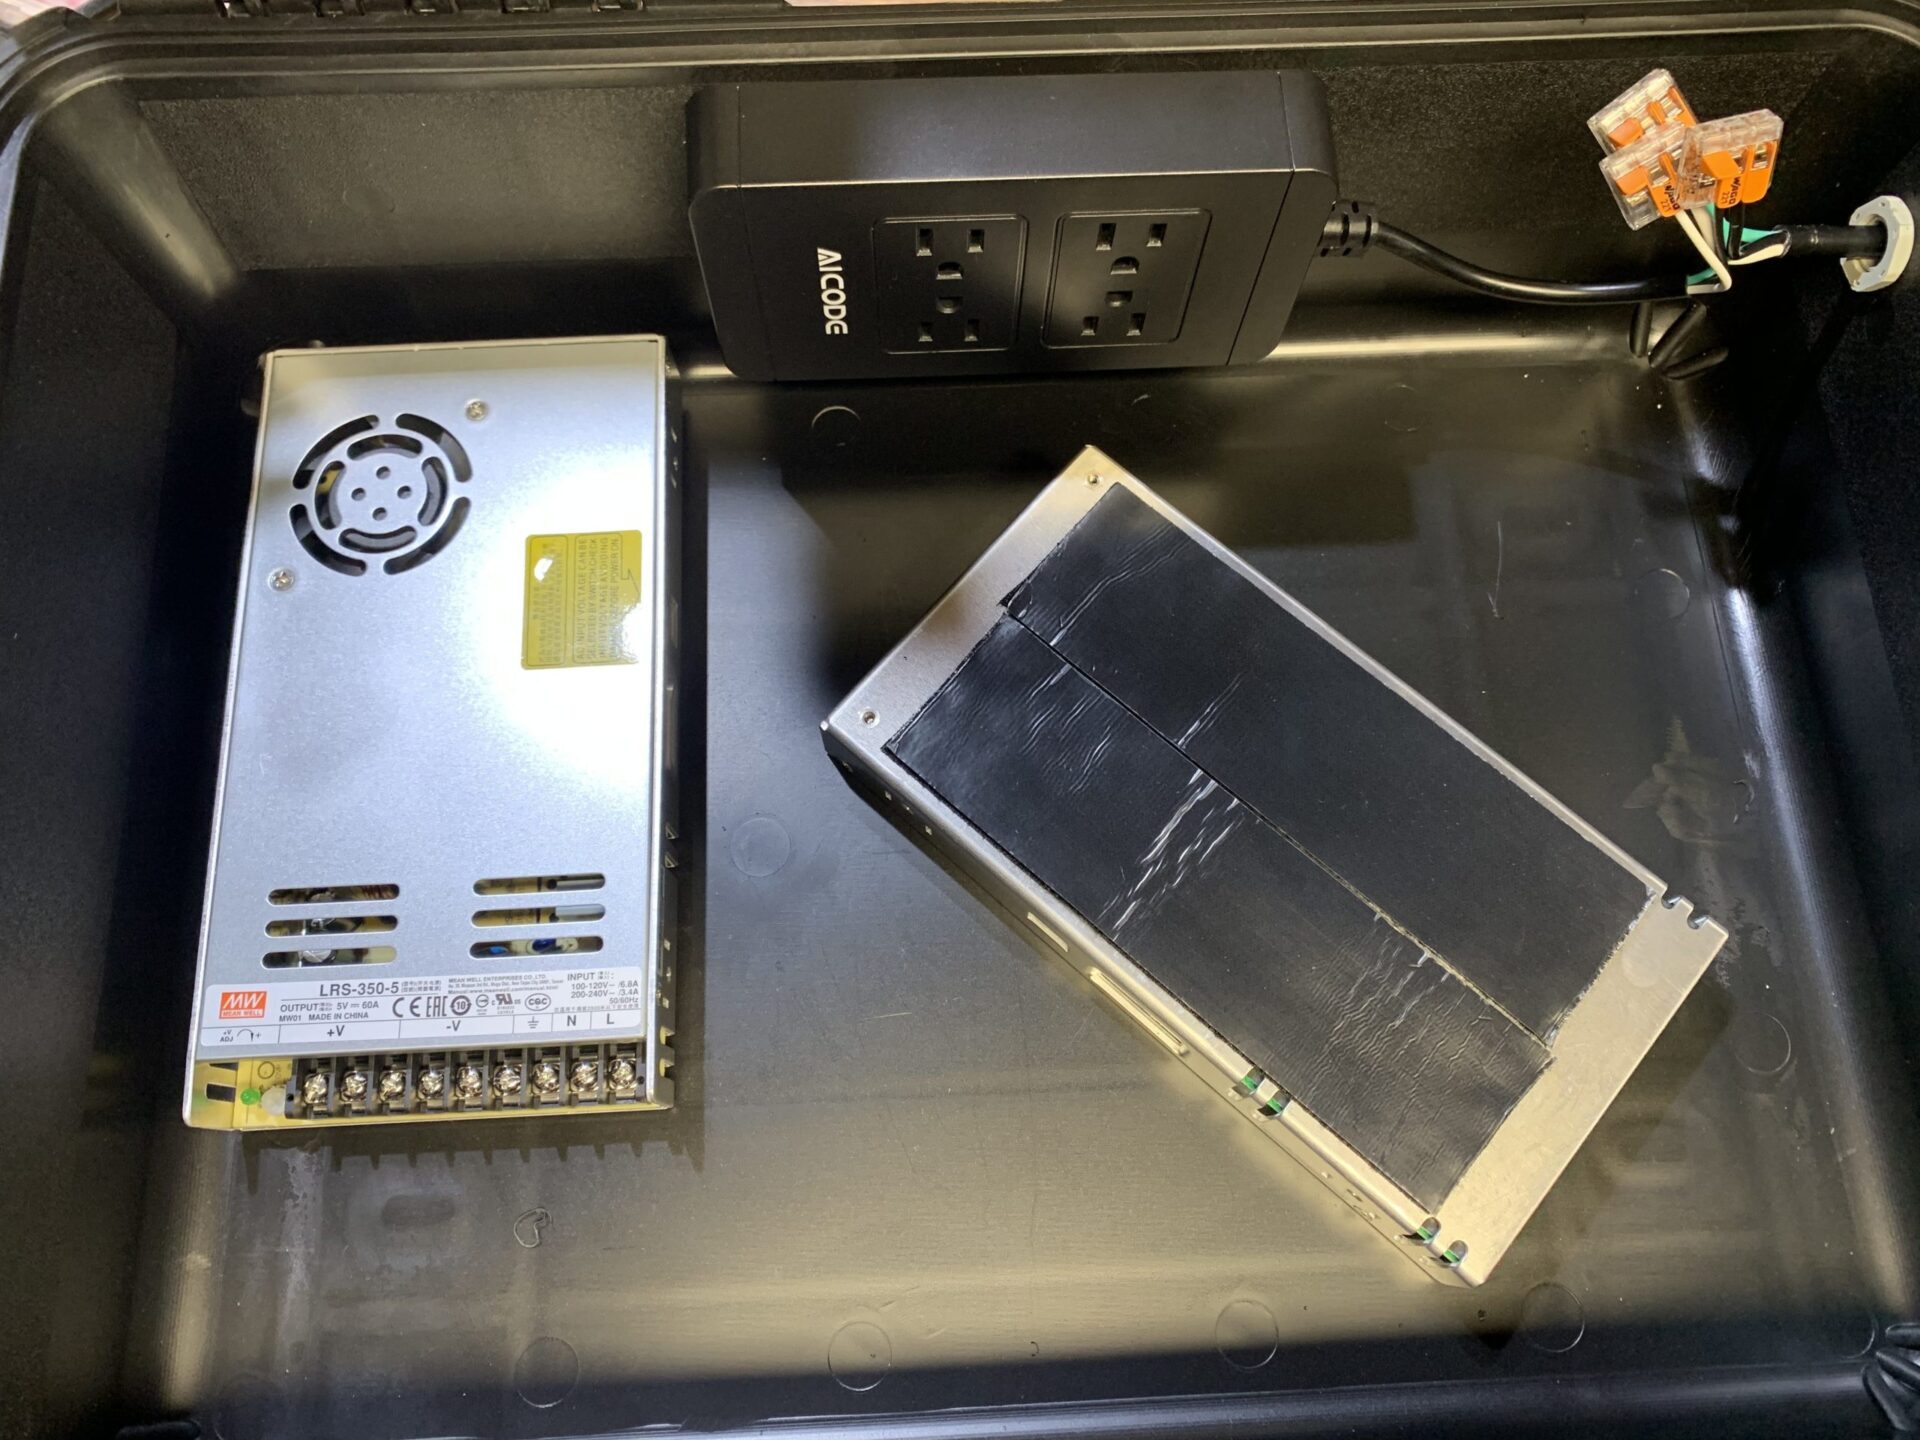
To the left and right are Mean Well LRS-350-5 PSUs. I generally ONLY use Mean Well LRS-series power supplies. My 12v pixels are run using LRS-350-12 supplies. The supplies are held in-place with industrial-grade hook-and-loop fastener strips.
The Kulp controller, in the middle, is mounted to a 3D-Printed mount, that is similarly attached with hook-and-loop. It’s also tacked down with hot-melt glue for a bit of extra support. The mount I used can be found here:
Kulp K16A-B Mount, on Thingiverse
I used a couple of terminal blocks I had in a junk drawer for power terminals, same mounting method as the rest.
The Kulp board has an FM transmitter option that I added. It integrates with and is managed through FPP. The really nice thing about it is it supports RDS, so I can have the controller send song artist and title info, as well as a short message, to car radios that support RDS data, which is pretty much all of them built in the last 10-ish years.
One “big” problem I had is with cable glands. Like all of these outdoor controllers- I want it as waterproof as possible, so planned to use the same size cable glands I used for my power supplies and older Raspberry Pi controllers. Unfortunately- because the case walls are so thick- they wouldn’t work. there weren’t enough threads to install them. In the picture above you can see a small white one. It popped off as soon as I tried to tighten the wire clamp part of it. There was just a single thread holding it on.
I had a bag of relatively huge 1/2″ cable glands that I picked up at a local closeout store on a whim. These work great, but can’t work for a single cable because of their size. I can fit 4-5 cables in them. This is actually good because it means fewer glands, but- I have to find some way of providing additional sealant inside, as the cable bundles themselves won’t be water-tight. I haven’t worked out the best way to do that yet. The best recommendations I got online were calking/silicone or hot-melt glue. I thought about dielectric grease, but that will just lubricate the cables, and eliminate the strain-relief aspects of the glands.
So, with all that, here is the “final” build, after adding a few hard-wired pixel strings:
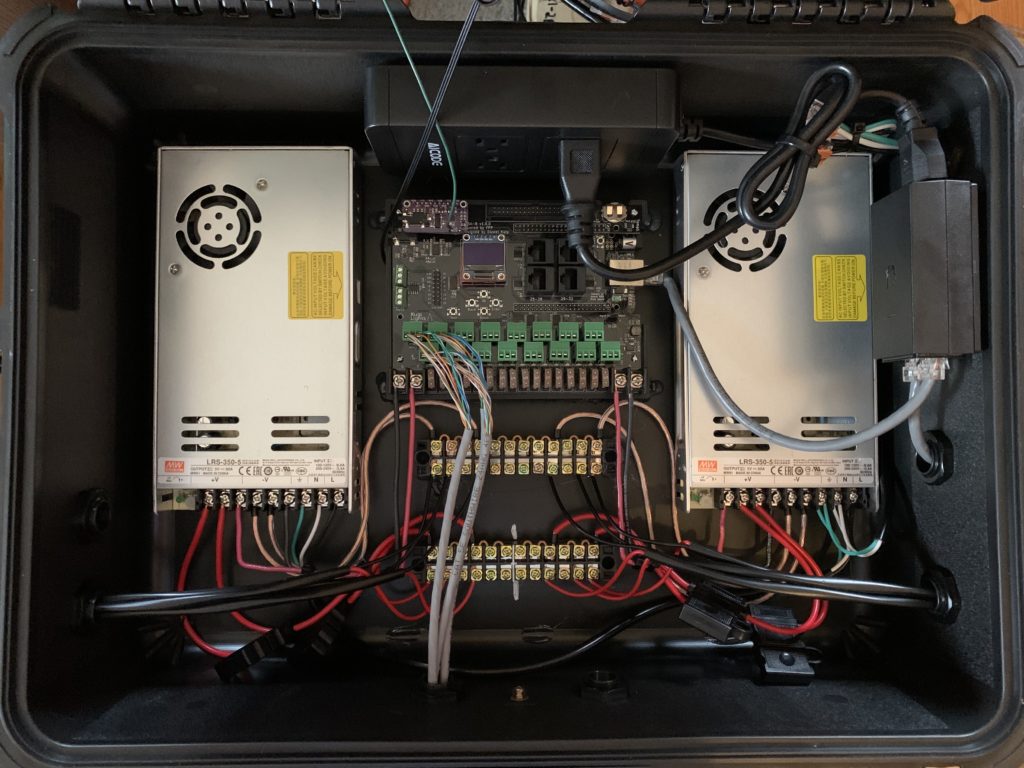
The little power strip on the top is mostly for the Power-over-Ethernet adapter mounted on the right side, which is for my dedicated show WiFi AP. It was also used temporarily for my earlier FM transmitter so I could demo the lights for some friends last weekend. Things will get a lot more crowded, and the cable glands will fill up, once I add more wired props to the display.
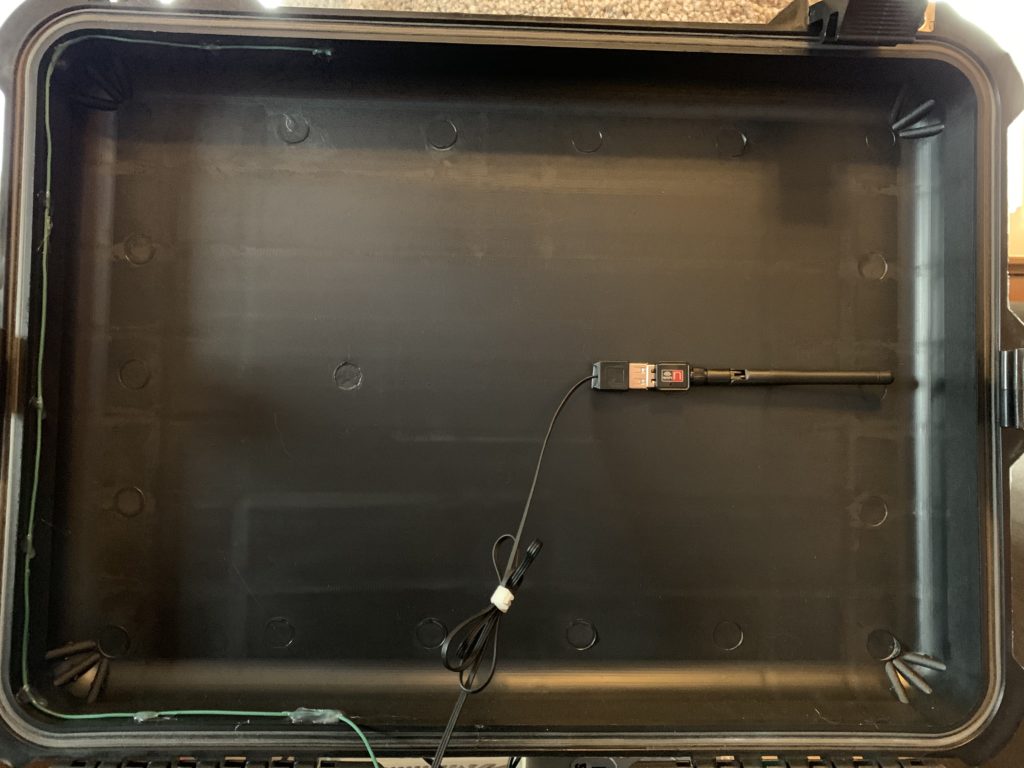
The lid has the FM transmitter antenna (green wire) and the WiFi adapter with its own antenna. This just connects to my home network so I can update the controller, and isn’t used for the display WiFi. I moved it because it was previously underneath the controller and between the PSUs, making it pretty much useless.
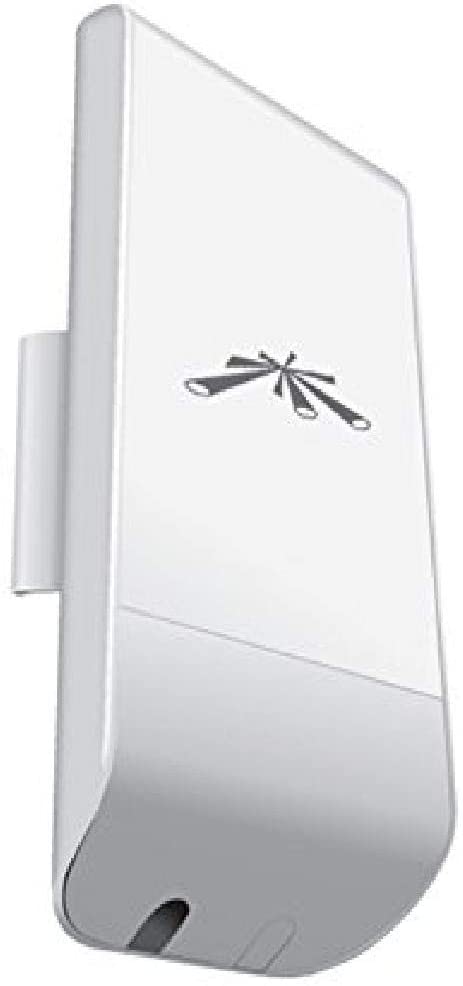
For the display WiFi- I’m using a Ubiquiti NanoStation loco M2. It’s an outdoor-rated WiFi AP that comes with a PoE adapter. It is powerful and directional, which has advantages and disadvantages for my NodeMCU controllers. I’m still using it for some things, in particular my rooflines which I don’t want to run more wires to, and also my matrix which will be out of practical wired range.
I still have quite a few NodeMCU controllers and ammo-box PSUs in my display as-well, but things got a bit more expensive and professional as I have expanded. Things have evolved quickly for our first show, even though I started the groundwork for it last December.

Just a few updates…
As noted in a few other places- I’m no-longer using WIFI to actually run the show. It just wasn’t reliable enough, especially for e1.31 or DDP pixel data. It can work well for just syncing FFP controllers, but after some WIFI driver issues last Summer, I decided to go all wired.
The K16 mostly just runs the Megatree now, and in 2022 that will be all it will be tasked with as we are expanding the tree. Really- this is what you WANT a controller like this for- high density and close pixels.
I am going to be doubling-up on the PSUs using a 3D-printed stacking mount from Inspire Light Shows this year. We’ve scaled the tree back a bit (still using 2″ spacing instead of going to 1″) due to supply and cost issues, but will still be running two strings/port with 32 total strands.