New 3D Printer: Creality Ender 3 Max
Important Notice
This site is no-longer being maintained, and the content and links found here may be irrelevant and outdated. It is online for archival purposes only.
I updated an earlier post about my ANET A6. It had a thermal overrun issue and almost caught fire (well, at least it produced a LOT of smoke). After struggling with that printer pretty much since I built it over 3 years ago, I decided it was time for a fresh start. I salvaged much of it, which may go into a future project. For now though- I needed a new 3D printer!
I posted a query on one of the 3D printing forums I’m on where folks print a LOT of parts almost continuously for a “Good reasonably-priced (cheap) workhorse 3D printer.” The response was almost unanimous: “Get an Ender 3!”
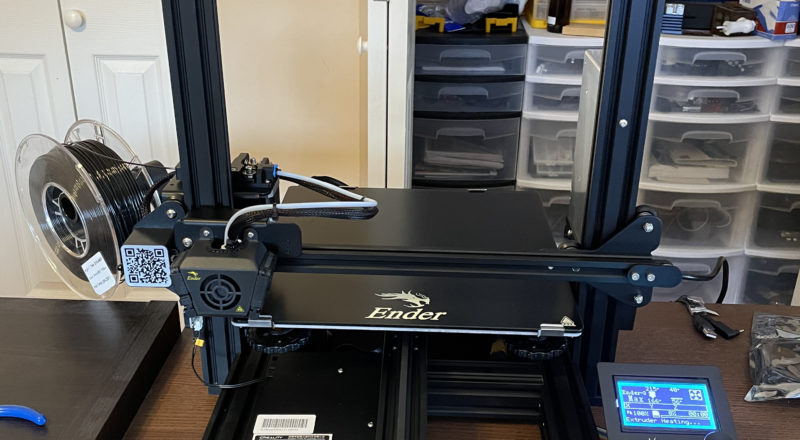
So, I did. Well, not a normal Ender 3, but the new Ender 3 Max. It’s sort of a hybrid between the Ender 3 Pro and Ender 3 V2, but with a huge (to me, anyway) 300mm x 300mm x 340mm print bed. (Roughly 12″ x 12″ x 13.4″) There were many times with the old ANET that having a 220mm square bed just wasn’t enough for some of the prints I wanted to do, so I figured- why not upgrade the size while I was at it?
Here is a link to what I ordered:
I’m not doing a complete unboxing and assembly post, but here are some highlights:
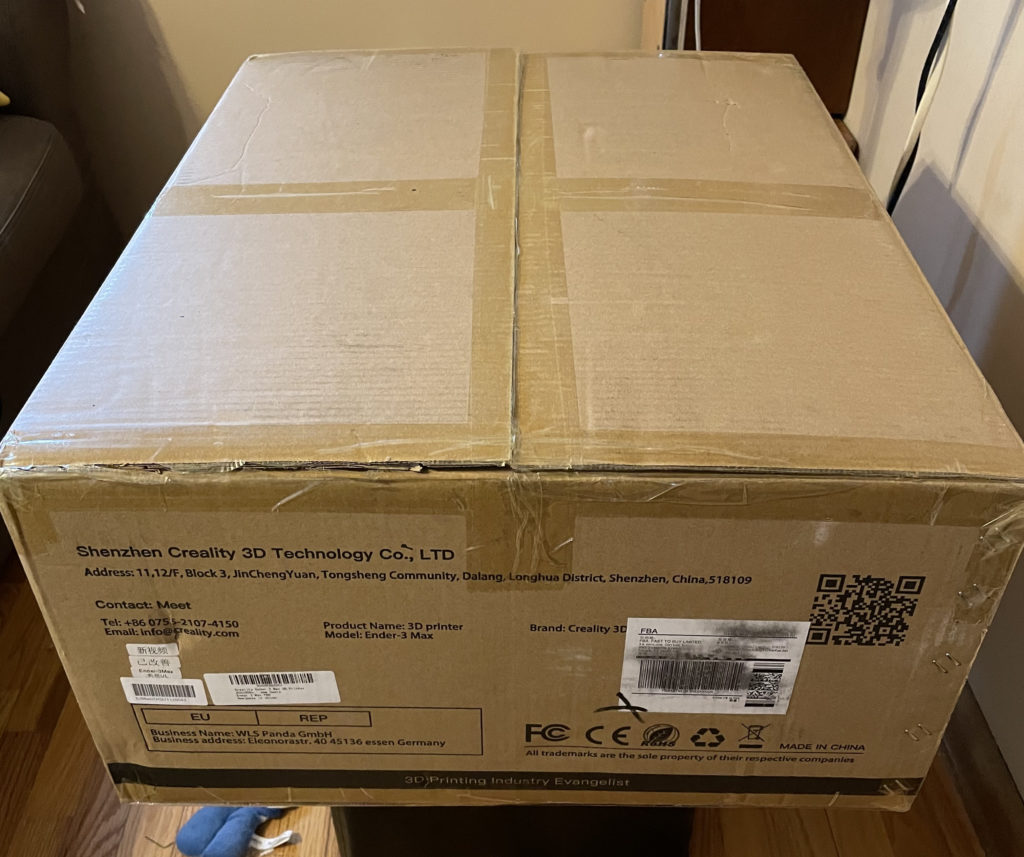
It came double boxed from the vendor, in a heavy box with lots of foam padding. It was advertised as minimal assembly required, and they weren’t kidding. A total of 8 screws…
First, two on each side to assemble the gantry to the base:
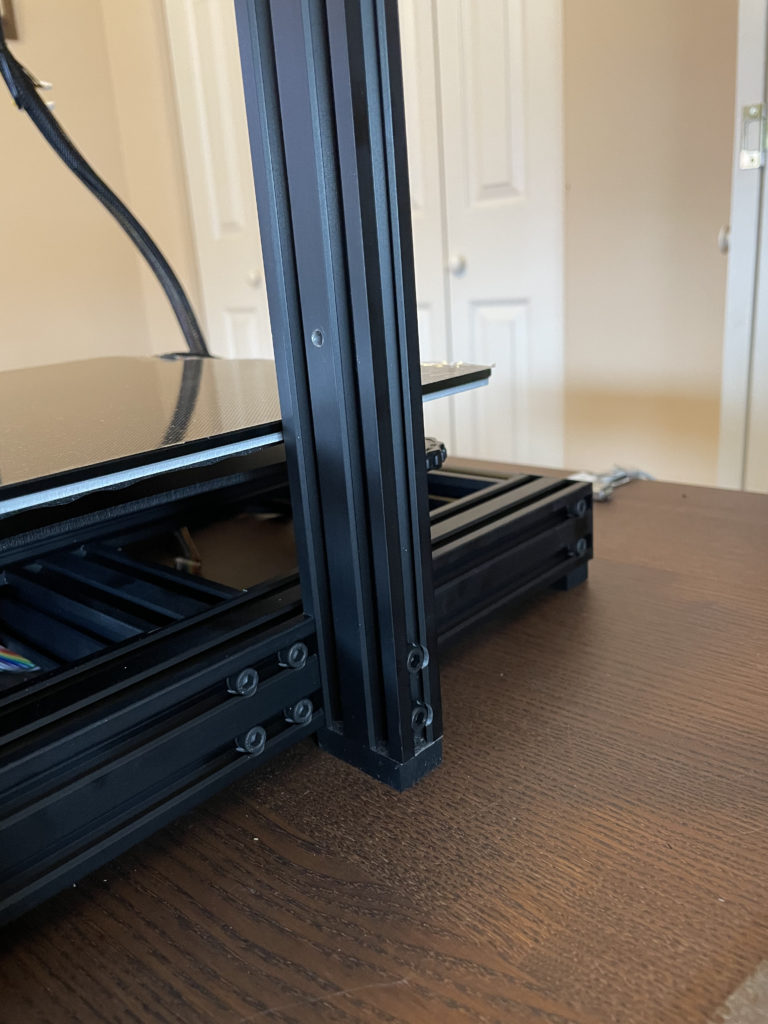
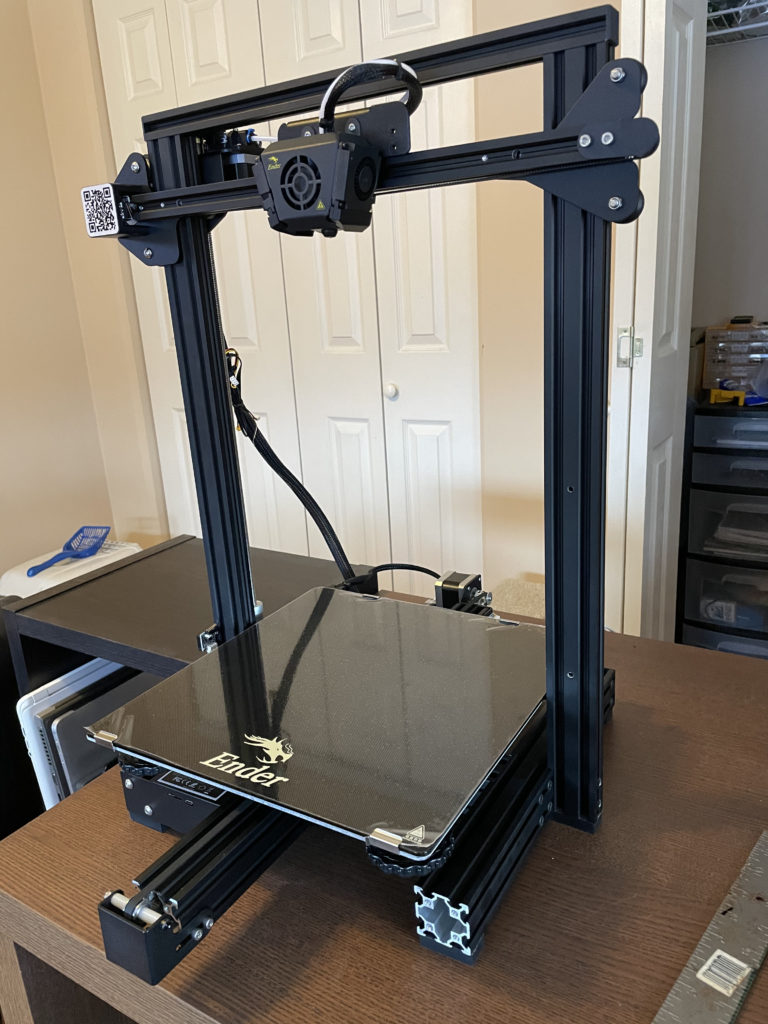
While not in the assembly instructions, I did take a bit of extra time to make sure the gantry assembly was perpendicular to the base rails, using a square. Also good to note- it came with all of the tools needed to assemble and adjust it, including several nice hex-wrenches, a pair of flush cutters, and a print nozzle cleaning needle. It also had the “usual” flat metal wrenches and a small flat-blade screwdriver. It also came with one spare nozzle and spare Bowden tube retainer clips. All that was actually needed to assemble it was two of the hex-wrenches.
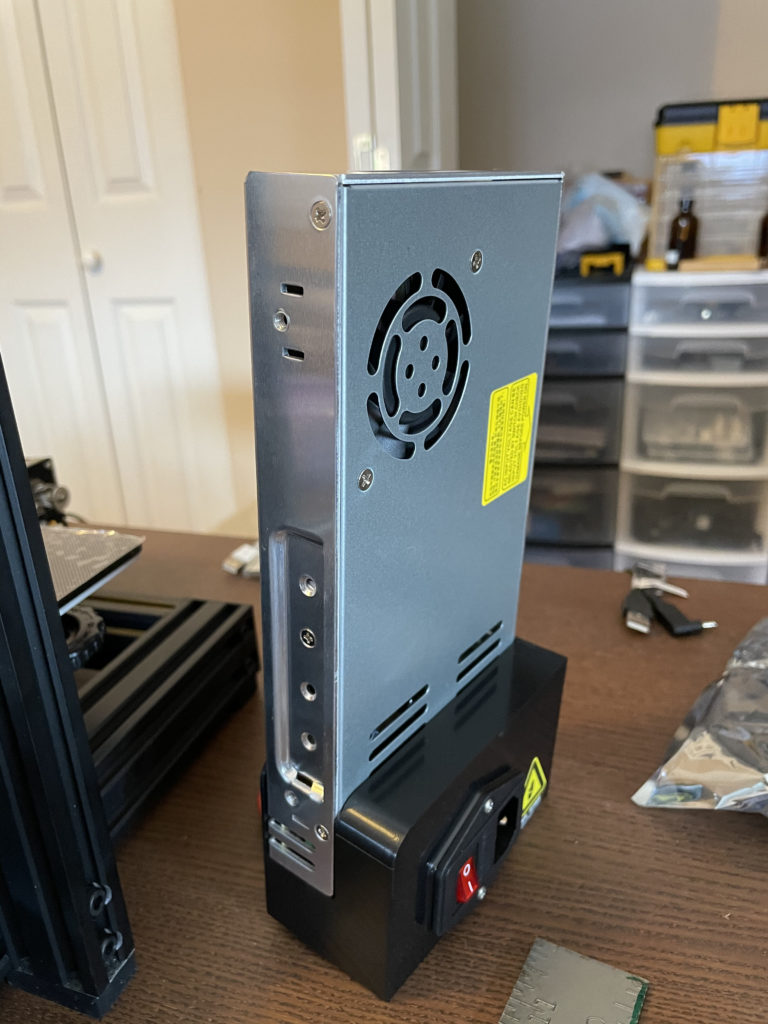
Next up, two more screws for the Mean Well PSU. This is familiar- I buy a lot of these for my pixels!

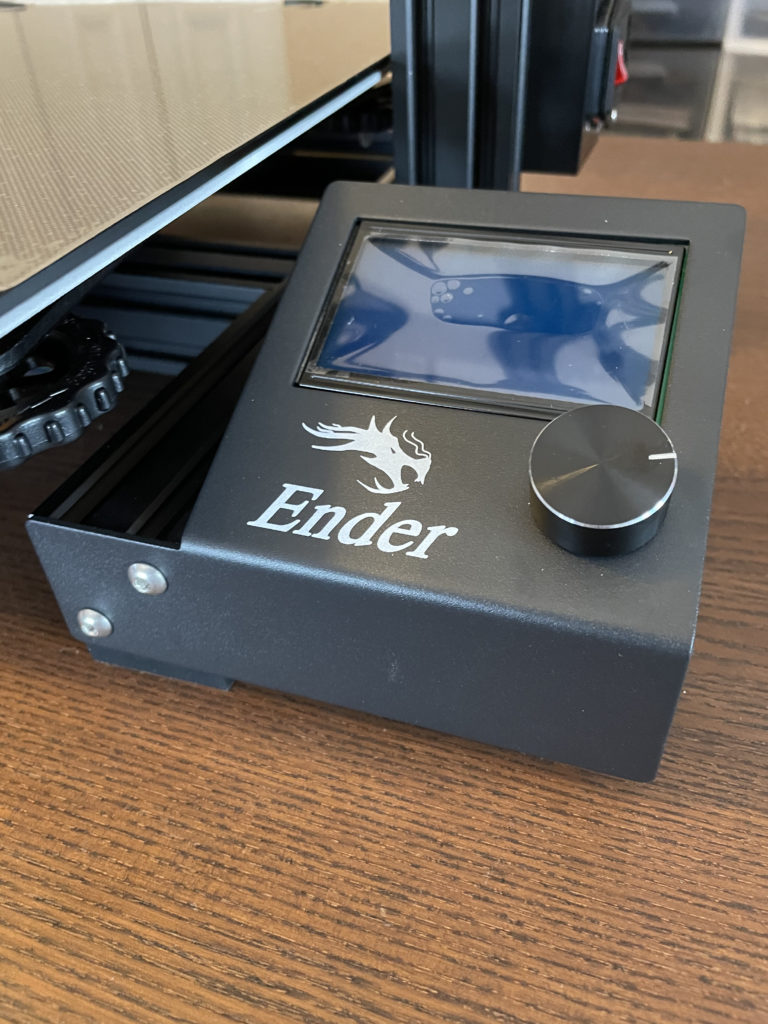
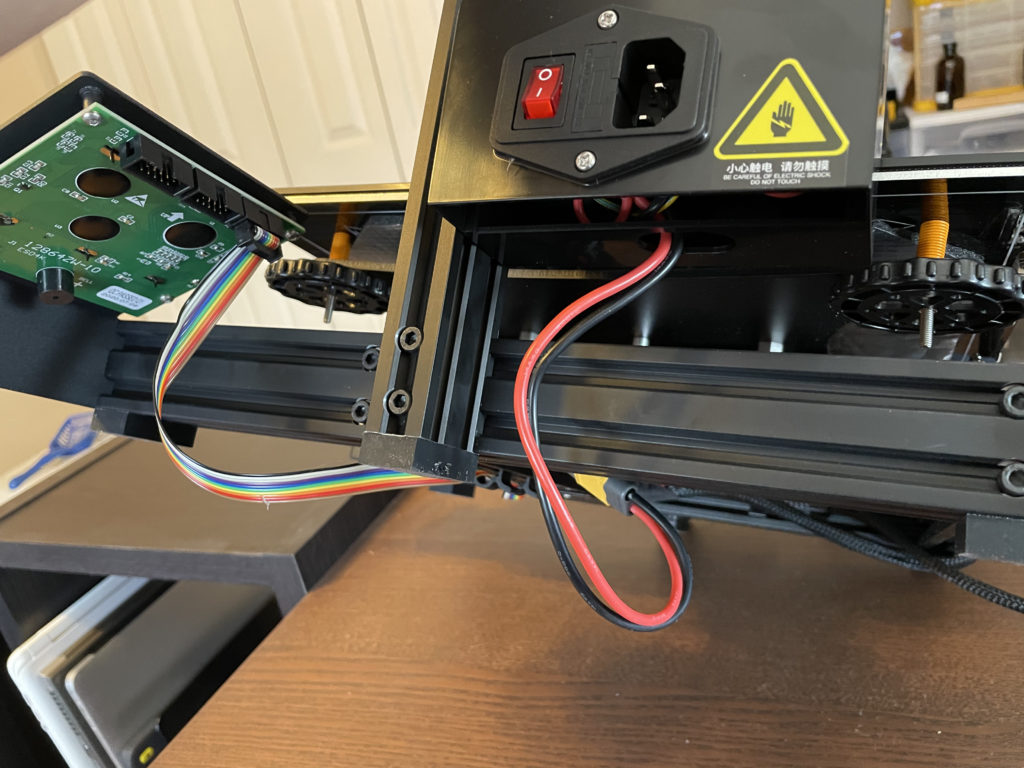
And finally, two more screws to connect the pre-assembled control panel:
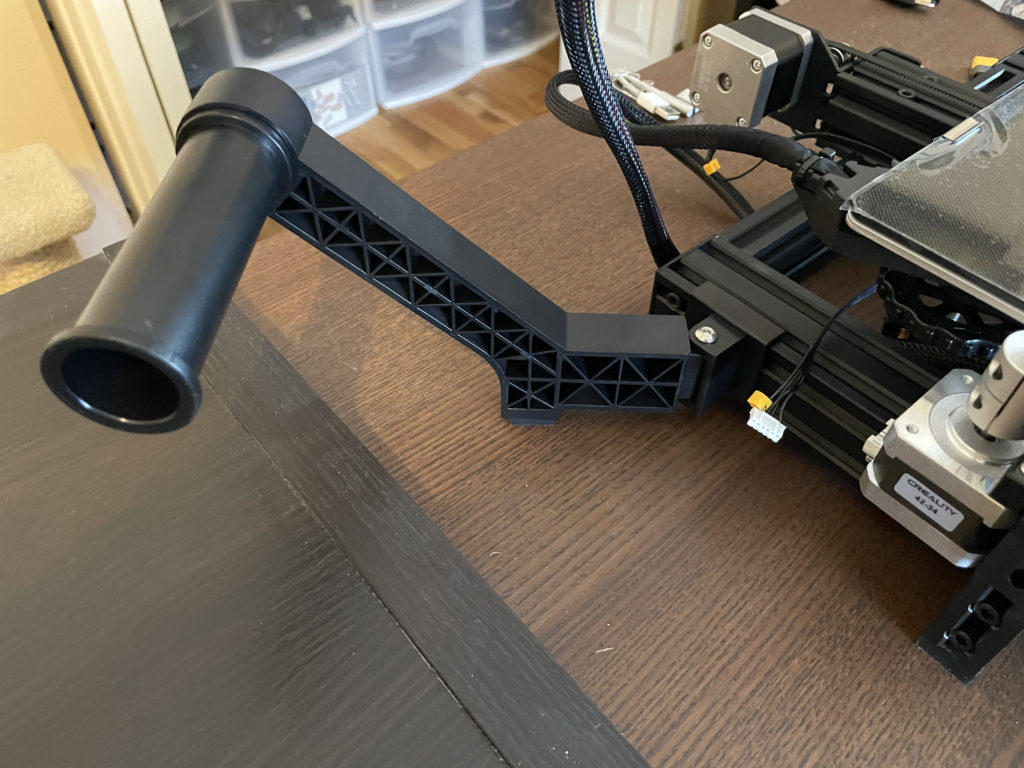
There was one more piece to add, but there weren’t any screws involved. The spool holder just snaps onto the bottom extrusion in the back-left corner:
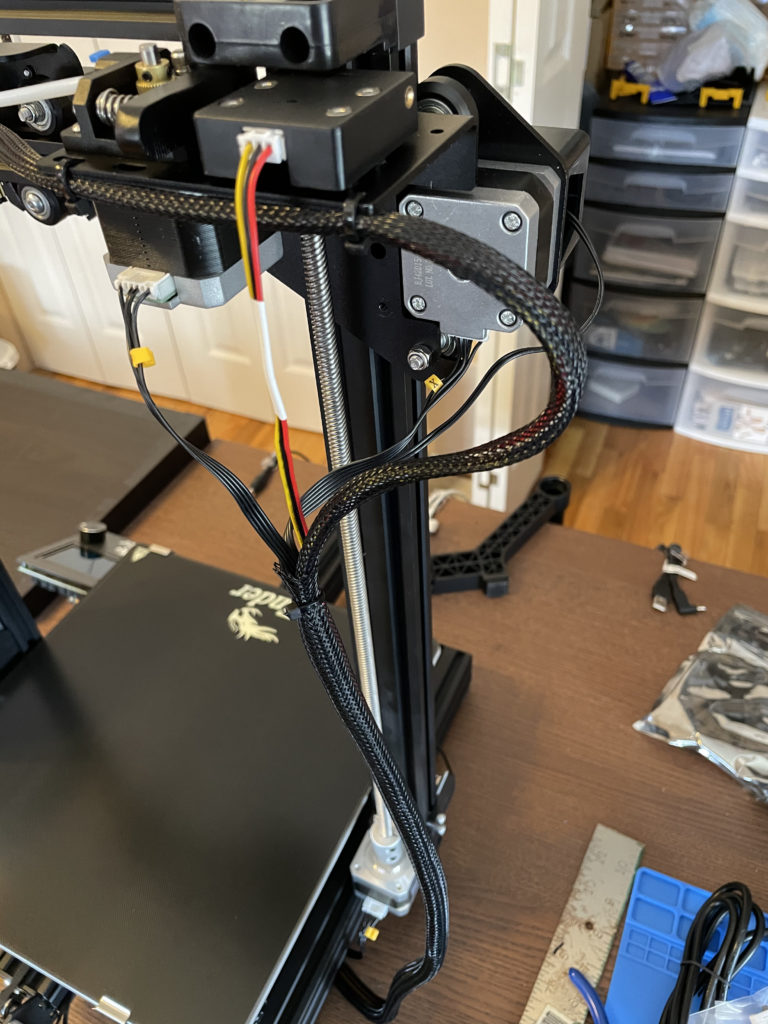
Of course, there were some wires to connect, but not quite the rats nest I tried to be comfortable with on the ANET. All of the pre-assembled stuff is wire loomed and zip tied already, so it’s just a matter of connecting the base and gantry elements together and plugging the PSU into the control board. Everything is well-labeled and it took no time at all to finish it up:
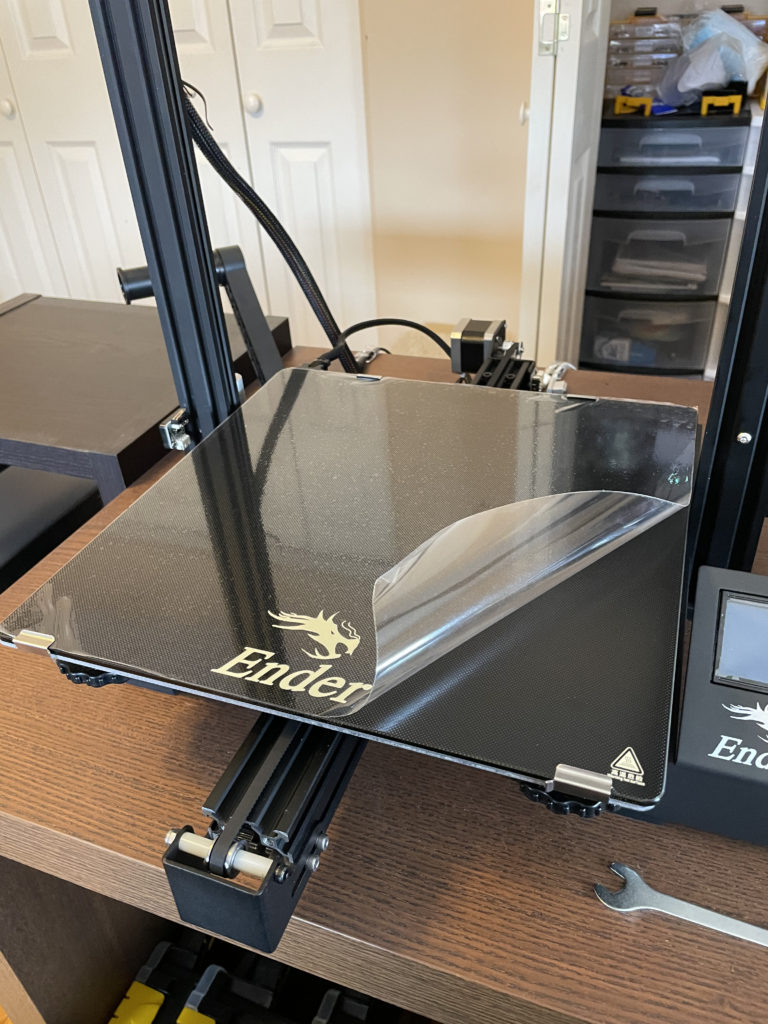
No new toy is complete without at least one plastic peeling moment. Actually there was plastic on the control panel screen, but the big one was on the amazing textured glass bed:
That’s it. Actual assembly time was about 15 minutes. From unboxing to powering up and leveling the bed took a half hour. I will admit my prior knowledge of how 3D printers work and generally go together helped a lot, but I can’t see it taking more than an hour for anyone to put together.
So, here is what I LOVE about it:
- Mean Well Power Supply
I’m not worried about it ever failing. Friends don’t let friends buy cheap PSUs for things like this, and Mean Well is top-of-the-line. - All-Metal Extruder
No plastic parts to break or distort. Should be VERY reliable. - Dual Cooling Fans
Fast cooling for excellent bridging. - 24v Heated Bed
FAST heating. - Textured Glass Bed
Excellent hot adhesion, but parts almost fall off when it cools! - 32-bit Control Board with Quiet Drivers*
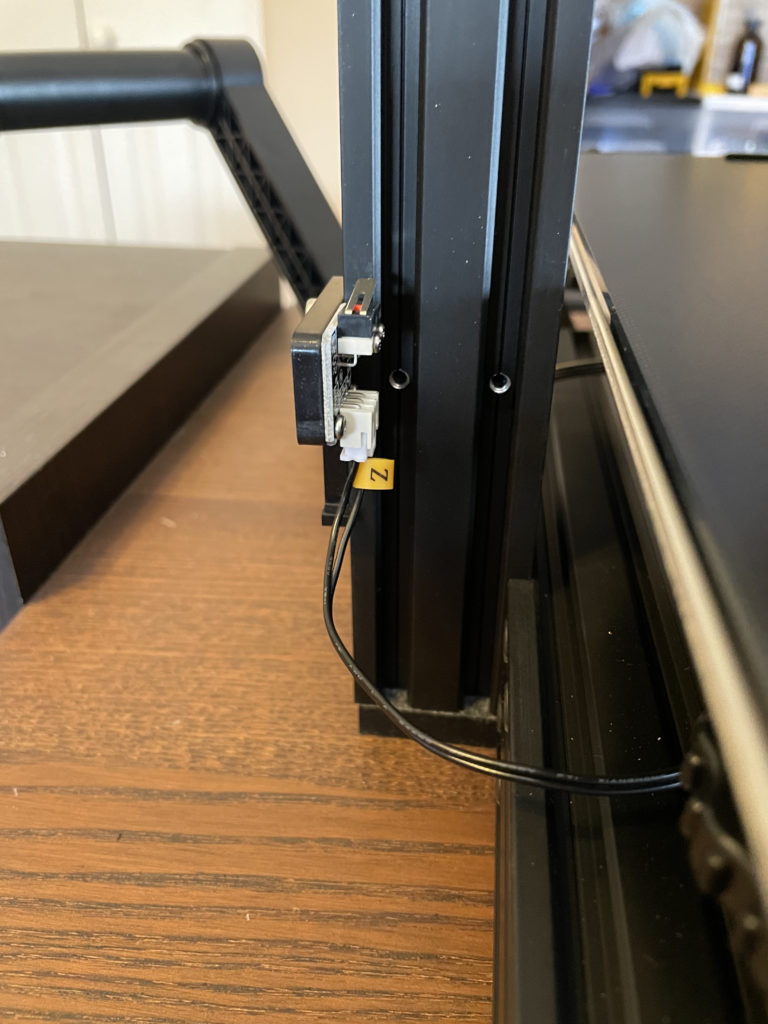
*X and Y only! This was disappointing. - Filament Sensor
Detects filament end. Pauses printer and steps you through changing. No worries about running out in the middle of a long print. - Print pause/resume and power failure resume
Can actually pause a print, power the machine off, and resume later!
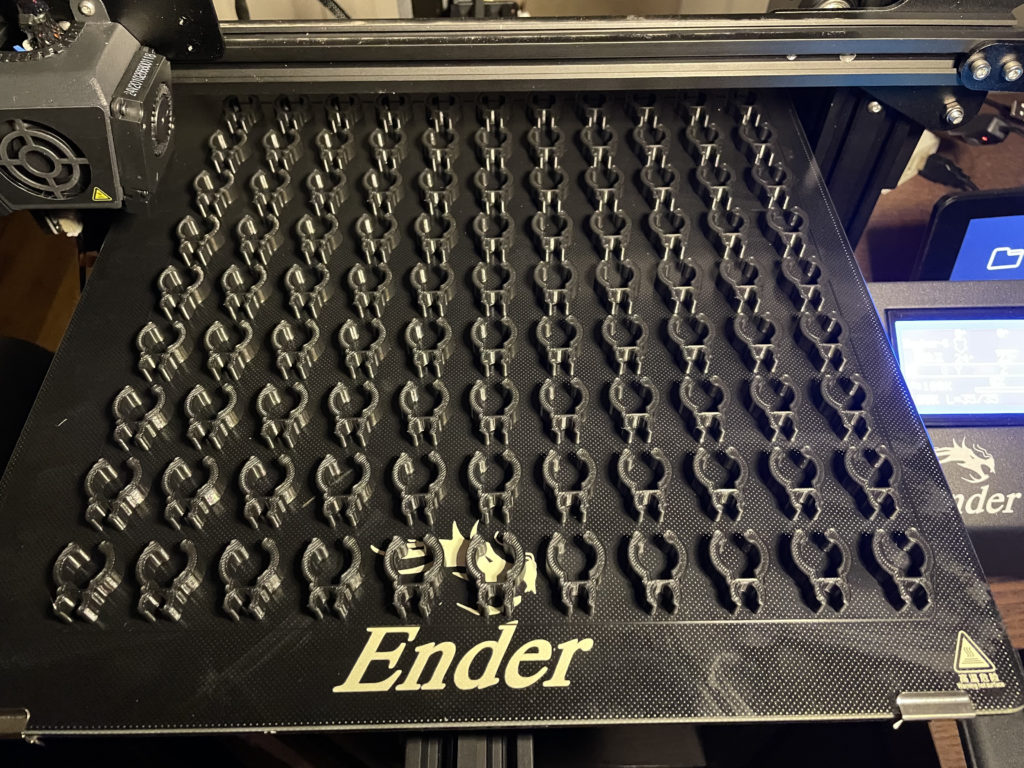
Of course, I also love the 12″ x 12″ print bed. There were a lot of things I couldn’t print before that I can make now because of it. I can also do much larger multi-part runs, for example, pixel clips. I also love that it uses rubber rollers with ball-bearings, instead of the old noisy and sloppy linear bearings that my old printer relied on.
I really love the filament sensor and the support for it in the controller. I ran out of filament in the middle of a long print job and was trying to figure out what I was going to do as I watched the end slowly disappear into the sensor. No worries though… the printer paused the print job and ejected the bit of remaining filament, and then stepped me through installing a new roll. After purging the print head- it went right back to printing where it left off. The transition was easy and seamless.
Things I don’t love?
Well, the X gantry was actually a bit crooked, so I had to level it by tweaking the rollers a bit. This is common and there are instructions online for it. The print bed itself was also loose, and I had to tighten the “eccentric nut” rollers on it. It doesn’t have automatic bed leveling (out of the box, it’s an option), so it did take me a while to level the bed, but because it is built so well- I think it’s pretty much a “set and forget” thing unless you make a mechanical change. The glass bed shouldn’t warp or distort enough to worry about.
The other thing I was upset to find out is the Z and extruder steppers do NOT have silent drivers. X and Y make the most noise, so it makes sense to prioritize them, but Z and the extruder are NOT quiet, and the stepper noise can be a bit jarring. The drivers probably cost $3 ea. in bulk, so it’s disappointing that Creality didn’t include them on their board.
Finally- the fans are LOUD. Tiny 24v fans are like little jet engines. By comparison- the bit of stepper noise isn’t as big of a deal. It’s still a lot quieter than the older printer (from before I installed a silent board in it), but I may need to retrofit some quieter fans at some point.
Conclusion:
This is a GREAT printer! I highly recommend it, or its smaller Ender 3 relatives, to anyone interested in either starting out or expanding their 3D printing hobby. It’s reasonably quiet (even with the fan noise), and it really is a workhorse. I’ve had it running almost non-stop for the better part of two weeks now, churning out pixel clips and random 3D print projects for my wife. The only part I’ve printed for it is a smaller spindle for the spool holder because it was too big for some smaller sample spools of filament I have. I have zero intention of “upgrading” it right now- it just prints too well as-is. I plan to leave it stock! Of course, I did connect Octoprint and Octodash up to it to manage prints, but that’s just a USB connection and nothing else.
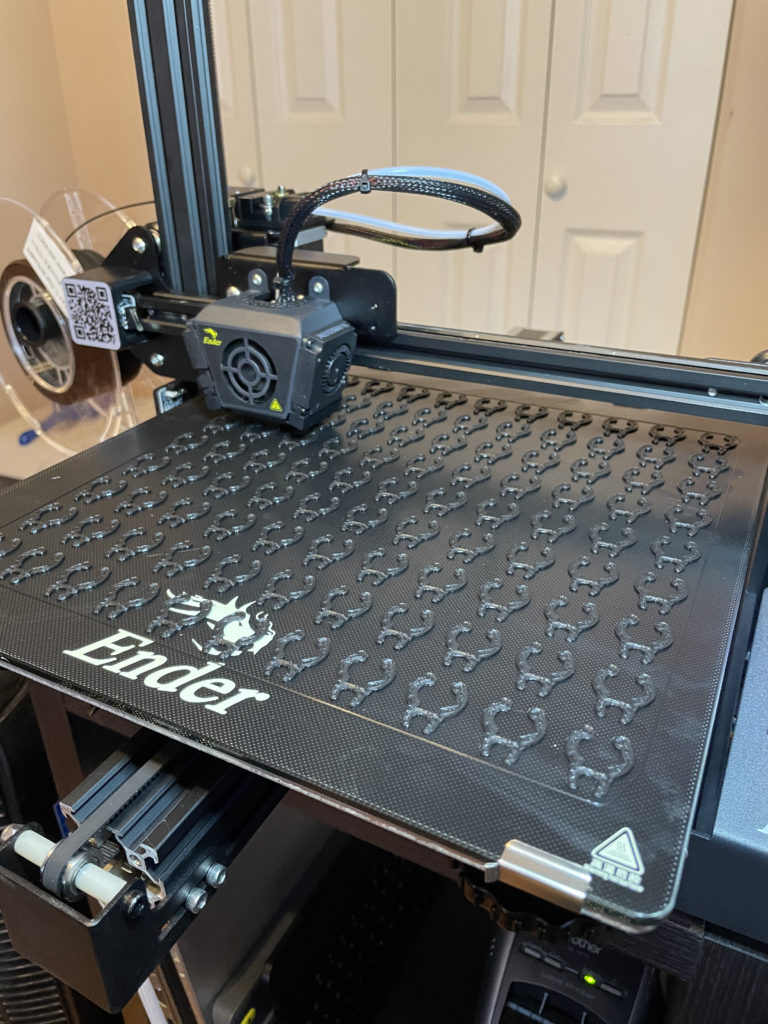
Follow up pic. As-expected, no problem. I could have never done this on the old ANET. I couldn’t trust it to print more than a few things at once, and even then I would be lucky if 50% of the prints were actually usable. I’ll say it again- this really is a “workhorse” printer. 😊