New (2023) Peace (Pixel) Stakes
Even though they take the longest time to install, we decided to expand our pixel stake inventory so we can place them closer together while still coving a good chunk of the yard. After playing around with the layout for a while in xLights, I determined that we need 80 more stakes, which will bring us up to 180!
Here is my previous article on Peace (Pixel) Stakes. It shows how the first batch we did was constructed. We started with 50 in 2020, then doubled that to 100 for 2021-2022. The 2nd 50 was made using regular PVC pipe instead of plastic electrical conduit. We also switched to 1/2″ PVC unions, instead of scraps of 3/4″ PEX to connect to the plastic ground stakes.
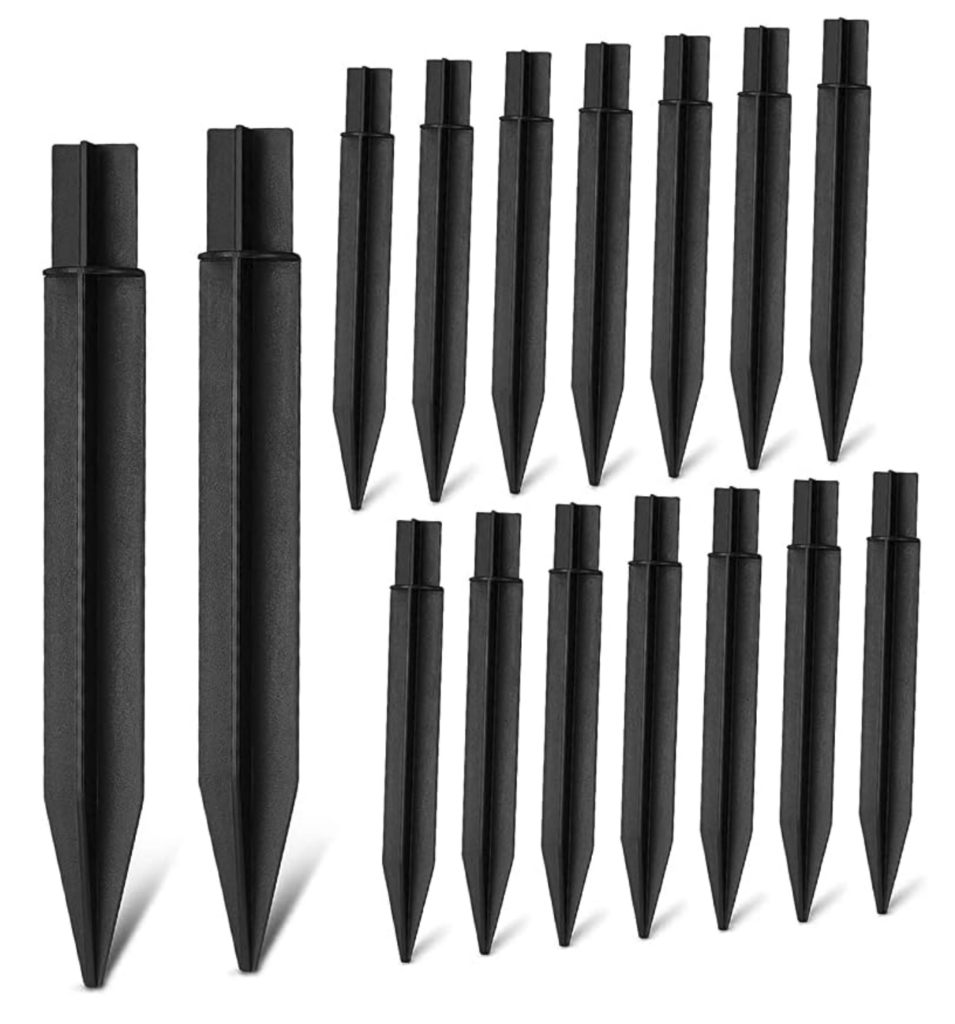
I really dreaded the mess of drilling 400 holes in 1/2″ PVC like our current stakes. I looked for alternatives and considered buying coro stakes from Boscoyo which would be a lot easier to deal with, but I couldn’t find a good match for our existing PVC stakes.
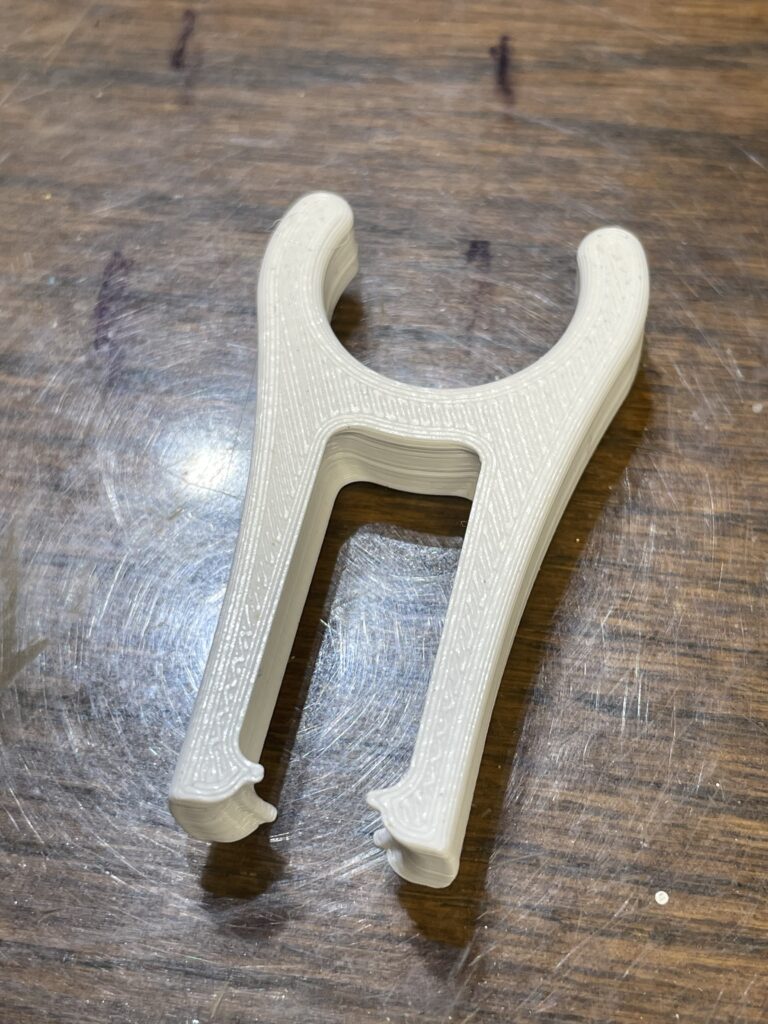
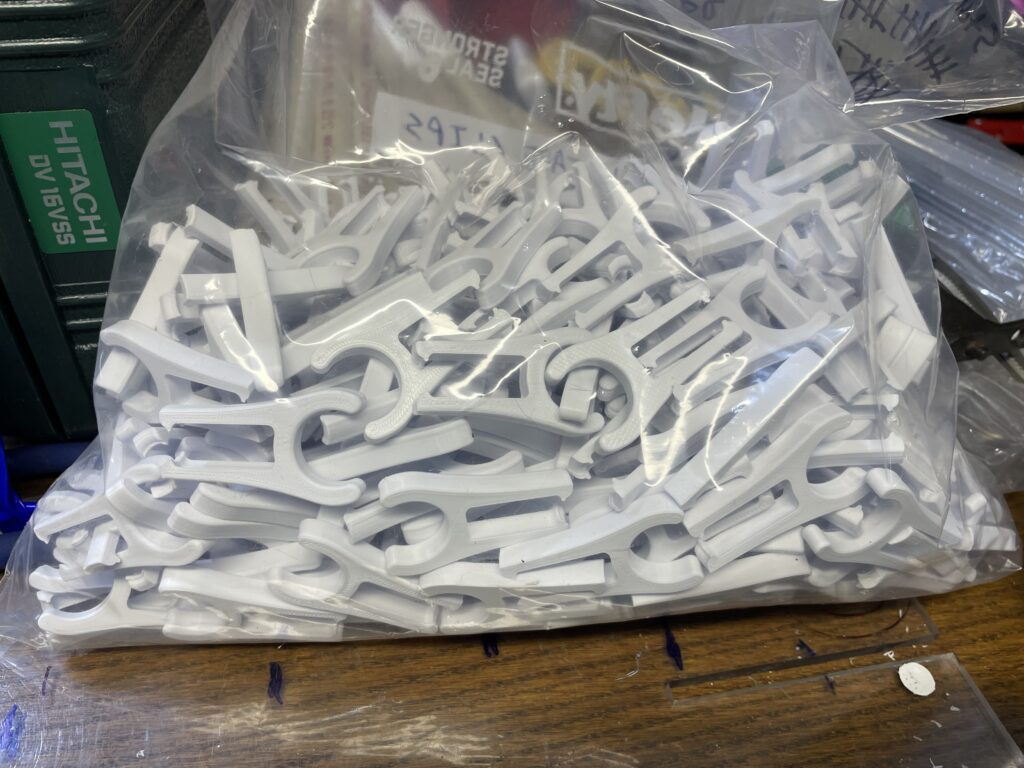
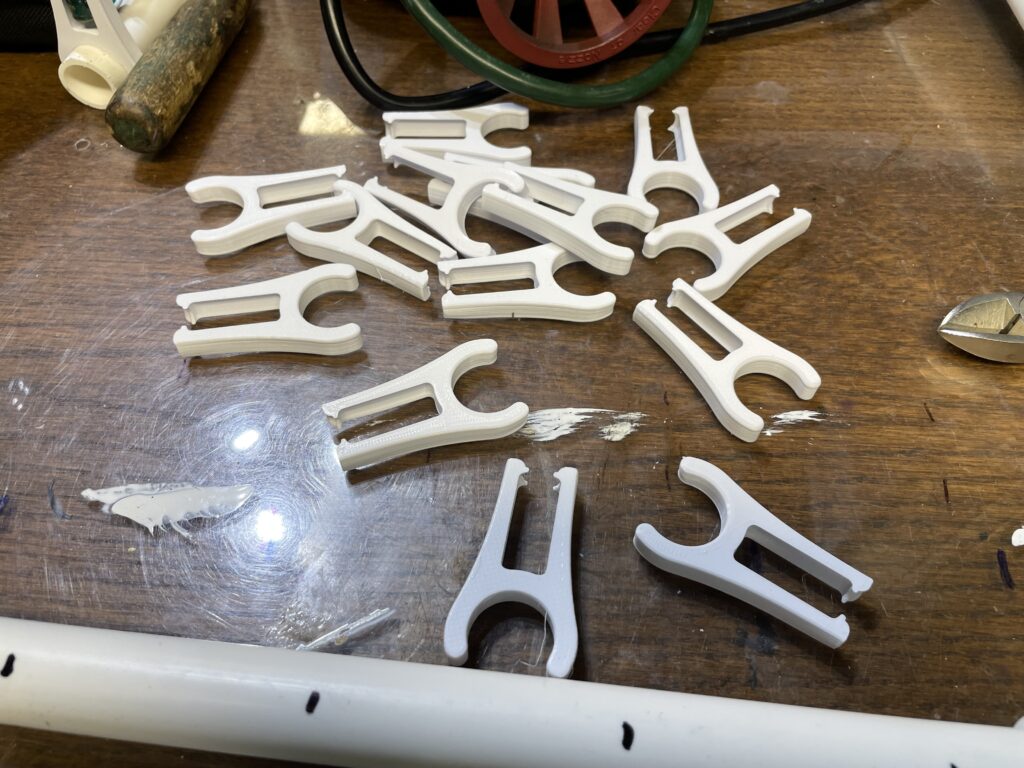
I found an STL for these 1/2″ PVC pixel clips to print on my 3D printer. It took me a couple of weeks of almost constant printing to get enough of them (400+), but they at least save me from drilling all those holes. The picture below links to the STL file on Thingiverse.
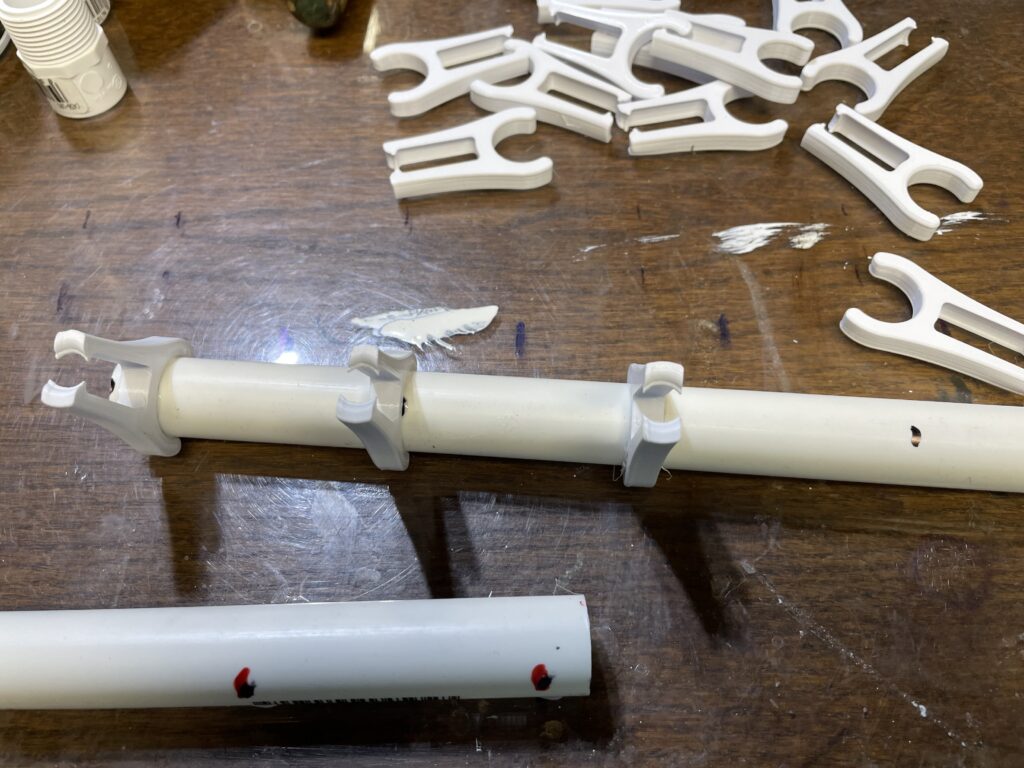
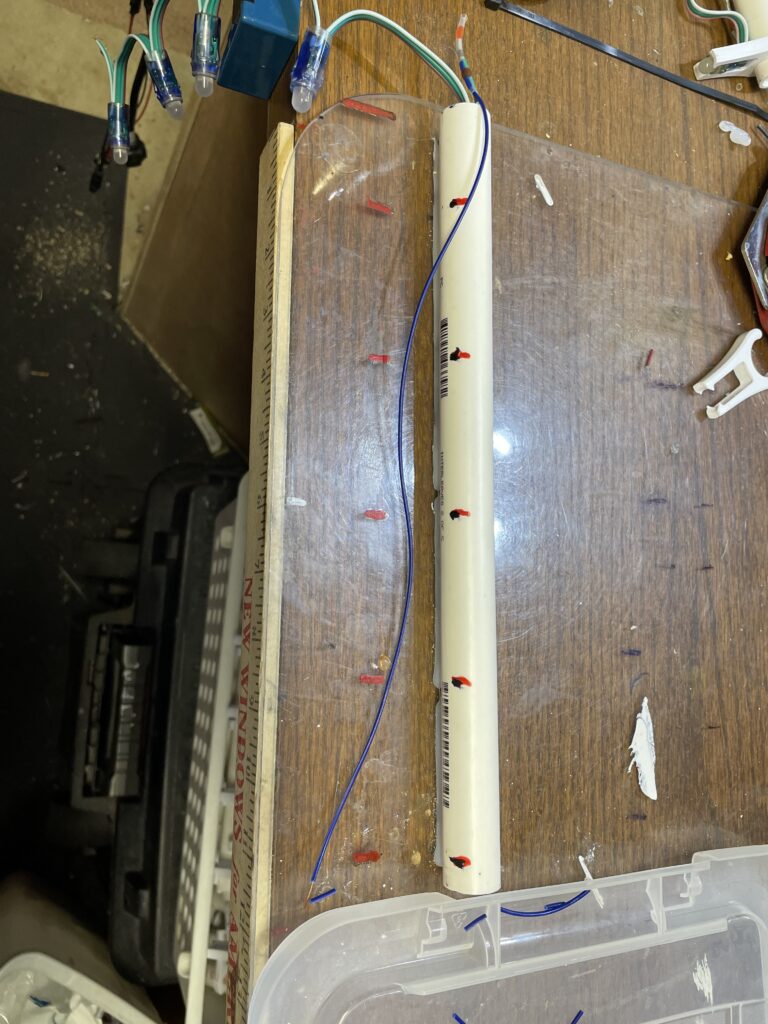
I figured out the layout to best match our existing stakes and made a template pipe that I hot-glued to the workbench (temporarily). The length is 12″ and the five pixels are spaced 2.5″ apart. I then cut 80x 12″ pieces of PVC out of 10′ lengths from Menards, and marked the clip locations on each one using the template…
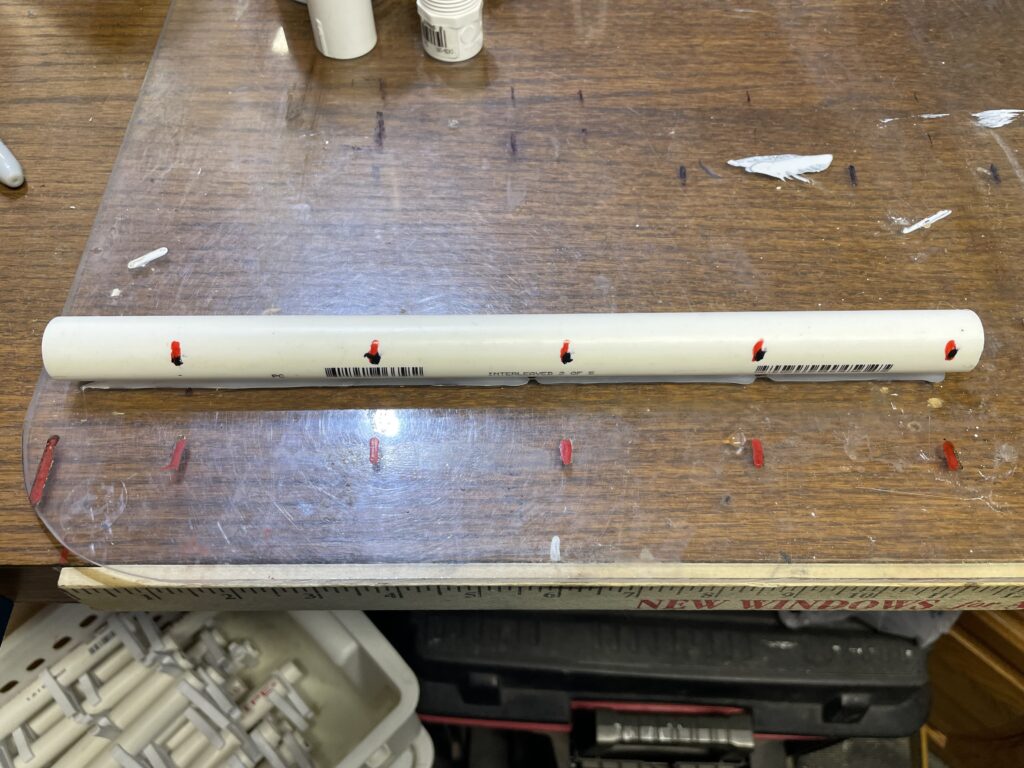
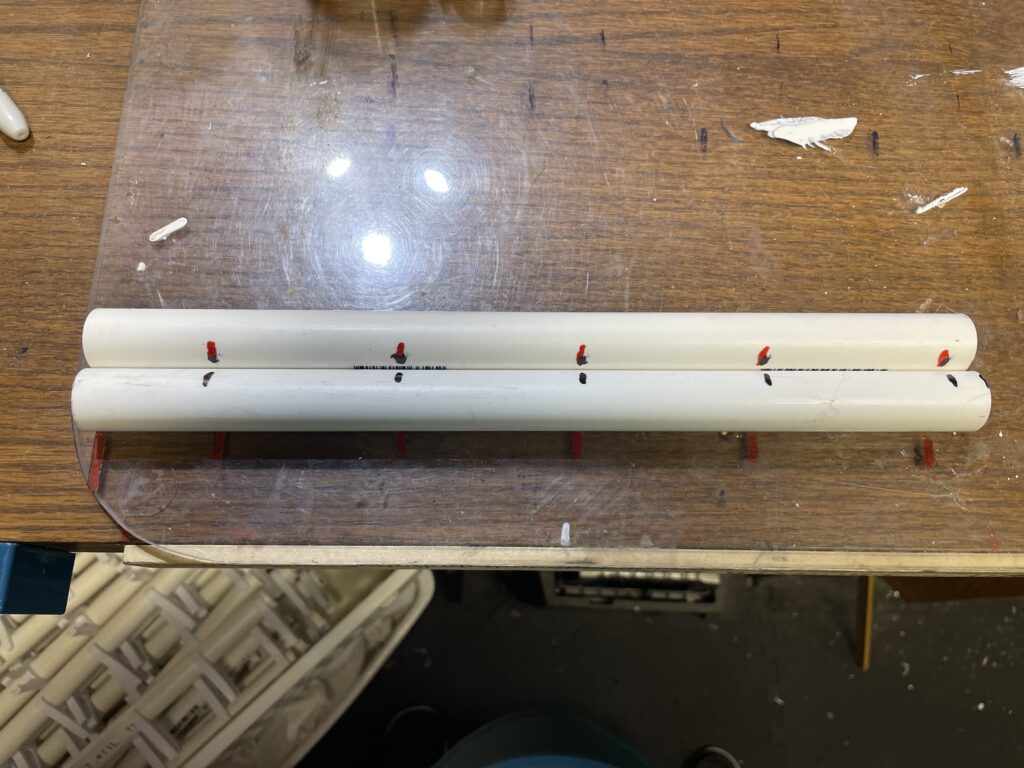
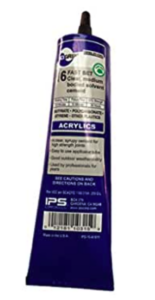
Then, it was time to install all of the clips on them. The clips attached pretty securely, but it still doesn’t take much effort to move them around on the pipe. I figured if they had to be straightened up all the time that it was going to be a lot of work keeping them even and facing the right way, so- I decided to glue all of them. I tried super glue, gorilla glue, and even PVC cement. None of these worked for attaching PLA to PVC. Finally, I dug out an old favorite when working with plastic. This stuff will glue any plastic, including PLA. It’s basically a huge tube of model cement. The picture links to it on Amazon.
So, I started gluing all of the clips to the PVC pipe, using the marks from the template as guides. Now, you may be asking- is this really any better than drilling holes? I’ll be honest- I was already questioning this myself…
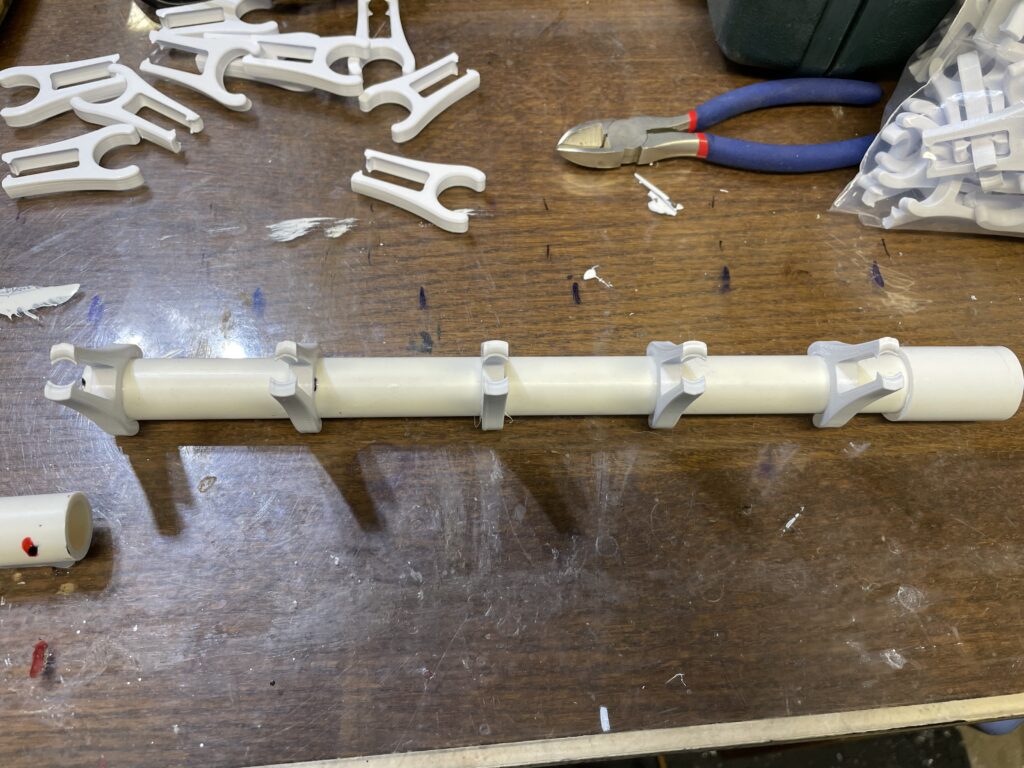
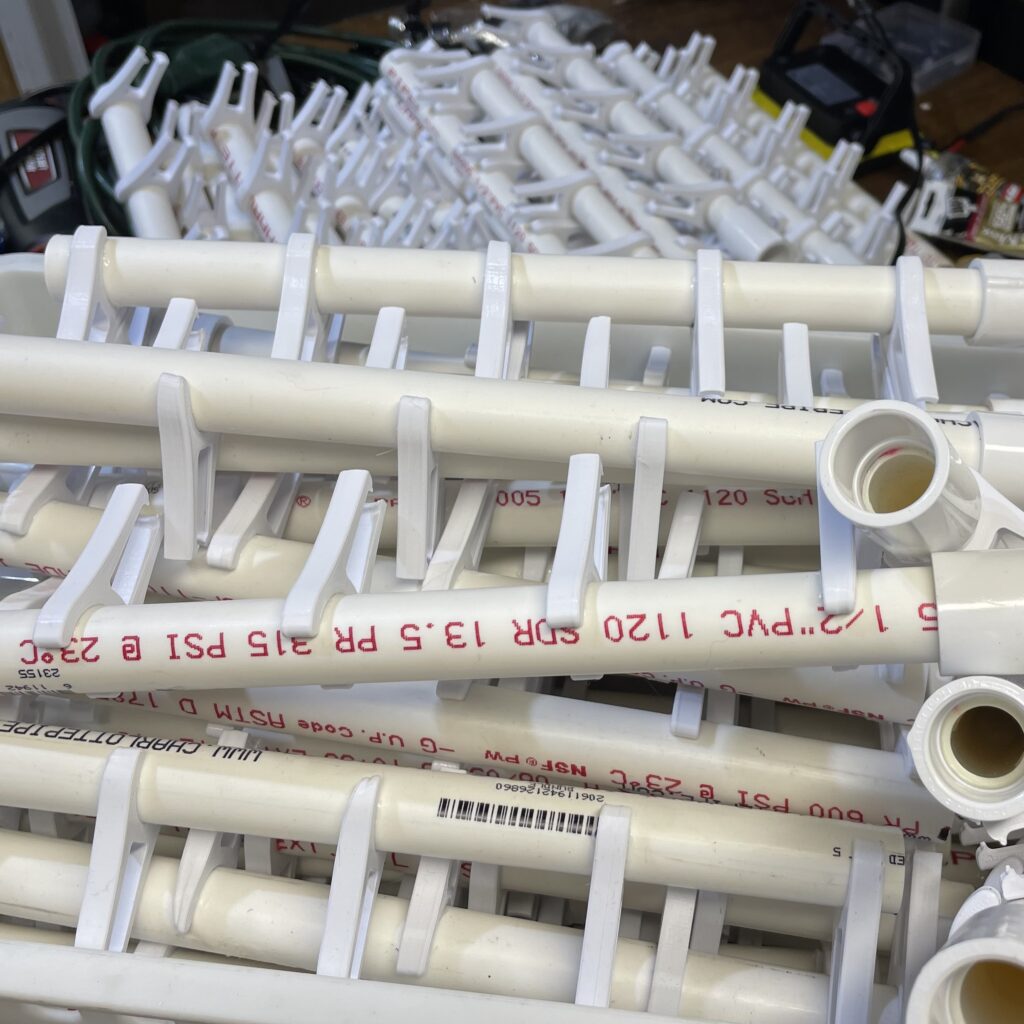
After spending hours gluing all the clips on, and then gluing on the unions that will connect to the actual ground stakes, I ended up with 80 stakes, ready for pixels…
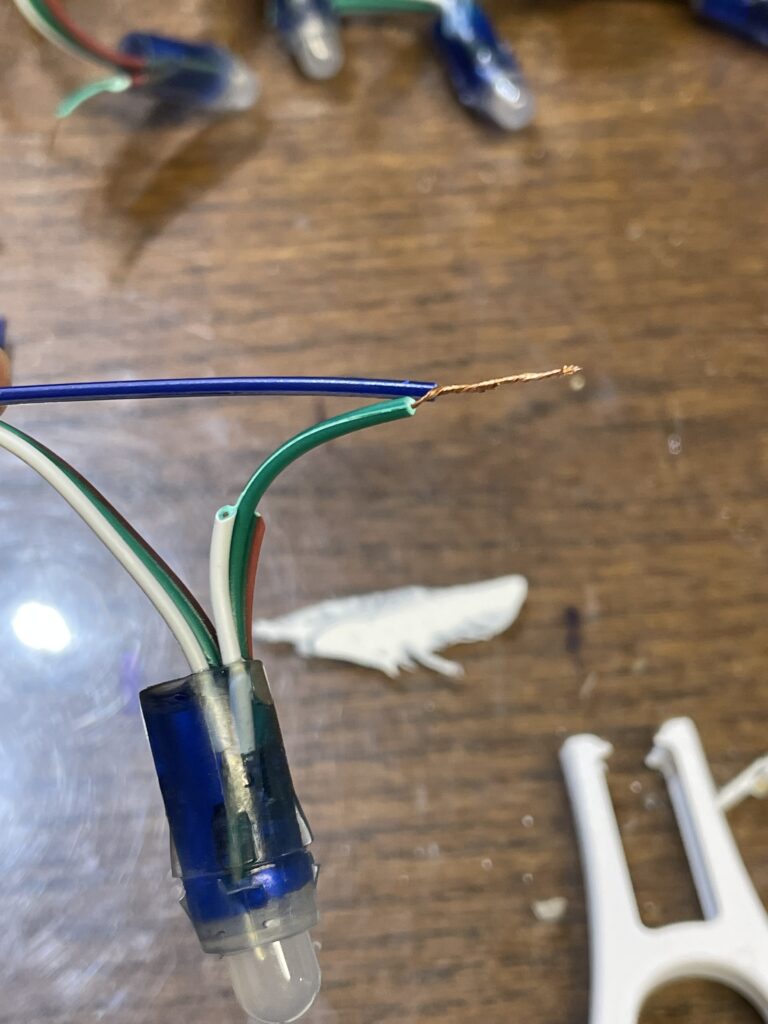
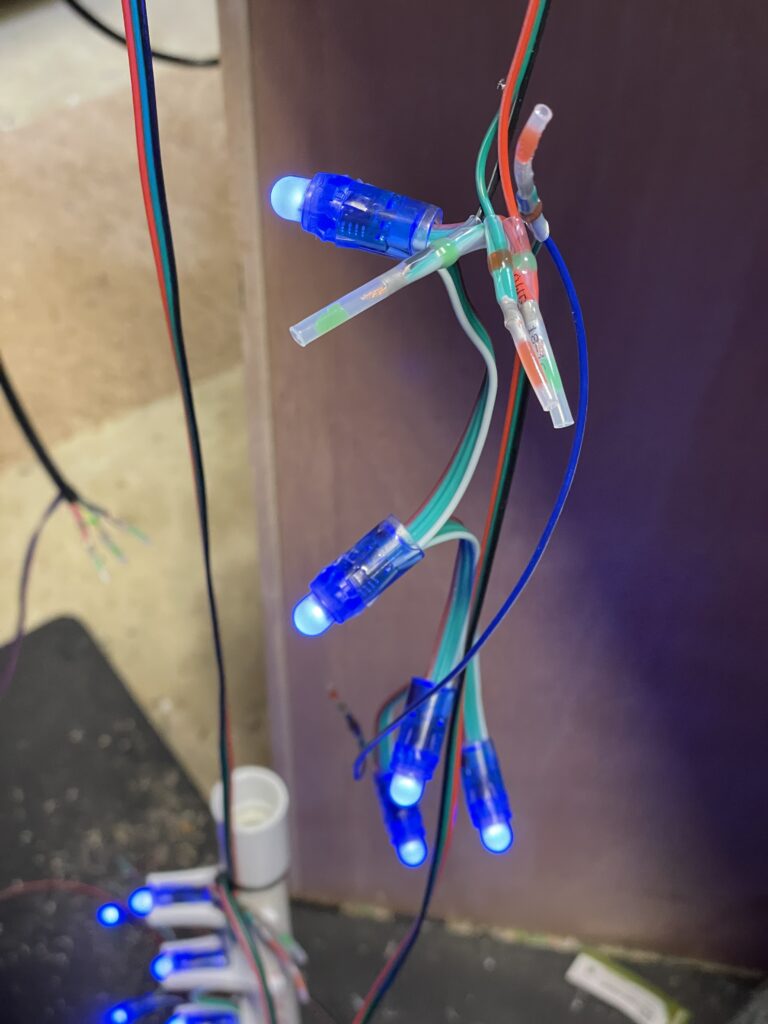
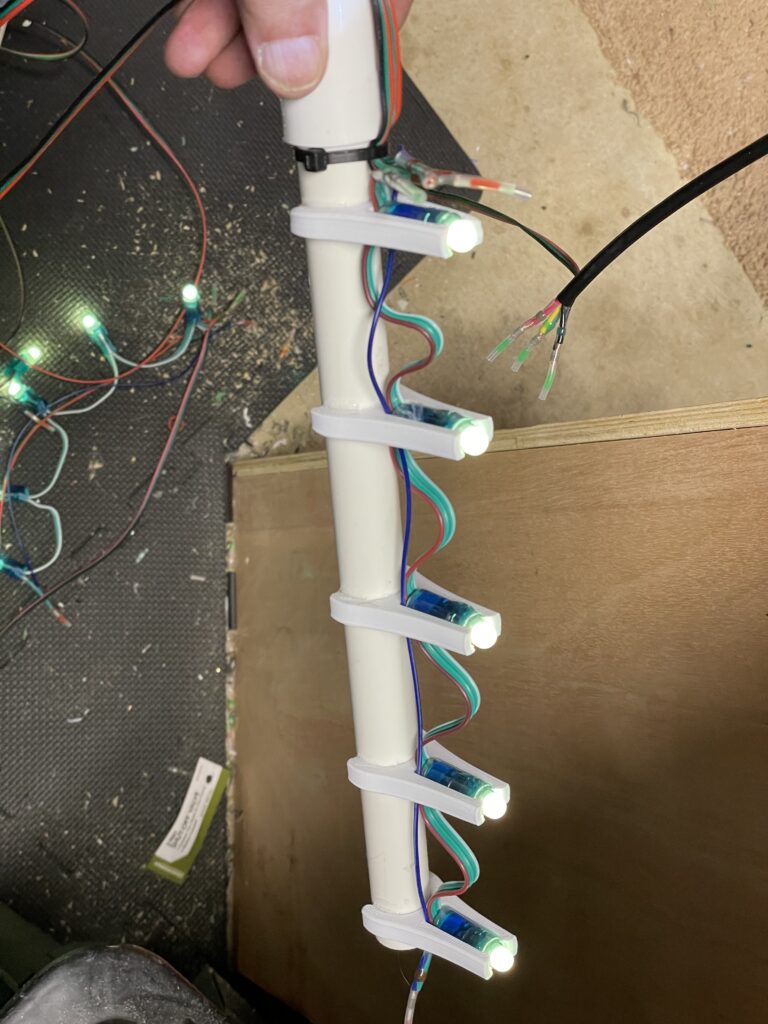
Now, I want to cut the power wires off of the end (top) pixel for each string of five. I don’t need to take power off of the end, but I do need to take data off of it to go to the next stake…
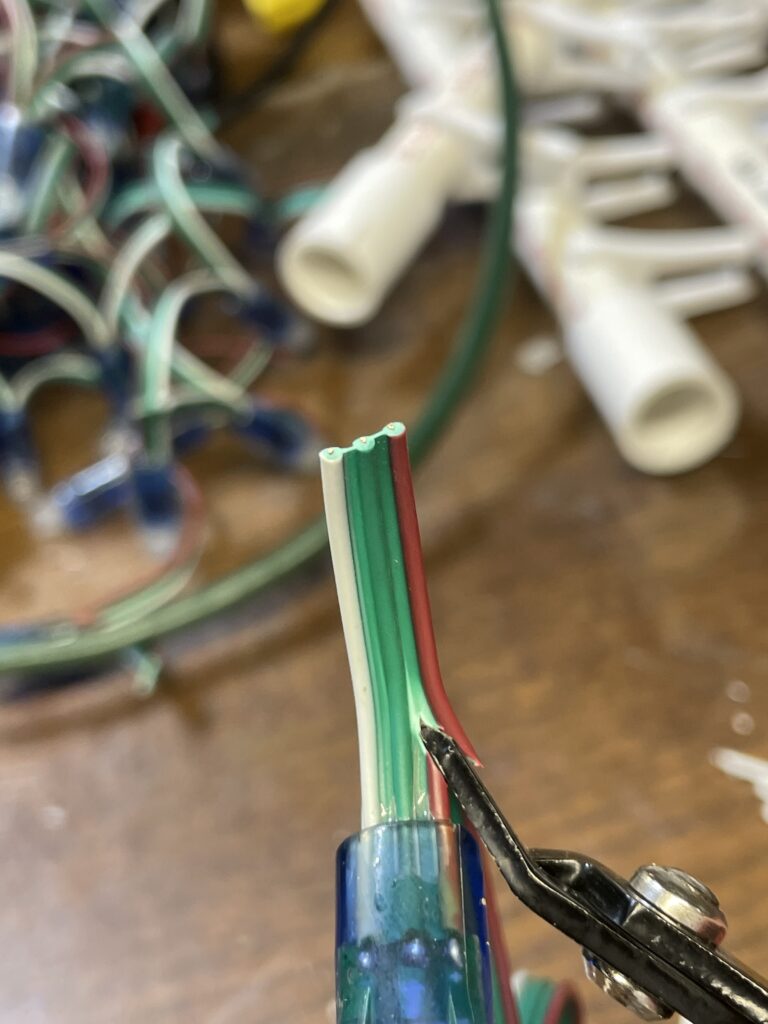
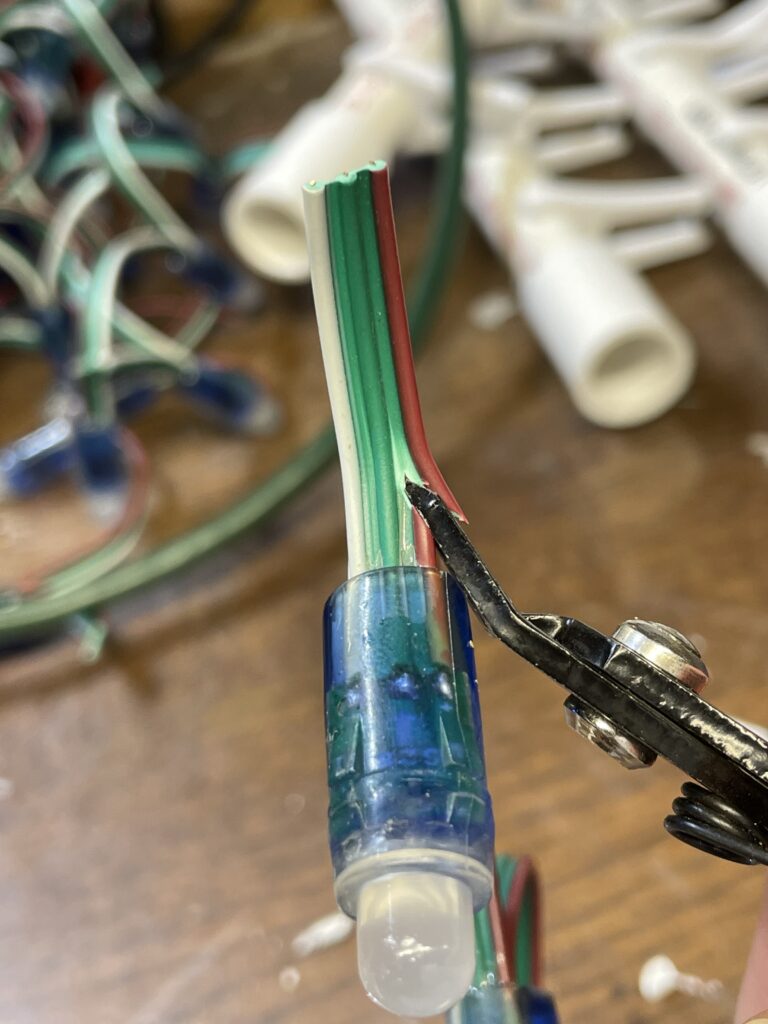
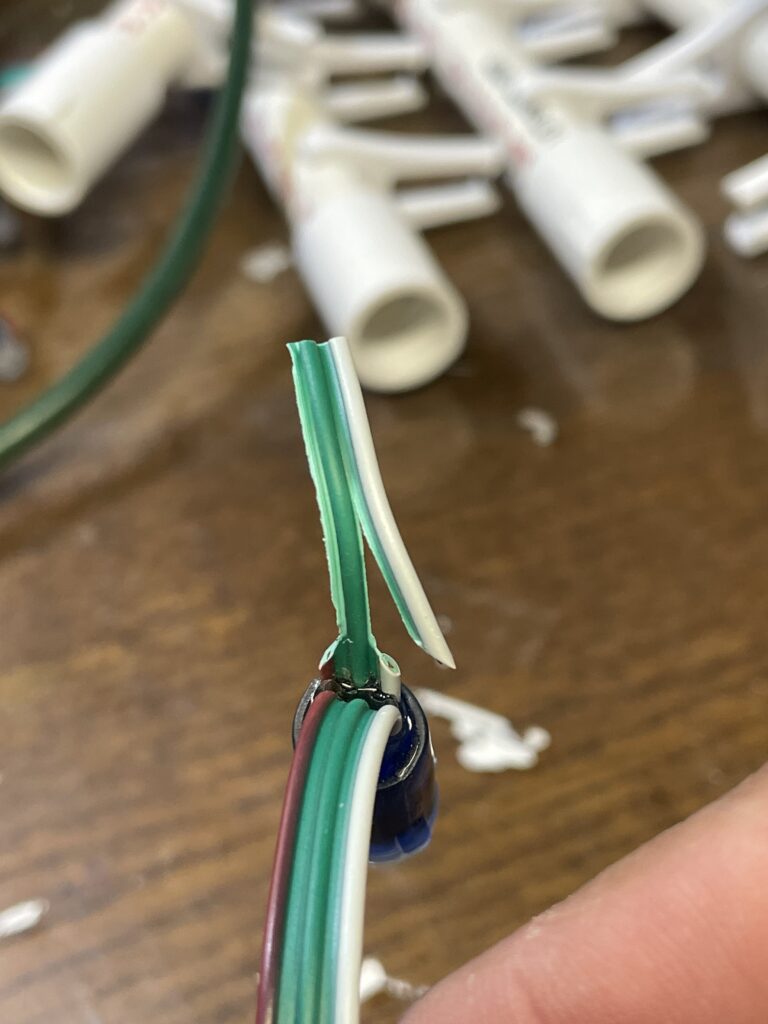
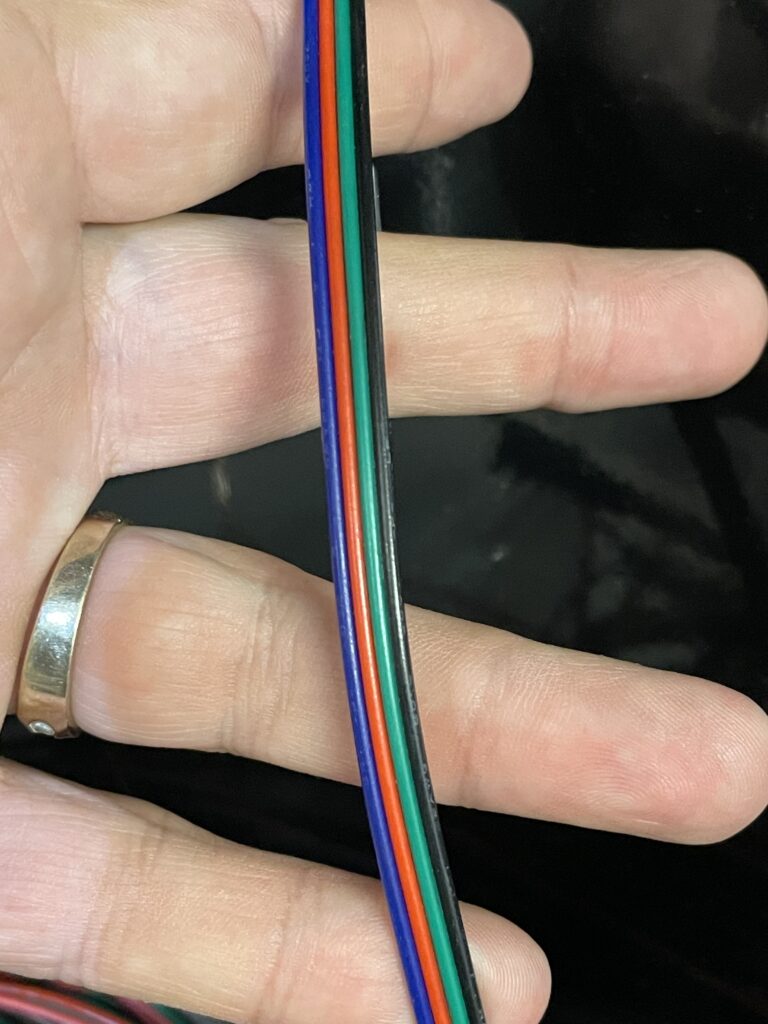
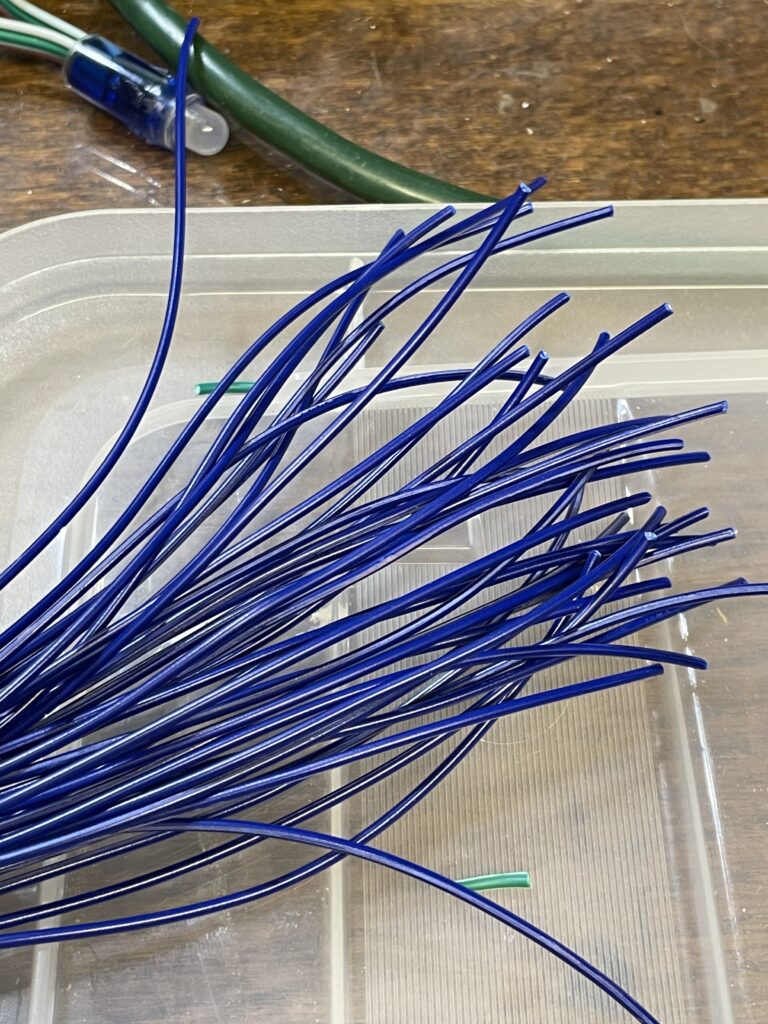
I use four-conductor “LED” wire between each stake, just like before. I cut it in 3′ long sections, which ends up leaving about 3″ less than that between each stake after it’s connected. The LED wire has Black, Green, Red, and Blue conductors on it. I only need 3 conductors for pixels, so I strip off the blue conductor to use as an extra data line from the top of each pixel…

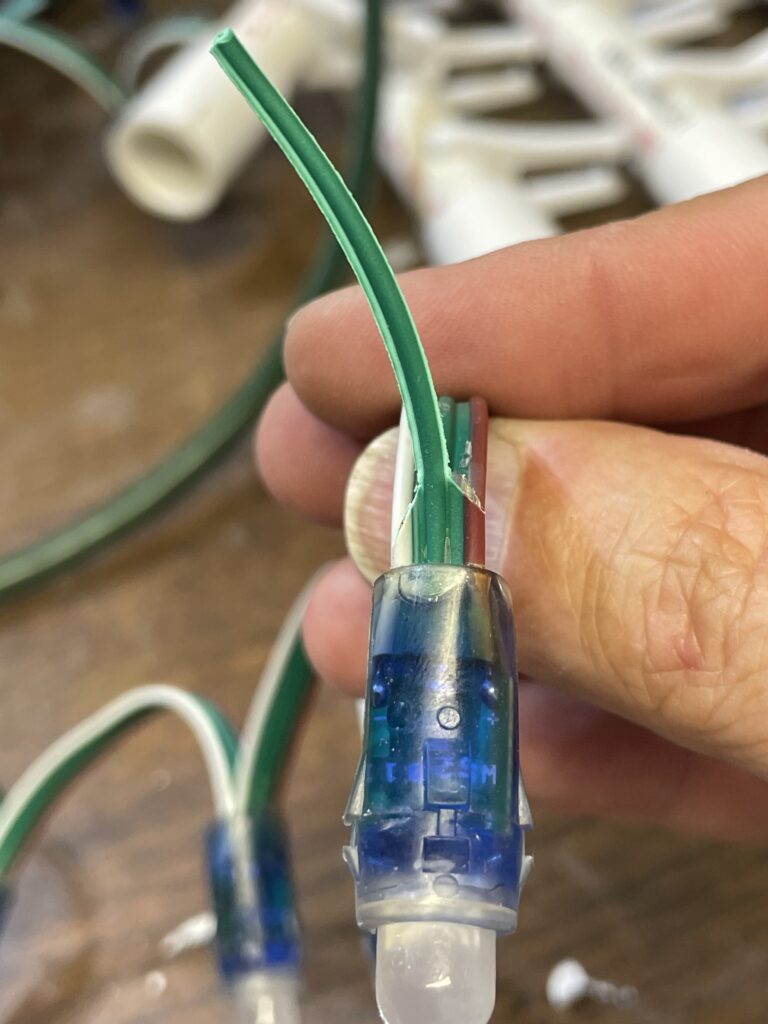
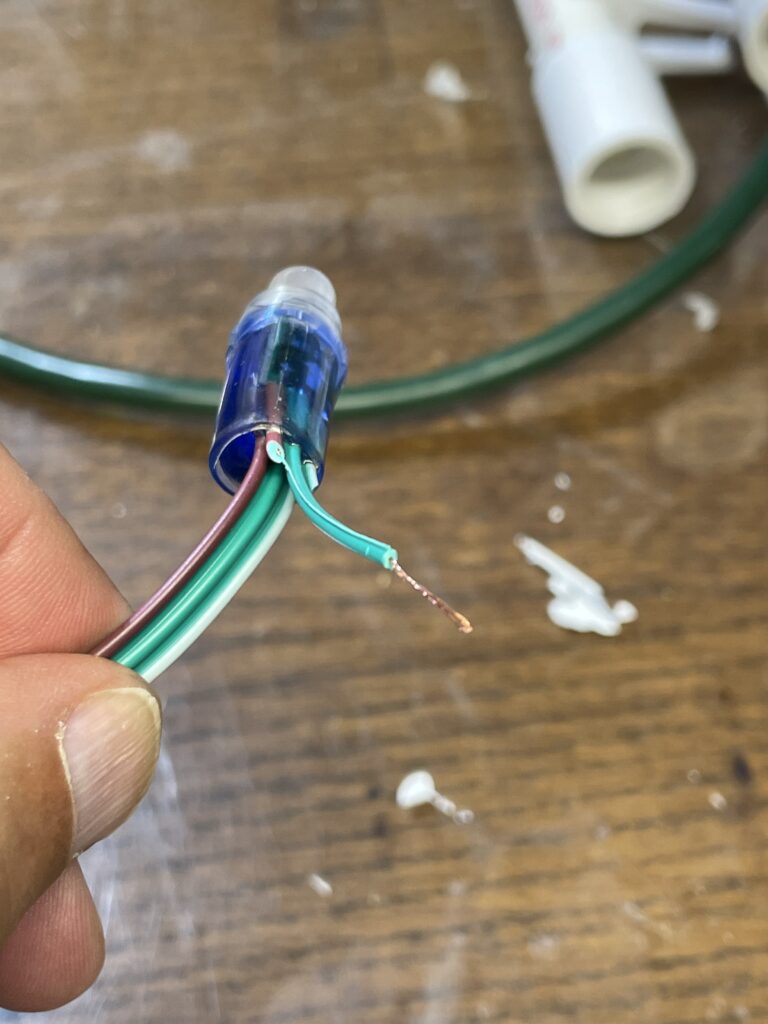
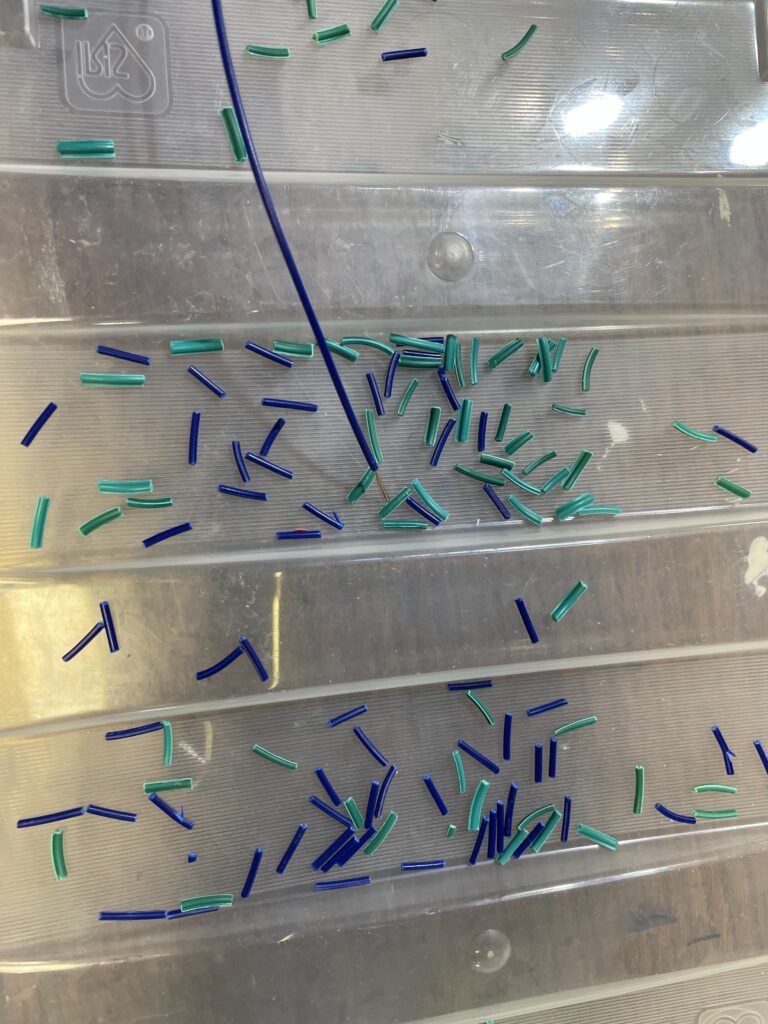
Common “LED” Wire. I don’t need the blue conductor so I’m going to re-use it. Blue Conductors stripped off of the LED Wire. Strip one end of it. Pro-tip: A tote lid works great for catching all the stripped insulation bits! Twisted to the Data Out line on the top pixel. Solder Seal slipped on. Melting the solder seal using a heat gun. Completed top wiring.
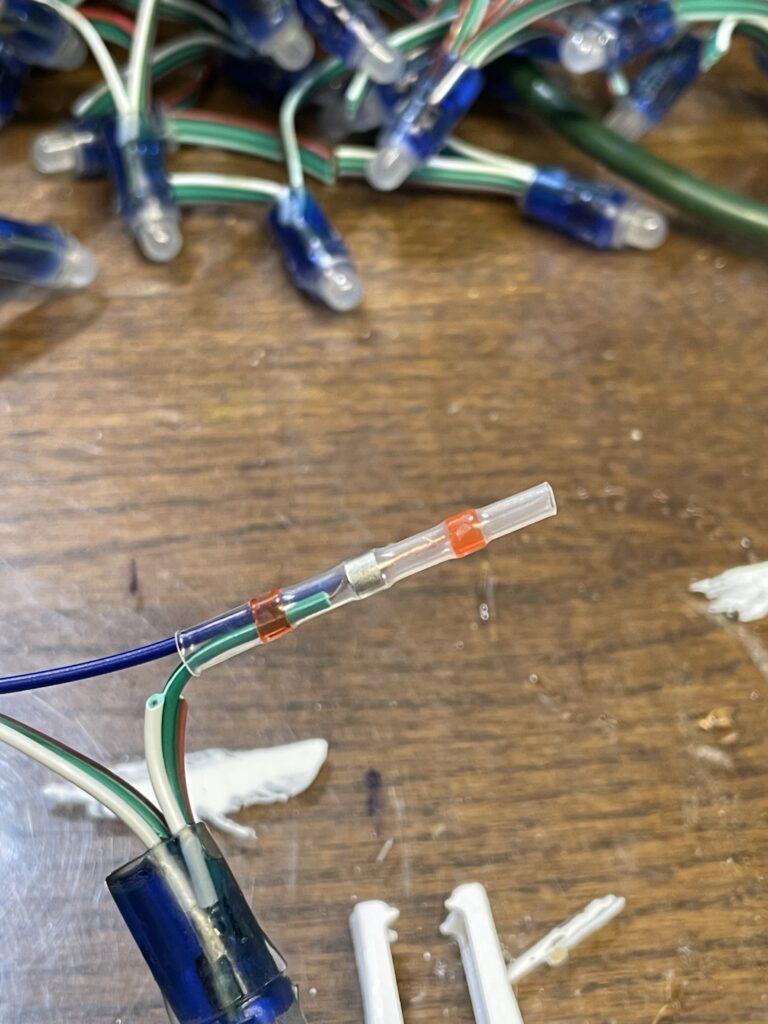
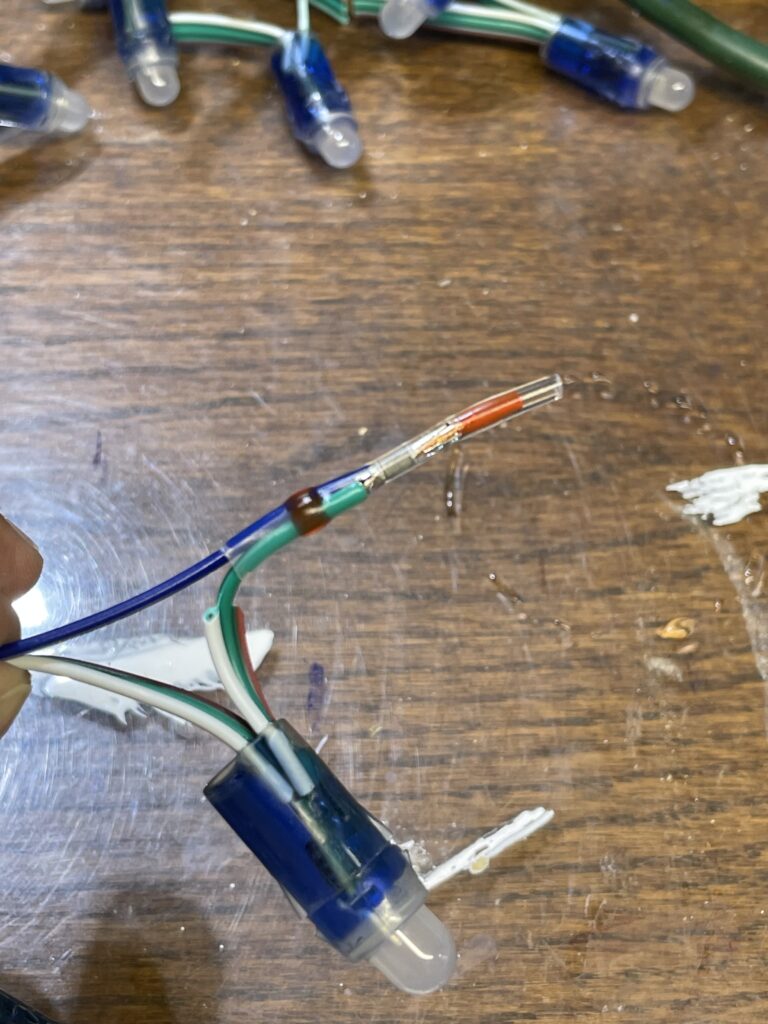
At this point I need to address the way I am using solder seals. It’s not the “right” way at all, but I’ve been using this technique for a couple of years now in certain situations. This time I chose to do it the same way for everything. Frankly- it’s easier and makes more-reliable connections. I twist the conductors together first for good electrical contact, and then slip them in one side of the solder seal. This is sort of the same as using a wire nut. With a heat gun- I heat it up as-usual The empty end seals itself, and the wires are still sealed on their end before the solder melts. I don’t need a jig to hold the wires, and they are physically connected well before soldering. I feel this makes a more secure connection. I haven’t had one fail yet.
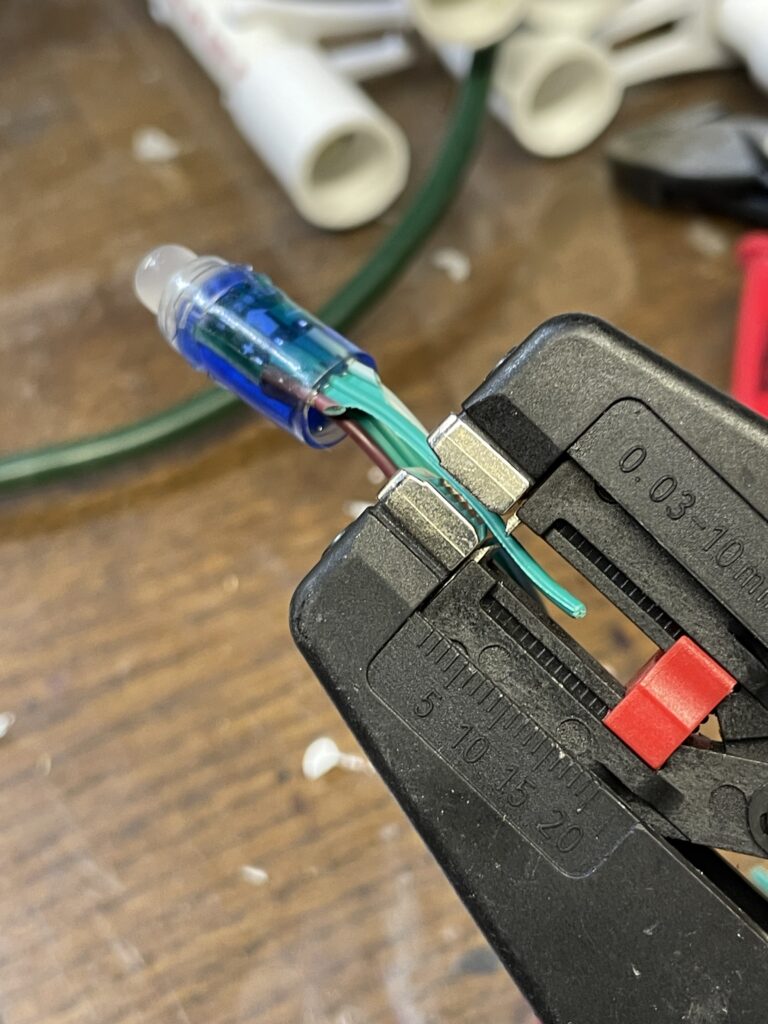
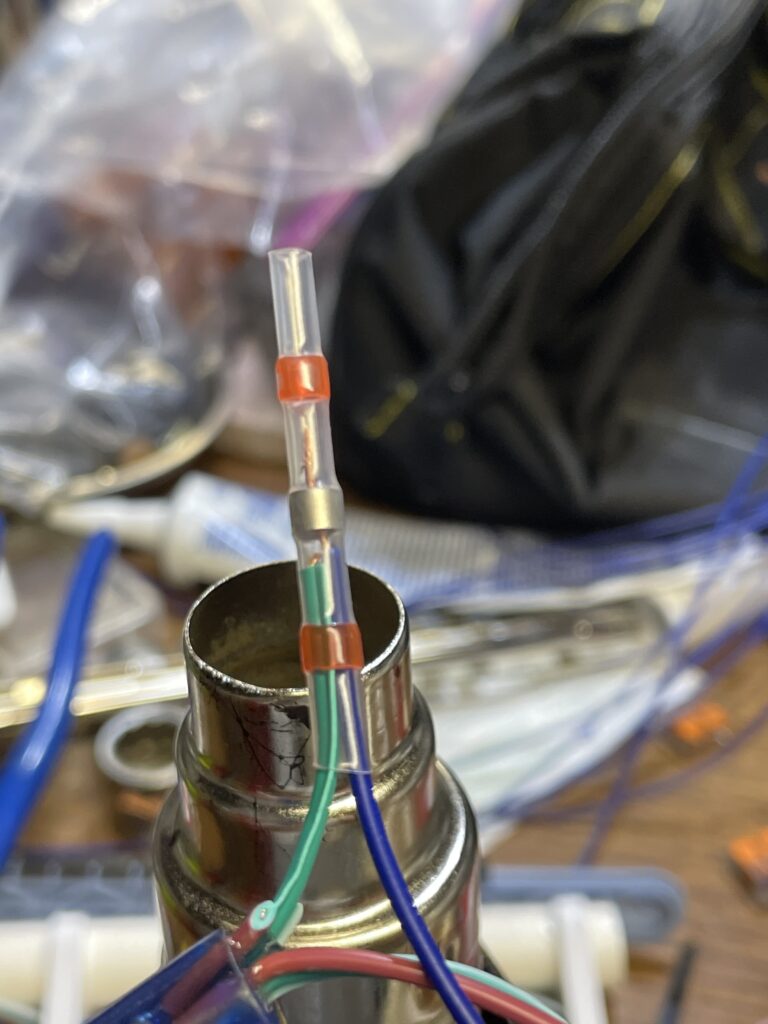
Now, I take each 3′ section of LED wire that I cut, and separate and strip the conductors on both ends. I also cut the blue wire from the top pixel down to 13″, and strip the loose end of it as-well. I also separate and strip the power and data wires on the Start/Bottom pixel.
With all the wires stripped and ready to connect, I start wiring ten stakes at a time, which is how we arrange them. Each group of ten starts with a male xConnect and ends with a female xConnect. One LED wire is connected to Data-IN while the other is connected to Data-Out via the blue wire that comes from the top pixel…


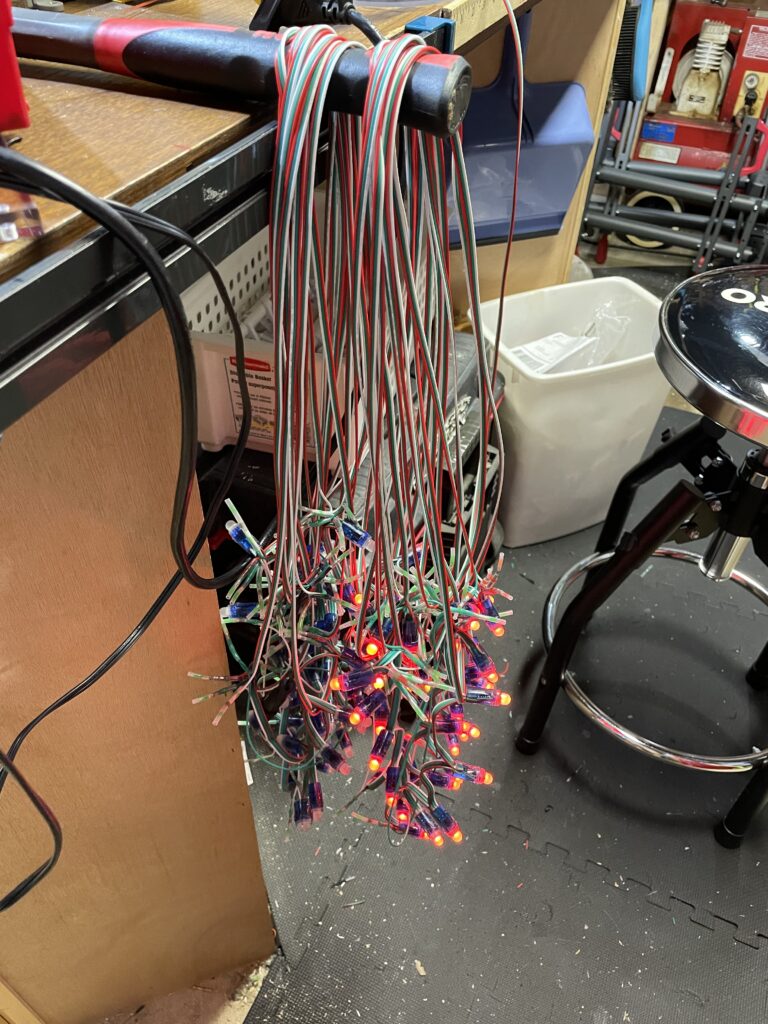
I repeat this for each 5-pixel string. The Out LED wire from one becomes the IN LED wire for the next, until I have 10 of them wired up. Then I connect the xConnects on each end and plug them in to a test controller. Once I’ve verified that they all work, it’s time to start installing them into the stake clips.
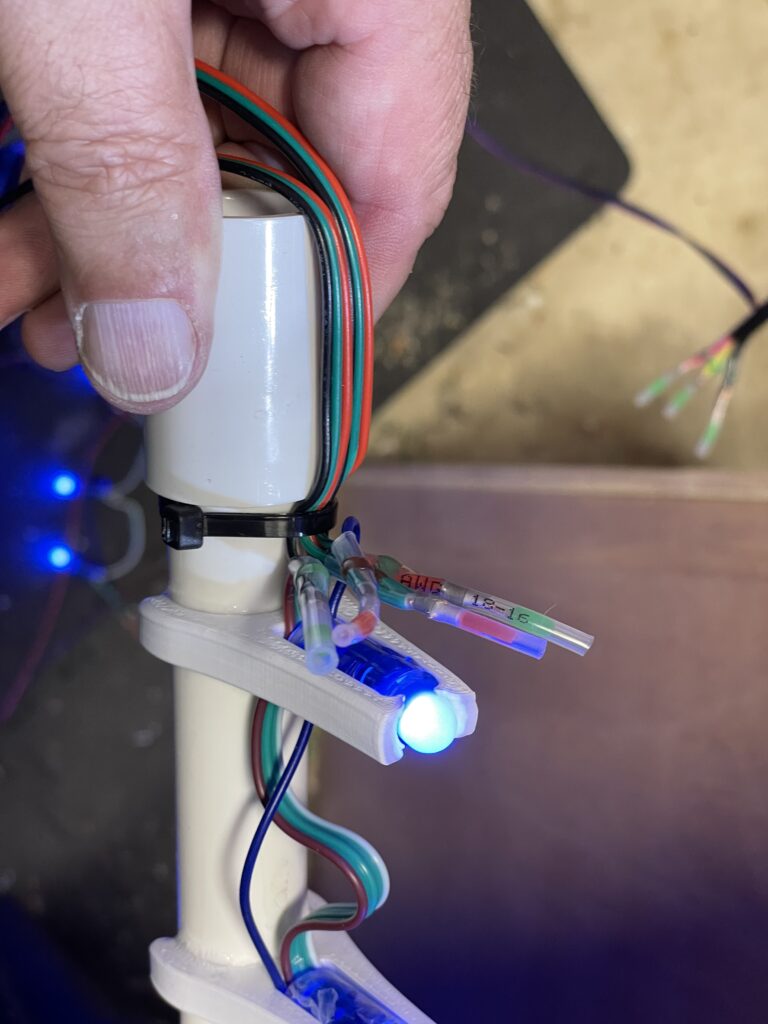
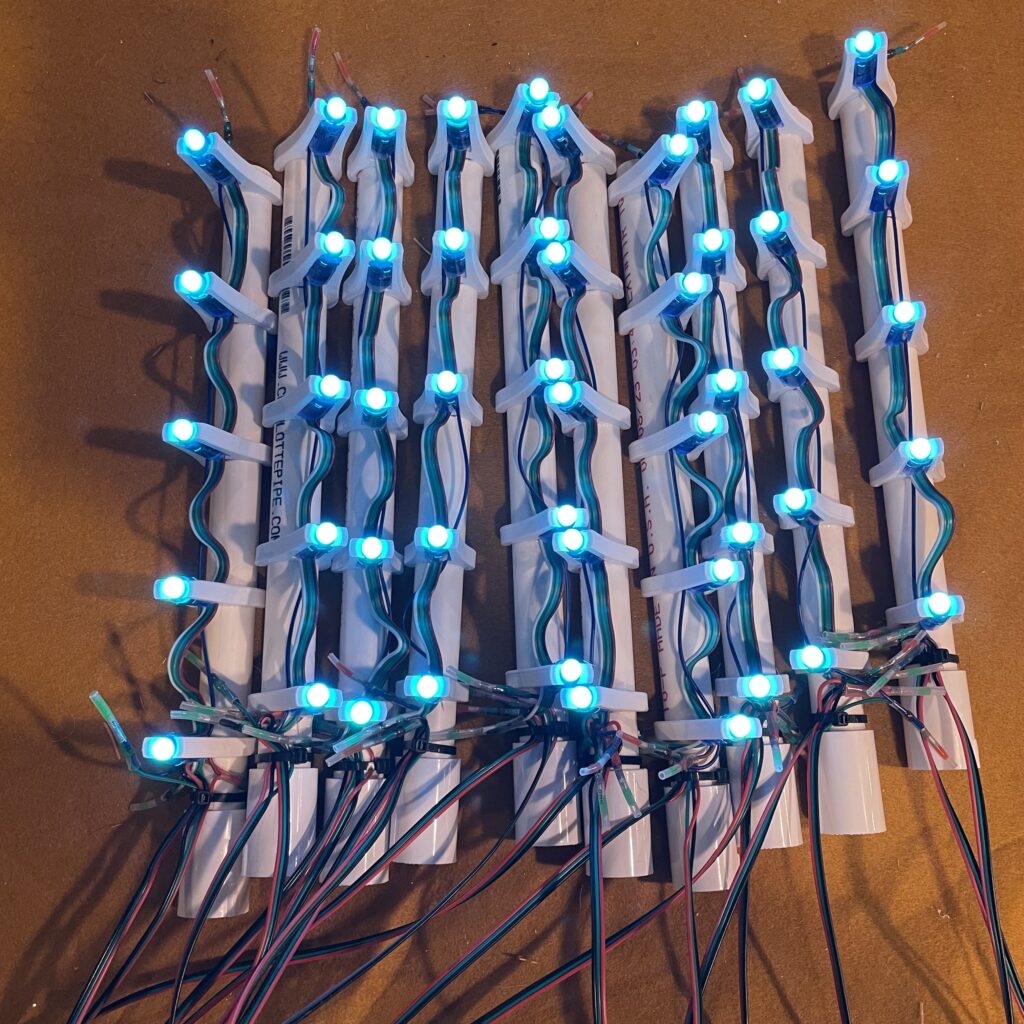
Getting the pixels into the clips is much easier said than done. They are a very-very tight fit, and sometimes don’t cooperate due to variations in the pixel’s casing as well as the 3D prints. The pain of pushing pixels into coro or tree strips is nothing compared to the pain of those barbs on top of the clip digging into your finger(s)!
Once in, I just zip-tied the connecting wires to the bottom of the stake, and done! No holes drilled, no hot melt glue holding pixels or wires, and only one zip tie. All in all I think they look GREAT. They still turned out to be a lot of work, and I’m not sure it was any less than drilling holes.
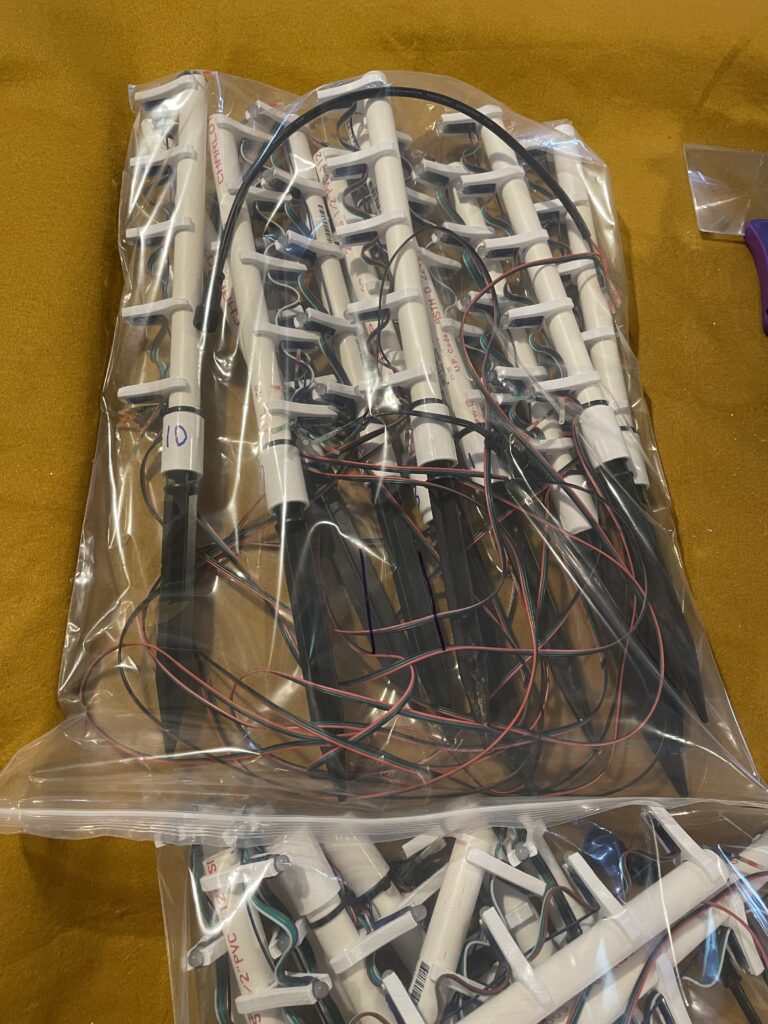
After installing the ground stakes (just pushed into the union on the bottom), I numbered each stake and then bagged each group of ten up for storage, and now we have 8 bags totaling 80 more stakes to work with! I will need to juggle some differential channels around to drive them for our show, and may need to add an additional PSU for them. I’ll get that worked out by November. 😊